
5 Easy Refrigerator Maintenance Tips to Extend Its Lifespan
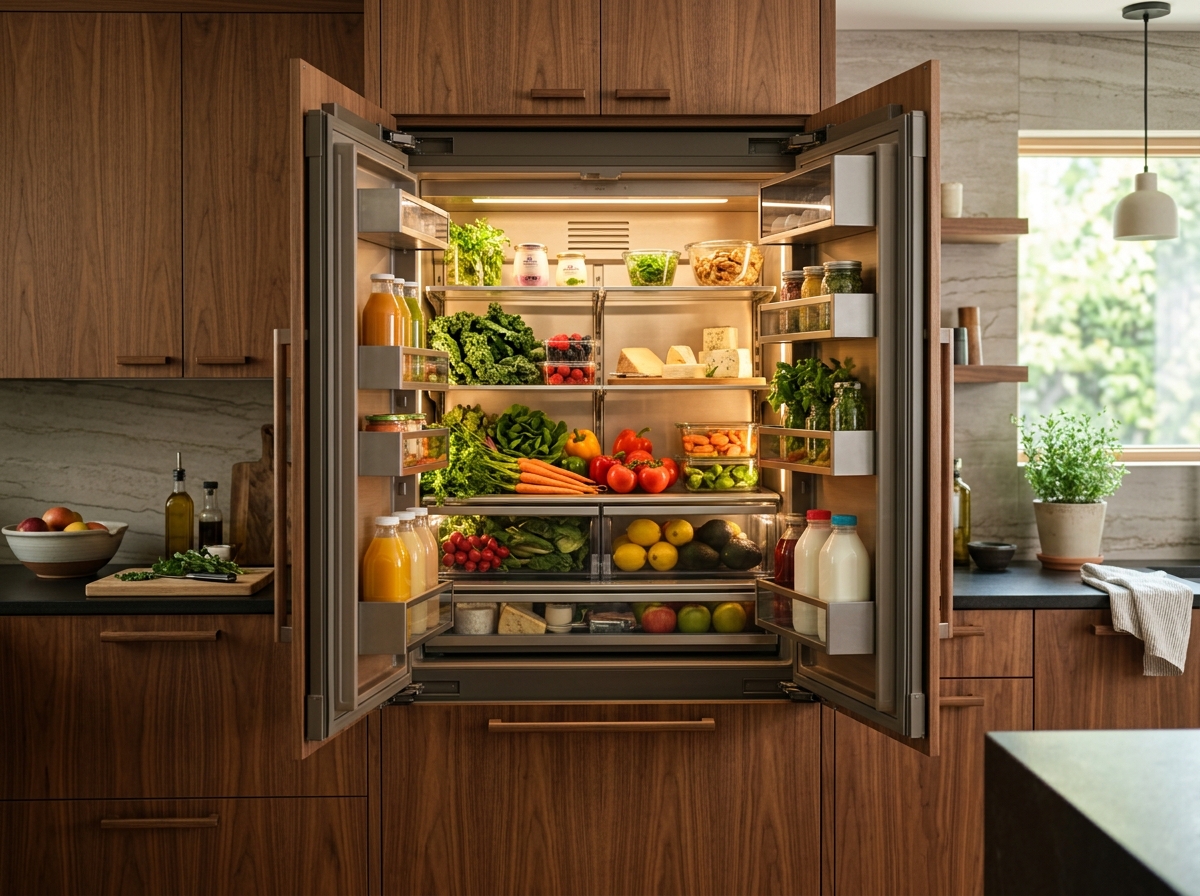
The refrigerator is indisputably the hardest working appliance in any modern household. Running 24 hours a day, 365 days a year, it maintains a critical climate that preserves your food, protects your family from foodborne pathogens, and acts as the literal center of your kitchen. Yet, because it operates silently in the background, it is frequently the most neglected appliance when it comes to routine preventative care. Without regular maintenance, its cooling efficiency drops, utility bills rise, and internal components—especially the compressor—suffer premature failure. According to industry data, over 70% of unexpected refrigerator repairs could have been prevented with basic, routine upkeep. In this comprehensive, semantic SEO-optimized guide, we will break down five easy, high-impact refrigerator maintenance tips that will extend the lifespan of your unit, optimize its cooling performance, and prevent expensive service calls.
1. Keep the Condenser Coils Clean and Dust-Free
Condenser coils are the black grid-like tubes located either at the bottom behind the kick plate or at the rear of your refrigerator. Their function is simple but vital: they dissipate heat away from the refrigerator’s interior cooling loops. As refrigerant gas passes through these coils under high pressure, it releases heat into the surrounding room, allowing the unit to cool down. However, because coils are positioned close to the floor, they act like a magnet for household dust, pet hair, dirt, and kitchen grease.
When a thick blanket of dust builds up on the coils, it forms an insulating barrier. Instead of releasing heat, the coils trap it. This forces the compressor to run longer and hotter to maintain the target temperature, consuming excess electricity and placing immense thermal stress on the motor. Over time, dusty coils are the leading cause of compressor failure, a repair that can easily cost hundreds of dollars and often warrants replacing the entire refrigerator.
The Physics of Thermal Dissipation in Refrigeration Cycles
In thermodynamic terms, a refrigerator is a heat pump that transfers heat from a lower-temperature reservoir (the food cabinet) to a higher-temperature reservoir (your kitchen). The vapor-compression refrigeration cycle relies on four main components: the compressor, the condenser, the expansion valve, and the evaporator. The compressor compresses refrigerant vapor, increasing its temperature and pressure. This superheated gas then enters the condenser coils, where it must transfer heat to the cooler room air to condense into a high-pressure liquid. If the condenser coils are insulated by a layer of dust and pet hair, the heat transfer coefficient drops significantly. The refrigerant fails to condense fully, and the compressor is forced to run continuously to achieve the required pressure differential, consuming up to 35% more electrical energy and leading to mechanical failure.
Step-by-Step Coil Cleaning Guide:
- Safety First: Pull the refrigerator away from the wall and unplug the electrical cord from the wall outlet.
- Locate the Coils: Remove the front kick plate grill at the bottom of the unit (it usually snaps off) or locate the access panel at the back.
- Vacuum the Dust: Use a narrow crevice tool or a specialized flexible coil brush attachment on your vacuum cleaner to gently suck out dirt, lint, and pet dander from the spaces between the coils.
- Brush Away Stuck Debris: Use a long, soft-bristled brush to gently sweep away stubborn dust clinging to the metal loops, then vacuum the loose debris.
- Clean the Fan: If your coils are at the bottom, there is usually a condenser fan nearby. Carefully vacuum any dust off the fan blades to ensure unrestricted airflow.
- Restore Power: Reattach the grill, push the unit back (leaving a 2-inch gap from the wall for airflow), and plug it back in.
Frequency: Perform this cleaning at least twice a year. If you have indoor pets that shed hair, clean the coils every 3 to 4 months. For professional assistance, visit our Refrigerator Repair service page.
2. Inspect and Clean the Door Gaskets (Seals)
The door gasket is the flexible rubber strip that runs along the outer edge of your refrigerator and freezer doors. Its purpose is to form an airtight seal between the cold interior cabinet and the warm exterior room air. Over time, gaskets accumulate food spills, sticky liquids, crumbs, and mold, which can degrade the rubber and cause it to crack, tear, or lose its flexibility.
When a gasket fails to seal properly, warm, humid room air constantly leaks into the refrigerator. This raises the internal temperature and causes the cooling system to run continuously. Additionally, the moisture in the warm air condenses upon hitting the cold interior, leading to excessive frost buildup on the freezer coils, ice accumulation, and soggy food packaging.
How to Perform the Dollar Bill Test:
To check if your gaskets are functioning correctly, perform the simple “Dollar Bill Test.” Open the refrigerator door, place a dollar bill across the seal line, and close the door. Try to pull the dollar bill out. If you feel resistance and it stays firmly in place, the seal is working. If it slides out easily without any drag, the gasket is loose and needs attention. Repeat this test at multiple points along both the refrigerator and freezer doors.
Understanding Gasket Compounding and Magnet Strip Decay
Modern refrigerator door gaskets are made of polyvinyl chloride (PVC) compounds embedded with strong magnetic strips inside their hollow centers. The magnet strip is attracted to the steel body of the refrigerator cabinet, ensuring a tight seal without the need for latching mechanisms. Over time, grease and skin oils from your hands can chemically break down the PVC compound, making it brittle. Once the rubber loses its elasticity, the magnetic strip cannot pull the gasket flat against the cabinet frame, leaving small micro-gaps. These gaps allow warm air to bypass the seal, resulting in continuous running and elevated cabinet humidity.
Gasket Cleaning and Care Tips:
- Wipe Regularly: Mix warm water with a few drops of mild dish soap. Use a microfiber cloth to clean grease and food spills out of the folds of the gasket.
- Avoid Harsh Chemicals: Do not use bleach, abrasive scrubbers, or petroleum-based solvents, as they dry out the rubber and cause it to crack.
- Lubricate with Vaseline: Apply a very thin layer of petroleum jelly (Vaseline) along the hinge side of the gasket. This keeps the rubber supple and prevents it from sticking or folding over when the door is opened.
- Replace If Damaged: If the gasket is torn, brittle, or deformed, it must be replaced. A new gasket is a quick DIY fix that saves significant energy costs.
3. Maintain Optimal Temperature Settings and Calibration
Setting the correct temperature is not just about keeping your milk cold; it is critical for food safety and appliance efficiency. If the temperature is set too high, bacteria can multiply rapidly, causing food spoilage. If it is set too low, the compressor runs excessively, food freezes in the fresh food compartment, and electrical consumption spikes unnecessarily.
Thermostatic Accuracy and Sensor Drift
Most modern refrigerators rely on negative temperature coefficient (NTC) thermistors to measure internal cabinet temperatures. These sensors send a variable electrical resistance signal to the main control board. Over time, moisture exposure can cause the thermistor’s internal resistance profile to drift. As a result, the control board may receive a signal indicating the cabinet is at 37°F when the actual temperature is 44°F. To prevent food spoilage, homeowners should periodically calibrate their units using a dedicated liquid-immersion thermometer placed inside the fresh food compartment.
| Compartment | Recommended Temperature Range | Impact of Incorrect Settings |
|---|---|---|
| Fresh Food Cabinet | 37°F to 40°F (3°C to 4°C) | Above 40°F: Food spoilage / bacteria growth. Below 35°F: Vegetables and liquids freeze. |
| Freezer Compartment | 0°F (-18°C) | Above 10°F: Ice cream softens, ice maker jams. Below -5°F: Freezer burn / high power draw. |
Do not rely solely on the refrigerator’s built-in digital display or analog dial settings. Over time, internal temperature sensors can drift out of calibration. Purchase a standalone liquid-filled appliance thermometer, place it in a glass of water inside the refrigerator for 24 hours, and read the temperature. Adjust the controls accordingly to match the actual reading.
4. Ensure Unrestricted Internal Airflow
Refrigerators cool their contents by circulating chilled air between the freezer and the fresh food compartments. Chilled air enters from vents (usually located at the top rear of the fresh food cabinet and inside the freezer), circulates around the food, and returns to the evaporator coils to be cooled again.
If you block these vents with large items—such as pizza boxes, milk cartons, or bulk packages—you restrict the circulation of cold air. This creates “warm spots” where food spoils quickly, while other areas of the cabinet become cold enough to freeze liquids. Additionally, the restricted airflow prevents the thermostat from reading the temperature accurately, causing the cooling cycle to run longer than necessary.
How Damper Assemblies Control Air Transfer
In a standard top-mount or side-by-side refrigerator, all the cooling is generated in the freezer compartment. A motorized door called the damper assembly opens and closes to allow cold air to flow from the freezer into the fresh food section. If food items are placed too close to the damper vents, they can freeze solid, blocking the physical door from opening. This results in the refrigerator section warming up while the freezer remains freezing cold. Maintaining clear boundaries around the damper vents ensures proper circulation and preserves the life of the damper motor.
Airflow Best Practices:
- Find the Vents: Visually locate the air supply and return vents in both the refrigerator and freezer. Leave at least a 3-inch gap around these areas.
- Organize Food: Use clear bins to organize condiments and small items, keeping the shelves open and uncluttered.
- Avoid Over-packing: While a full refrigerator retains cold temperatures better than an empty one (as the chilled food acts as thermal mass), an over-packed refrigerator blocks airflow. Aim to keep the unit about 75% full for optimal performance.
5. Manage the Water Filter and Defrost Drain Line
Modern refrigerators with built-in ice makers and water dispensers rely on internal water filtration systems. Over time, these filters trap sediment, chlorine, rust, and organic contaminants. As the filter fills, water pressure drops, resulting in hollow ice cubes, slow water dispensing, and a buildup of mineral deposits inside the internal lines.
Additionally, every frost-free refrigerator has a defrost cycle that automatically melts ice buildup off the evaporator coils. This melted water drains through a small tube at the back of the freezer down to a shallow pan under the unit, where it evaporates. If food debris, crumbs, or mold clog this drain line, the water has nowhere to go. It backs up, fills the bottom of the fresh food cabinet, and leaks out onto your kitchen floor.
Brand-Specific Refrigerator Systems and Common Fault Rates
Different brands implement defrost and ice systems using varying components. For example, Samsung and LG French-door refrigerators are known for ice-maker compartments that freeze over because of air leaks in the ice housing. GE and Whirlpool models utilize a mechanical heater assembly below the evaporator coils that can burn out. Keeping your water system under proper pressure prevents solenoid valve failures, which are a leading cause of slow ice production. For details, view our Ice Maker Repair page.
How to Maintain Water and Drain Systems:
- Replace Water Filter: Change the water filter cartridge every 6 months. Failing to replace it can cause pressure drops that damage the ice maker valve.
- Clear the Defrost Drain: If you see water pooling under the vegetable crisper drawers, your defrost drain is likely clogged. Unplug the unit, locate the drain hole (usually at the back of the freezer panel), and flush it with a mixture of warm water and a tablespoon of baking soda using a turkey baster until you hear water dripping into the pan below.
- Check the Evaporator Pan: Clean the drip pan located under the refrigerator. Dust and pet hair can form mold inside the pan, causing musty kitchen odors.
6. Detailed Compressor and Start Relay Troubleshooting
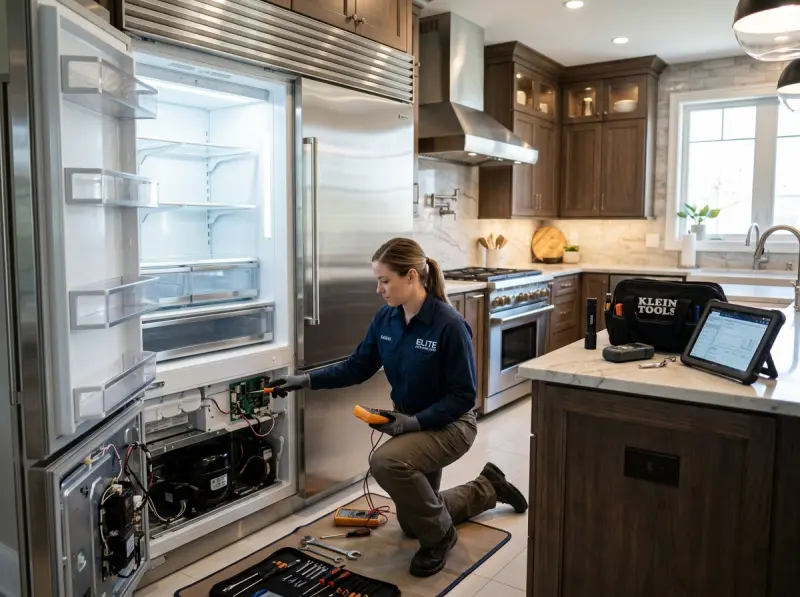
The compressor is the motor that drives the cooling process, pumping refrigerant throughout the system. It relies on a electrical switch system called the start relay to engage its windings. If your refrigerator stops cooling and you hear a distinct clicking noise from the bottom rear of the cabinet every few minutes, the compressor is struggling to start.
This clicking is the thermostatic overload switch shutting off power to protect the compressor from burning out. In most cases, the compressor itself is still functional, but the start relay (also known as a PTC starter device) has shorted out. Replacing this component is a highly cost-effective repair compared to replacing the entire unit.
How to Test the Compressor Windings with a Multimeter:
- Step 1: Unplug the refrigerator and remove the lower rear cardboard panel. Locate the black dome-shaped compressor.
- Step 2: Remove the plastic cover clip on the side of the compressor to expose the start relay plugged into the three metal terminal pins.
- Step 3: Pull the start relay off the pins. Set your digital multimeter to the lowest Ohms setting (Resistance).
- Step 4: The three pins on the compressor form a triangle and are labeled: Common (C), Start (S), and Run (R). Measure resistance between the pins:
- Measure Common to Run (C-R). Typical reading: 3 to 12 Ohms.
- Measure Common to Start (C-S). Typical reading: 5 to 25 Ohms.
- Measure Start to Run (S-R). This reading must equal the sum of C-R and C-S (within 1-2 Ohms).
- Step 5: Test for ground faults by placing one probe on a clean metal chassis tube and the other probe on each of the three pins. If the meter registers any reading other than open loop (OL / infinity), the internal motor windings have shorted to the frame, meaning the compressor has failed.
Semantic SEO Troubleshooting: Refrigerator Symptoms & Solutions
Sometimes, despite your best maintenance efforts, component wear can lead to functional issues. Recognizing symptoms early can save you from a complete breakdown. If your refrigerator is displaying any of the following symptoms, follow these diagnostic guidelines:
Symptom A: Refrigerator is making a clicking sound
If you hear a click from the back of the unit every few minutes, followed by silence, the compressor is struggling to start. This is usually caused by a faulty start relay or overload protector. Unplug the refrigerator immediately, as leaving a stalled compressor powered can overheat and destroy the motor. Relay replacements are quick and affordable repairs.
Symptom B: Refrigerator is not cooling, but the freezer is cold
This is a classic airflow issue. It is often caused by a failed evaporator fan motor (which circulates cold air from the freezer into the fresh food cabinet) or a blocked damper control door. Alternatively, the defrost heater may have failed, causing the evaporator coils to freeze solid and block all air passage. If your freezer is working but the fridge is warm, visit our Freezer Repair page for detailed diagnostics.
Conclusion & Professional Support
By implementing these five simple maintenance steps—cleaning condenser coils, inspecting door gaskets, calibrating temperatures, managing airflow, and clearing water lines—you can add years to your refrigerator’s lifespan and save money on monthly electric bills. Remember that a small investment of time twice a year is the best insurance policy for your kitchen’s most vital appliance.
If your refrigerator is already experiencing issues, making unusual noises, or leaking, do not wait for it to break down completely. Contact the local experts at Appliance Repair Alpharetta by calling (770) 796-7742 or booking a same-day visit through our Contact Us page. Our certified technicians are fully equipped to get your appliance running efficiently today!
Related Service & Area Directories
Related Professional Repair Services & Local Guides
For complete technical diagnostics across Fulton County, explore our dedicated services: Emergency Appliance Repair • Same-Day Local Service • Commercial Appliance Diagnostics • Residential Kitchen & Laundry Service • Master Diagnostic Error Codes • Appliance Repair Cost Guide • Alpharetta Appliance Repair Hub • Johns Creek GA Dispatch.
Need Certified Appliance Repair Today?
Skip the phone line — book direct local priority dispatch across Alpharetta, Milton, Roswell & Johns Creek.