
Oven Fails to Heat Up? (Bake, Broil & Igniter Diagnostics)
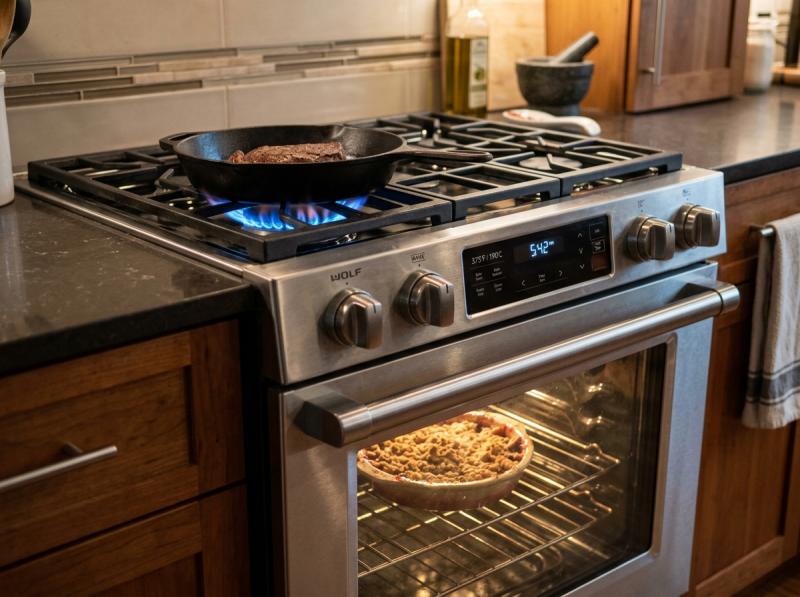
A fully functional oven is the heart of home cooking, especially during holiday dinners and family gatherings. But when your oven fails to heat up, it immediately disrupts your meal preparation. Whether you have a gas range or an electric wall oven, heating failures can manifest as a total loss of heat, or the bake element refusing to warm while the broil element works perfectly. Fortunately, diagnosing these issues follows a logical path of electrical checking. In this comprehensive, semantic SEO guide, we will analyze gas and electric oven heating cycles, identify the main components that wear out, and provide step-by-step instructions to troubleshoot and replace faulty igniters and elements.
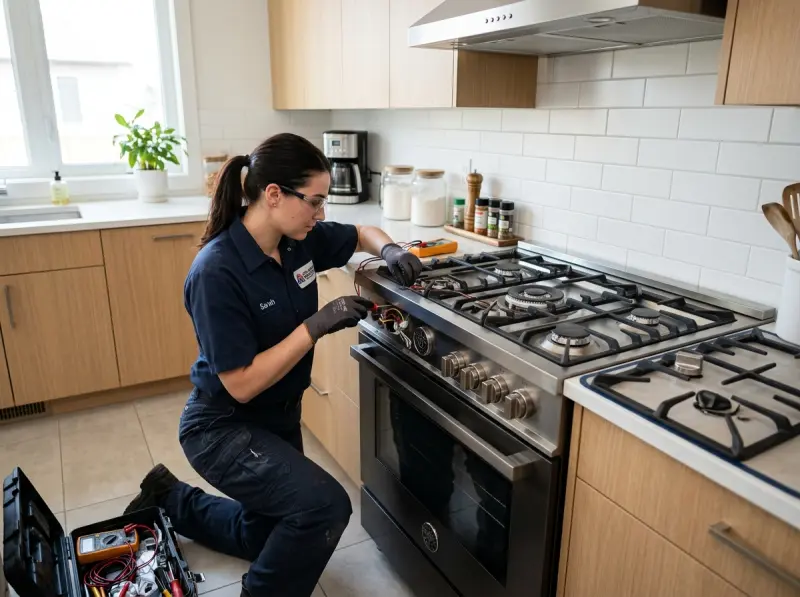
1. Gas vs. Electric Oven Heating Cycles
To safely troubleshoot an oven, it helps to understand how it produces heat. While both types are regulated by a thermostat, their ignition pathways are entirely different:
Gas Oven Ignition Flow (Hot Surface Igniters)
Modern gas ovens utilize a safety system centered around a hot surface igniter. When you select “Bake,” the control board closes a relay to send 120V AC electrical power to the igniter (a small gray block made of silicon carbide or silicon nitride). As electricity flows through the igniter, it glows white-hot, reaching temperatures over 2,000°F.
This igniter is wired in series with a safety gas valve. As the igniter heats up, its electrical resistance drops, allowing more electric current (amperage) to flow through the circuit. The safety gas valve is designed to open ONLY when the current draw reaches a specific threshold (typically 3.2 to 3.6 amps). Once this current is reached, the valve opens, releasing gas across the glowing igniter, which lights the burner. If the igniter is worn out, it may still glow orange, but it will not draw enough amperage to open the safety valve, resulting in no gas flow and no heat. Silicon carbide igniters are highly fragile and age-sensitve; as they grow older, their resistance increases, which naturally restricts the current flow below the required opening threshold of the gas safety valve.
Electric Oven Heating Flow (Bake and Broil Elements)
Electric ovens utilize heavy-duty metal loop elements at the bottom (Bake) and top (Broil) of the oven cavity. These elements contain an internal resistance wire surrounded by insulating magnesium oxide powder and a protective metal sheath. When the control board closes the bake relay, 240V AC electricity flows through the element. The resistance of the internal wire converts this high-voltage electrical energy into thermal energy, causing the element to glow red-hot. If the element is cracked, has a thin spot, or short-circuits, the internal filament breaks, stopping the circuit and resulting in no heat.
2. Primary Causes of Oven Heating Failures
If your oven is not heating, the failure is almost always caused by one of these four components:
A. Worn Gas Igniter
In gas ovens, the igniter degrades over time, losing its electrical capacity. Igniters represent 80%+ of gas oven heating service calls. Even if you see the igniter glowing, if it fails to reach the critical amperage draw, the safety valve will never release gas, leaving your oven stone-cold.
B. Burnt Electric Bake Element
In electric ovens, the bake element is subjected to extreme thermal expansion and contraction. Over time, the outer sheath will blister, crack, and break open. You will often see a physical burn mark, bubbling, or a clean break on the element loop. When this occurs, the circuit is open and no current can flow.
C. Failing Temperature Sensor
The temperature sensor (RTD) monitors the oven air temperature. If its resistance drifts out of spec, the control board will think the oven is hot when it is still cold, shutting off the heat prematurely. A failing sensor will also trigger error codes like F10 or F30 on your oven display panel.
D. Shorted Control Board Relay
The main electronic control board uses electromagnetic relays to switch power to the heating elements or igniter. If the solder joints on the back of the board crack or the relay contacts burn out, no power is sent. This can cause situations where the stovetop burners light normally, but the oven cavity remains dead.
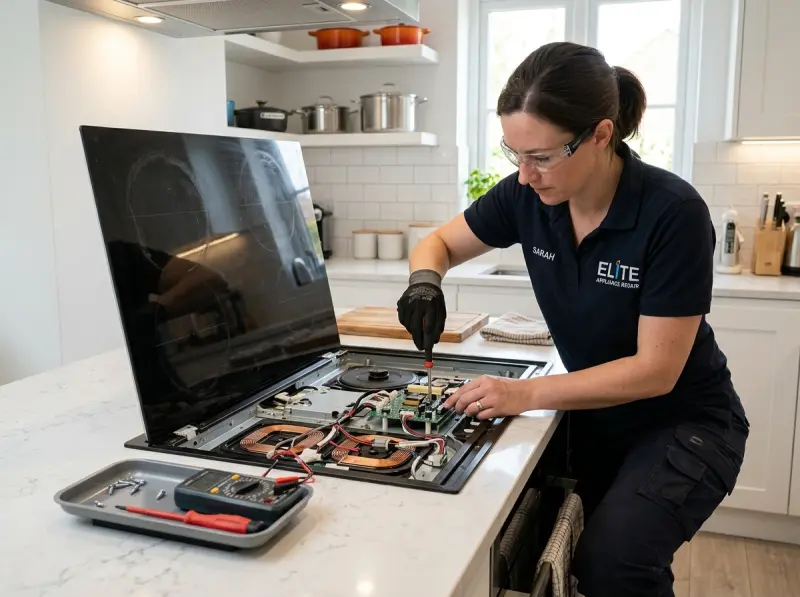
3. Diagnostic Testing Procedures with a Multimeter
Follow these diagnostic checks to identify the failed heating component safely:
How to Test a Gas Oven Igniter:
- Unplug the range and turn off the gas valve. Remove the oven racks and the metal bottom floor panel of the oven cavity.
- Select a Bake cycle and plug the unit back in temporarily to observe. If the igniter glows orange but the burner does not light within 90 seconds, the igniter is weak and must be replaced.
- If it does not glow at all, unplug the unit, locate the igniter plug harness under the oven floor, and unplug it.
- Set your multimeter to the Ohms scale. Touch the probes to the two terminals of the igniter plug. A working silicon carbide igniter should read between 40 to 400 Ohms. If the meter reads OL (Open Loop), the igniter filament is broken and needs replacement.
How to Test an Electric Bake Element:
- Shut off the 240V double-pole circuit breaker at your home breaker panel. Open the oven door and visually inspect the bottom bake element. Look for bubbling, thinning, or breaks.
- Remove the mounting screws securing the element to the rear oven wall. Pull the element forward slightly to expose the wire terminals.
- Carefully pull the two wires off the terminals (be careful not to let them slip back into the wall cavity).
- Touch your multimeter probes to the two terminals of the element. A normal bake element should register between 15 to 40 Ohms. If it reads OL, the element is dead.
- Test for grounding: Touch one probe to a terminal and the other to the outer metal sheath of the element. If the meter reads any resistance value, the element is shorted and must be replaced.
4. Understanding Thermal Fuses & High-Limit Thermostats
In addition to elements and igniters, many modern ovens are equipped with thermal safety fuses or high-limit thermostats. These safety sensors are designed to protect your home from fires. The high-limit thermostat is typically located on the rear exterior wall of the oven cabinet, behind the sheet metal paneling. It monitors the ambient temperature outside the oven cavity.
If the oven temperature spikes uncontrollably (due to a stuck relay on the control board or during a heavy-duty 900°F self-cleaning cycle), the thermal fuse reaches its trip point (often around 300°F to 350°F ambient) and blows open. Once blown, the fuse permanently breaks the electrical path, cutting off all power to the gas valve or heating elements. To diagnose this, locate the thermal fuse, disconnect the wire leads, and test for continuity using a multimeter. If the meter reads OL (Open Loop), the fuse is blown and must be replaced. Always investigate *why* the oven overheated before replacing a blown fuse, as a stuck control board relay is often the primary culprit.
5. Testing Gas Valve Solenoid Coils (Dual Valves)
In gas ranges, the safety gas valve is an electromagnetic valve that regulates the flow of gas to the bake and broil burners. The valve contains two internal solenoid coils (often labeled Bake and Broil) that act as electromagnets. When the proper electrical current flows through the series circuit from the glowing igniter, the magnetic field pulls a metal plunger open, allowing gas to escape. If one of these solenoid coils burns out or suffers a broken internal wire, the magnet will not activate, and the valve remains locked shut.
You can test the health of these solenoid coils using a multimeter set to the Ohms scale. Access the gas safety valve (usually located under the lower utility drawer or behind the rear access cover). Pull the wire terminals off the valve terminals. On a standard dual-solenoid valve, there are three terminals. Measure the resistance between the center terminal (common) and the left terminal (bake), then between the center and right terminal (broil). A functional solenoid winding should register between 1.0 and 5.0 Ohms. If the meter registers OL or a value close to 0, the coil windings are damaged. Since these coils are integrated into the safety valve body, the entire gas valve assembly must be replaced to ensure leak-free operation.
6. Oven Calibration: Step-by-Step Multi-Point Thermostat Check
If your oven heats up but consistently burns food or takes too long to bake, the thermostat calibration may have drifted. Calibrating an oven involves checking the actual air temperature inside the cavity against the value displayed on the digital control board. Here is how to perform a multi-point calibration check:
- Place a high-quality, thermocoupled digital thermometer probe in the geometric center of the oven cavity, suspended from the middle rack. Do not let the probe touch the metal racks or walls directly.
- Close the oven door and set the control board to 350°F. Let the oven preheat for at least 20 minutes.
- Once the oven signals that preheat is complete, begin recording the temperature readings every 2 minutes for a total of 20 minutes.
- Ovens cycle heat on and off to maintain average temperatures. Your readings will swing between a high point (e.g. 370°F) and a low point (e.g. 330°F). Calculate the average of all recorded readings.
- If the calculated average is within +/- 15°F of 350°F, your oven is operating within normal tolerances. If the average deviates by more than 15°F (e.g., averages 325°F when set to 350°F), you must adjust the calibration.
- Access the settings menu on your digital control panel. Look for “Temp Offset” or “Calibration.” Adjust the offset up or down to compensate for the difference. If the display does not allow adjustment or if the temperature swings are wild (varying by 80°F+), the temperature sensor is defective and must be replaced.
7. Safety Guidelines for High-Voltage & Gas Repairs
Ovens operate on highly dangerous energy sources. Electric ovens utilize 240V AC electricity, which can cause severe injury or fatal shocks. Gas ranges operate on natural gas or propane lines, which represent severe combustion and fire risks. Always double check that the circuit breaker is shut off, verify voltage is zero using a non-contact tester, and close the gas supply valve before attempting to service these appliances. For complex repairs, hiring a licensed technician is the safest course of action.
8. Brand-Specific Diagnostics & Common Failure Modes
| Brand | Common Failure Point | Troubleshooting Tip |
|---|---|---|
| GE Profile | Weak igniter, sensor drift | GE models often experience temperature sensor (RTD) failures. Test the sensor plug at the back; it should read exactly 1090 Ohms at room temperature (77°F). If it reads 1200+ Ohms, the oven thinks it is already hot. |
| Whirlpool | Thermal fuse blowout | Whirlpool electric ovens feature a high-limit thermal fuse on the back panel. If this fuse blows (usually after a high-heat self-cleaning cycle), it cuts power to both elements. Test the fuse for continuity. |
| Samsung | Control board relay short | Samsung ranges frequently suffer from relay failures on the sub-control board. If the oven displays an error code like tE or dE, check the wiring harness connecting the main board to the sensor. |
| Viking / Wolf | Gas valve solenoid failure | High-end commercial gas ranges utilize heavy-duty dual-solenoid safety valves. If the valve solenoid coil breaks, the valve cannot open even with a new igniter. Test the solenoids for resistance (should read ~215 Ohms). |
9. Preventative Care and Maintenance Tips
To avoid sudden oven breakdowns and extend the life of your heating elements, follow these standard care tips:
- Limit Self-Cleaning Use: The self-cleaning cycle generates extreme heat (over 900°F). This extreme temperature can melt electrical wiring, destroy thermal fuses, and crack control board solder joints. Instead, wipe down spills manually with warm water and baking soda.
- Keep Vent Open: Never block the exhaust vents on your range (typically located behind the rear burners). Blocking these vents traps heat, causing control boards to overheat and burn out.
- Clean Spill Trays: Sugar, cheese, and fat drippings that fall directly onto electric bake elements can cause hot spots, leading to premature burnout of the element sheath. Use oven liners on the lower rack (never directly on the oven floor).
- Calibrate Temperature Regularly: If your baked goods are burning or undercooked, check the oven temperature using a hanging thermometer. You can recalibrate the display through the settings menu (typically allowing +/- 35°F adjustment).
10. Case Studies: Oven Repairs in Alpharetta, GA
Our technicians service local residential ovens daily. Here are three case studies from Alpharetta, GA:
Case Study 1: Crabapple Neighborhood (Alpharetta, GA)
A homeowner in the Crabapple community contacted us because their gas oven clicked and glowed orange, but failed to ignite. The stovetop burners worked perfectly. Our technician checked the igniter amperage draw using a clamp-on ammeter. The igniter drew only 2.7 Amps—below the 3.2 Amp threshold required to open the gas safety valve. The glowing orange light was a false indicator. We installed a new silicon carbide igniter assembly. Upon re-testing, the draw registered at 3.4 Amps, and the burner lit immediately within 15 seconds.
Case Study 2: Big Creek District Home
A resident near Big Creek had a Whirlpool double wall oven that refused to bake. Our technician checked the bottom bake element and found a large blister on the underside of the coil. We shut off the dual 40-amp circuit breakers, unmounted the element, and tested it for resistance. The meter read OL (Open Loop). We installed a new genuine Whirlpool bake element, re-applied power, and verified the oven reached 350°F in 12 minutes.
Case Study 3: Downtown Alpharetta Townhomes
A client in a townhouse near Alpharetta City Hall had an electric range that wouldn’t heat. Our diagnostics showed that both the bake and broil elements were functioning (measured 22 and 18 Ohms respectively). We traced the power line back to the main control board and found a burnt contact relay on the PCB. We replaced the electronic control board assembly and restored heating functions.
11. Comprehensive FAQs (Frequently Asked Questions)
Q1: Why does my oven still glow orange if it is not heating?
In gas ovens, a glowing igniter does not mean it is functioning correctly. As silicon carbide igniters age, their electrical resistance increases, which reduces the electrical current (amperage) flowing through the circuit. If the current falls below 3.2 Amps, the gas valve will not open. The glow is visible, but the heat is never released. Replace the igniter.
Q2: What is the average lifespan of an electric bake element?
An electric bake element typically lasts between 5 to 10 years, depending on how often the oven is used and whether the self-cleaning cycle is run. Constant thermal cycling eventually weakens the internal resistance filament, causing it to burn out.
Q3: How much does it cost to replace an oven igniter in Alpharetta?
The cost to replace a gas oven igniter generally ranges from $175 to $295. This includes the genuine replacement igniter part, diagnostic trip fees, and professional installation. High-end built-in ranges like Wolf or Viking can cost slightly more due to premium component prices.
Q4: Why does my oven broiler work, but the bake element does not?
Since the bake and broil elements are controlled by separate relays and use separate circuits, a failure in one does not affect the other. If the broil works but the bake does not, the bake element is likely burnt out, or the bake relay on the control board is defective.
Q5: How can I tell if my oven temperature sensor is bad?
Test the sensor (RTD) using a multimeter. At room temperature (77°F), the sensor should measure approximately 1090 Ohms. If it reads significantly higher or lower (or shows OL), the sensor is defective and must be replaced to restore proper temperature control.
Q6: Why did my oven stop heating after running the self-clean cycle?
The self-clean cycle generates extreme heat (over 900°F) that can blow the high-limit thermal safety fuse mounted on the back of the oven cabinet. If this fuse blows, it cuts off all power to the elements. The fuse must be replaced to restore operation.
Q7: Is it safe to use my stove if the oven is not heating?
Yes, it is generally safe to use the top cooktop burners if the oven heating system has failed. However, if you smell gas or if the electrical breakers are tripping, shut off both the gas and power supply immediately and contact a professional.
Q8: How do I test the safety gas valve in a gas range?
Set your multimeter to the Ohms scale. Touch the probes to the terminals on the safety valve. You should read continuity with a resistance of about 1 to 5 Ohms across the bake terminals. An OL reading indicates a broken solenoid coil, requiring valve replacement.
Q9: What happens when an electric element short-circuits?
If the internal resistance wire touches the outer metal sheath of the element, it creates a short-circuit to ground. This will immediately trip your home circuit breaker or GFCI outlet. The element must be replaced and the circuit reset.
Q10: Why does my oven take so long to preheat?
Slow preheating is usually caused by a partially failed element (e.g. the bake element is dead, and only the broil element is heating the cabinet slowly from the top) or a drifted temperature sensor that is sending incorrect readings to the board.
Q11: Can a power surge damage my oven heating controls?
Yes, power surges can blow the delicate trace lines and microchips on the electronic control board. This can burn out the element relays, preventing them from closing and sending power to the heating components.
Q12: Do I need a professional to replace my oven igniter?
Because gas range repairs involve natural gas connections, electrical wiring, and fire hazards, it is highly recommended to hire a licensed professional. A minor mistake can lead to gas leaks or electrical short circuits.
Conclusion & Professional Support
A cold oven can halt your cooking plans, but systematically testing elements, igniters, and sensors will help pinpoint the exact cause. While replacing a bake element is a standard DIY task, diagnosing weak igniters, trace gas leaks, or main control board relay shorts requires professional tools and experience.
If your oven or range refuses to heat, contact the experts at Appliance Repair Alpharetta by calling (770) 796-7742 or scheduling a same-day visit on our Oven & Range Repair page. We provide factory-certified technicians and genuine OEM parts to resolve oven failures safely across Alpharetta, Milton, Johns Creek, and Roswell.
Related Service & Area Directories
Related Professional Repair Services & Local Guides
For complete technical diagnostics across Fulton County, explore our dedicated services: Emergency Appliance Repair • Same-Day Local Service • Commercial Appliance Diagnostics • Residential Kitchen & Laundry Service • Master Diagnostic Error Codes • Appliance Repair Cost Guide.
Need Certified Appliance Repair Today?
Skip the phone line — book direct local priority dispatch across Alpharetta, Milton, Roswell & Johns Creek.