
How to Reset a Dishwasher: Step-by-Step for Samsung, Whirlpool, Bosch & GE

If your dishwasher is stuck mid-cycle, flashing error codes, or simply unresponsive, a proper reset might be all it needs. This exhaustive guide provides the exact key sequences and technical steps to reset Samsung, Whirlpool, Bosch, and GE dishwashers safely and effectively. We dive deep into control board logic, memory chips, microswitches, and specific error code resolutions to empower you with professional-level diagnostic knowledge.
Quick Answer: How to Reset a Dishwasher
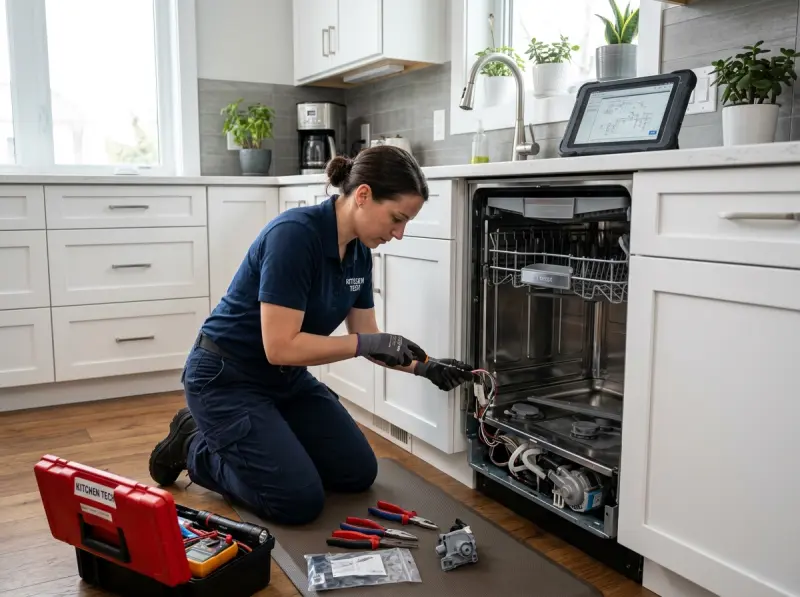
Quick Answer: To reset most modern dishwashers, you can perform a hard reset by turning off the power at the circuit breaker for 5 minutes to clear the control board memory. Alternatively, press and hold the specific reset button sequence on the control panel (e.g., ‘Start/Reset’ for GE, ‘Normal’ + ‘Start’ for Whirlpool) for 3-5 seconds to initiate a soft digital reset.
Introduction
Quick Answer: Understanding the technical mechanisms of a dishwasher reset can prevent costly service calls and resolve minor control board glitches or sensor false-positives quickly and safely.
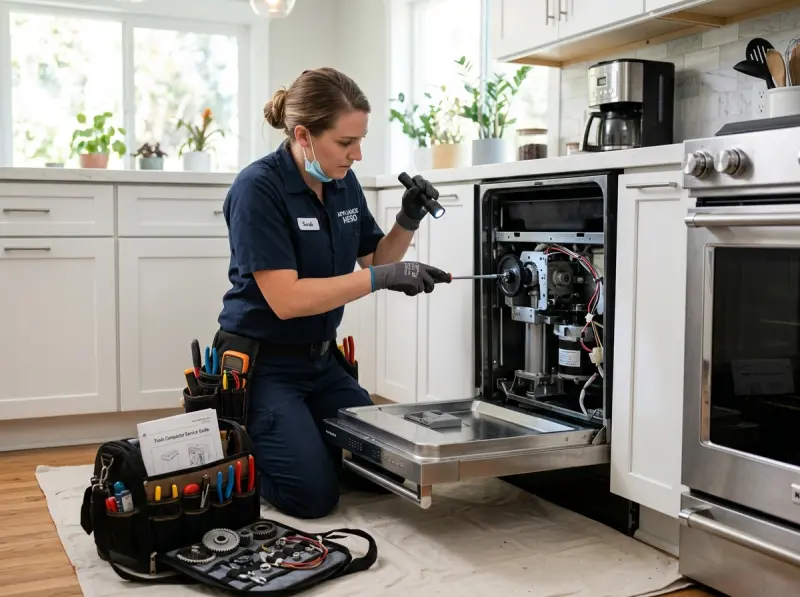
Detailed Explanation: A modern dishwasher is far from a simple mechanical water sprayer; it relies on an intricate network of microprocessors, sensors, thermistors, and microswitches. These electronic control units (ECUs) continuously monitor water temperature, pump motor resistance, fill levels via the float switch, and door latch continuity. When a sensor detects an anomaly—whether from a momentary power surge, a blocked wash impeller, or a minor software glitch—the control board halts operation and often displays an error code. Resetting the appliance effectively reboots the internal software, discharging memory capacitors on the main logic board, and clearing volatile error states. In this exhaustive guide, homeowners will learn the precise diagnostic sequences required to perform both hard electrical resets and soft digital resets on leading brands including Samsung, Whirlpool, Bosch, and GE. We will explore the technical nuances of how control boards interface with peripheral components, why error codes trigger, and how to differentiate between a simple memory glitch and a catastrophic hardware failure. By mastering these manufacturer-specific key combinations and diagnostic paradigms, you can effectively clear phantom error codes, recalibrate internal sensors, and restore normal operation without needing immediate professional intervention.
- Modern dishwashers use complex control boards susceptible to software glitches.
- A reset clears volatile memory and resets sensor baseline readings.
- Knowing brand-specific button sequences saves time and money.
- Distinguishing between a soft error and a hard failure is critical for safety.
Symptoms You Need a Reset
Quick Answer: Indicators include a blinking ‘Start’ light, unresponsive control panel buttons, a cycle that pauses indefinitely, or specific alphanumeric error codes displaying on the LED screen.
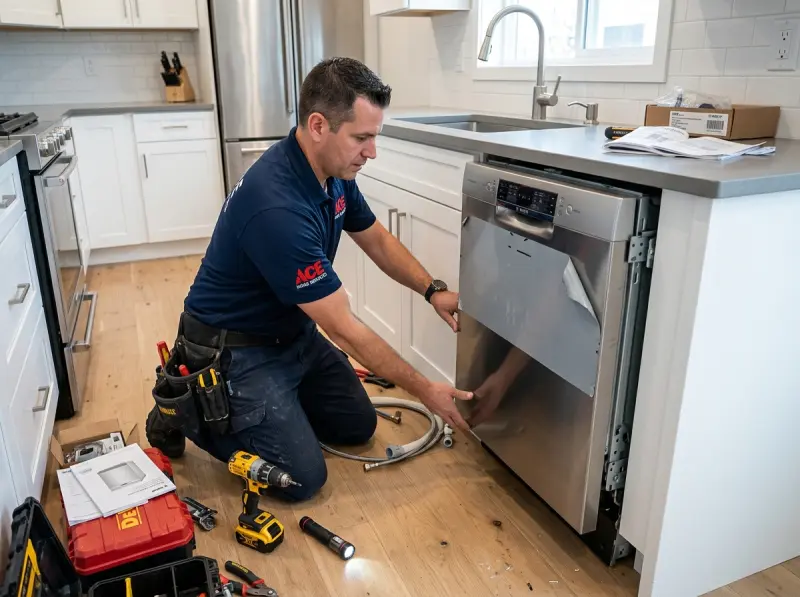
Detailed Explanation: Identifying when a reset is appropriate is crucial to avoid masking a legitimate mechanical failure. The control board communicates operational states through visual indicators. If the user interface (UI) board becomes unresponsive to touch inputs, this indicates a communication failure between the UI and the main control board, often resolvable via a reset. Another common symptom is the continuous blinking of LEDs (such as the Clean or Start lights), which typically denotes an interrupted cycle, an unlatched door microswitch, or a heating circuit timeout. When alphanumeric codes (e.g., E24 on a Bosch, or OE on a Samsung) populate the display, they reflect a sensor-triggered fault. While a reset will clear these codes, if the physical condition (like a clogged drain pump or a faulty thermistor) persists, the control board’s diagnostic routine will immediately flag the error again upon the next cycle initiation. Furthermore, if the dishwasher is locked in a drain state where the drain pump continuously runs even with the door open, the flood switch (often located in the base pan) may be triggered, or the control board triac governing the pump might be shorted. In such instances, a soft reset will fail, necessitating a hard reset or direct component diagnosis.
- Unresponsive capacitive touch panels often just need a hard reset to re-establish serial communication.
- Flashing lights typically indicate an interrupted cycle or door latch circuit issue.
- Error codes will return post-reset if the underlying hardware or sensor is genuinely failing.
Common Causes for Control Board Errors
Quick Answer: Power surges, interrupted wash cycles, blocked sensors, and sudden door openings are the primary culprits for control board errors requiring a reset.

Detailed Explanation: The intricate electronics within a dishwasher control board are highly sensitive to power fluctuations. A momentary sag or spike in household voltage can corrupt the volatile memory executing the wash algorithm, resulting in a locked or frozen state. The memory chips (EEPROMs) on these boards store cycle algorithms, and irregular voltage can scramble their execution pointers. Another frequent cause is user intervention during a high-temperature or critical cycle phase. Opening the door without first pausing the cycle breaks the door latch microswitch circuit instantly; this sudden interruption under load can cause the control board to lose its sequence position. Furthermore, optical soil sensors (turbidity sensors) can become coated in grease, biofilm, or hard water calcium deposits. This coating sends erratic analog opacity readings to the control board’s analog-to-digital converter (ADC), confusing the auto-wash algorithm and triggering an error state. Finally, mechanical obstructions—such as a piece of glass wedged in the drain pump impeller or a stuck float switch dome—will cause the control board to register incorrect current draw or fill times. The board’s current-sensing circuits detect the locked rotor on the pump motor and trigger an immediate shutdown to prevent thermal overload and potential fire hazards.
- Power surges easily corrupt the volatile memory of the control board.
- Opening the door mid-cycle under electrical load disrupts the logic sequence and can arc the microswitch.
- Dirty turbidity sensors or stuck float switches trigger false errors by feeding bad telemetry to the board.
- Locked rotor conditions on pumps cause high current draw, prompting the board to halt operations.
Step-by-Step Troubleshooting & Resets by Brand
Quick Answer: Each brand has unique sequences for entering diagnostic modes or executing a digital reset, typically involving holding the Start button or pressing a specific combination of cycle buttons.

1. The Universal Hard Reset
Before attempting a digital control panel reset, perform a master hard reset. This completely discharges the capacitors on the main control board, ensuring volatile memory is wiped clean.
Step 1: Locate your home’s main electrical panel.
Step 2: Find the circuit breaker specifically labeled for the dishwasher.
Step 3: Flip the breaker to the ‘OFF’ position.
Step 4: Wait an absolute minimum of 5 minutes. This duration is critical for the low-voltage memory capacitors to bleed off their stored charge completely. Without this wait time, the board may retain its locked state.
Step 5: Flip the breaker back ‘ON’ and observe the control panel for its default boot sequence.
2. Samsung Dishwasher Reset Protocols
Samsung models often feature specific error codes like ‘LE’ (leak error), ‘OE’ (overflow error), or ‘HE’ (heater error). Their control boards are highly sensitive to sensor inputs.
Soft Digital Reset: Press and hold the Start/Reset button or the Power button for 3 to 5 seconds. The unit will attempt to clear the current cycle. If the unit is locked due to child lock, hold the Sanitize or Heated Dry button for 3 seconds to disable it before attempting the reset.
Entering Diagnostic Mode: To truly force a reset and run a self-test, you can often enter diagnostic mode. While the unit is powered off, press and hold the Normal and Heavy cycle buttons simultaneously, then press the Power button. The unit will beep, the display will light up with factory codes, and you can step through the component testing sequence. Pressing power again exits the mode and finalizes the reset.
3. Whirlpool, KitchenAid, and Maytag Resets
Whirlpool-built units (including KitchenAid and Maytag) are notorious for the flashing ‘Clean’ light error. This is a hard-coded lockout indicating a heating circuit failure or a thermistor fault that the board refuses to ignore until a specific diagnostic sequence is run.
Diagnostic Mode Sequence: To clear the flashing clean light and force the unit to recalibrate its memory, you must enter the factory diagnostic mode. Press any three keys consecutively, 1-2-3, 1-2-3, 1-2-3, with less than a second between presses. (Example: Normal – Heated Dry – Wash Temp). All panel lights will illuminate. Close the door to allow the brief diagnostic cycle to run. This cycle tests the wash motor, drain pump, and heating element. Once it completes (usually 10-15 minutes), the fault codes are cleared from the EEPROM.
4. Bosch Dishwasher Reset Procedures
Bosch models utilize stringent European engineering with tight fault tolerances. They commonly throw E24 (drain error), E15 (water in base pan), or E22 (residual water).
Standard Digital Reset: Open the door slightly to access the top control panel. Press and hold the Start button for 3 to 5 seconds. The digital display will shift to show ‘0:01’ (indicating 1 minute remaining in the abort cycle). Close the door securely. The dishwasher’s drain pump will engage and run continuously for about 60 seconds. Once the pump stops and the unit chimes, the reset is complete. Turn the power off and back on. Note: If an E15 code is present, a reset will not work until the physical water in the base pan is removed and the styrofoam float switch is lowered.
5. GE Dishwasher Reset Techniques
GE dishwashers often become unresponsive, locking out the capacitive touch panel entirely, or flashing their LED indicators endlessly.
Basic Digital Reset: Simply press and hold the Start/Reset pad for 5 to 7 seconds. The unit will blink, and if water is present in the tub, it will initiate a 2-minute emergency drain cycle. Do not open the door until the pumping sound stops completely. If the user interface is completely locked and non-responsive to the Start button, press and hold the Heated Dry and Start buttons simultaneously for 5 seconds to attempt an interface reboot and re-establish the serial communication link between the UI board and the main control board located in the base.
- A 5-minute breaker reset is the most reliable way to clear volatile memory across all brands.
- Whirlpool requires a specific 1-2-3 button sequence to clear hard lockouts like the flashing clean light.
- Bosch models reset by shifting to a ‘0:01’ 60-second forced drain cycle.
- GE units can re-establish UI-to-Main board communication by holding Heated Dry + Start.
When to Stop DIY and Call a Professional
Quick Answer: Cease DIY efforts immediately if you detect the smell of burning ozone/electrical components, if the circuit breaker repeatedly trips, or if error codes return instantly after a hard electrical reset.

Detailed Explanation: While clearing a transient software glitch is a safe and effective strategy for a homeowner, persistent issues signify a critical hardware failure requiring professional, certified intervention. If you initiate a reset and the control board immediately throws the same error code, a specific component—such as the wash motor tachometer, the optical turbidity sensor, or the NTC thermistor—has failed continuity, resistance, or voltage drop checks. The board’s diagnostic routine has correctly identified a physical failure. Furthermore, if the dishwasher continuously runs its drain pump even when turned off or the door is open, the internal flood switch (a styrofoam float activating a microswitch) located in the lower drip pan is engaged. Accessing this area involves dealing with live 120V AC wiring and navigating sharp sheet metal chassis components.
A repeatedly tripping circuit breaker is a massive, immediate red flag. This indicates a “dead short” to the ground or neutral, likely caused by a ruptured heating element, a compromised wiring harness that has rubbed through its insulation, or a catastrophic failure on the main control board itself. Resetting a tripping breaker repeatedly can cause an electrical fire. In these instances, exposing the main control board or underneath wiring without proper multimeter diagnostics, schematic reading capabilities, and safety training is profoundly hazardous.
- Never ignore a repeatedly tripping breaker; it indicates a severe electrical short and fire hazard.
- Continuous drain pump operation means a severe internal leak has triggered the flood switch interlock.
- Immediate return of error codes post-reset confirms a hard component failure, not a software glitch.
- Smells of burning plastic or ozone require immediate power disconnection at the main electrical panel.
Repair vs Replace Decision Framework
Quick Answer: Utilize the industry-standard 50% Rule: if the repair cost exceeds 50% of the cost of a new, comparable dishwasher, or if the unit is older than 8 years, replacing the unit is generally the most sound financial decision.
Detailed Explanation: When a reset fails to fix your dishwasher, you are faced with a repair versus replacement decision. Certain components, specifically the Main Control Board or a complete Wash Motor Assembly, represent a significant investment. To make an objective decision, master technicians rely on the 50% rule combined with a holistic evaluation of the appliance’s age, overall structural condition, and service history.
| Evaluation Factor | Indicators Favoring Repair | Indicators Favoring Replacement |
|---|---|---|
| Age of Appliance | Under 5 years old. Parts are widely available and under manufacturer warranty. | Over 8-10 years old. Parts are likely discontinued (NLA) or extremely expensive. |
| Cost of Repair Quote | Less than 50% of the cost of a new, comparable replacement unit. | Greater than 50% of the replacement cost. |
| Frequency of Issues | This is the first major breakdown the unit has experienced. | The unit suffers from frequent, cascading component failures over the last year. |
| Type of Component Failure | Minor sensors, door latch microswitches, drain pumps, simple wiring repair. | Main wash motor failure, rusted/leaking stainless tub, or multiple blown logic boards. |
| Energy & Water Efficiency | The unit is already an Energy Star rated high-efficiency model. | It is an old, legacy unit that consumes excessive water and electricity per cycle. |
- The 50% rule is the gold standard metric for appliance repair economics.
- Frequent, cascading component failures usually justify replacement as they indicate systemic aging.
- Age is a massive factor; OEM parts frequently become obsolete (No Longer Available) after 10 years.
- Replacing a rusted tub or a main motor is rarely cost-effective on a unit older than 5 years.
Estimated Cost Factors
Quick Answer: Repair costs for unresponsive dishwashers fluctuate widely based on the required part, specifically whether the issue is a cheap microswitch or a highly expensive main logic board, combined with the required diagnostic labor.
Detailed Explanation: If a digital reset does not resolve your dishwasher’s failure to operate, a physical component has failed. The total cost of professional repair is determined by three variables: the specific part requiring replacement, the brand’s Original Equipment Manufacturer (OEM) part pricing structure, and the labor required for advanced diagnostics. A simple door latch microswitch failure is a low-cost repair primarily driven by the diagnostic and labor time. However, if a power surge has blown the triacs or EEPROM on the main control board, the cost escalates significantly. Main control boards and User Interface (UI) boards are among the most expensive electronic components in the appliance. Furthermore, European brands like Bosch and Miele often have higher OEM part costs and tighter supply chains compared to domestic brands like Whirlpool or GE. The diagnostic fee covers the technician’s time to utilize advanced schematics, perform precise multimeter testing, and access hidden factory diagnostic modes to pinpoint the exact electrical failure, ensuring they are not merely guessing and “parts-swapping” at your expense.
- Main control boards are highly expensive and significantly impact total repair costs.
- European OEM parts typically carry a premium price over domestic equivalents.
- Labor covers advanced electrical diagnostics and schematic analysis, not just the physical part replacement.
How Professionals Diagnose This Issue
Quick Answer: Master technicians use technical data sheets, enter hidden factory diagnostic modes, and utilize digital multimeters to test for continuity, resistance (Ohms), and voltage drops across specific circuits and logic boards.
Detailed Explanation: When a master technician arrives at a dishwasher that refuses to reset or operate, the first step is retrieving the unit’s specific technical data sheet (usually hidden behind the bottom toe kick panel or tucked behind the control board). The technician will manually enter the factory diagnostic mode, which bypasses the standard UI logic. This mode allows them to fire individual components—like the drain pump, water inlet valve solenoid, wash motor, and heating element—one by one. This immediately isolates the failure to a specific circuit. Next, they will disconnect the main power and use a Fluke digital multimeter to test component specifications against the tech sheet’s stated Ohm values. For example, a healthy water inlet valve solenoid should read between 500 and 1500 Ohms. If the meter reads infinite resistance (OL), the solenoid coil is open and the valve must be replaced.
They will also inspect the wiring harness where it transitions at the bottom of the door. This area is subjected to severe repetitive stress from opening and closing the door, frequently causing frayed or broken wires inside the insulation, a common cause of intermittent UI board failures. Furthermore, technicians will test the output voltages from the main control board. If the board is receiving 120V AC from the wall but failing to output 5V or 12V DC to the User Interface board, the main board’s internal power supply has failed.
- Factory diagnostic modes allow technicians to test individual components independently of the main wash cycle.
- Digital multimeters verify specific Ohm resistance values of sensors, motors, and solenoids against factory specs.
- Wiring harnesses at the door hinge are frequently inspected for repetitive stress breaks that sever communication lines.
- Checking voltage drops across the control board confirms if the logic circuits are receiving proper power.
Common Parts Involved
Quick Answer: Key components that mimic the need for a reset or prevent a reset from working include the main control board, user interface board, door latch microswitches, and the optical turbidity sensor.
Detailed Explanation: Several hardware failures can make a dishwasher appear “frozen,” locked out, or completely dead. The Main Control Board is the central brain; a blown capacitor or fried triac here means the unit cannot route power to any component. The User Interface (UI) Board receives capacitive touch inputs; if the serial communication ribbon cable between the UI and Main board fails, buttons won’t respond, though the main board might still be alive. The Door Latch Microswitch is a critical safety interlock. If it fails to close the electrical circuit physically, the control board assumes the door is wide open and will firmly refuse to start or reset any cycle. The Optical Turbidity Sensor measures water cloudiness; if completely coated in grease, it sends erratic voltage signals to the board, causing cycle confusion and infinite wash loops. Lastly, the Thermal Fuse (highly common in Whirlpool and KitchenAid models) is a safety device attached to the main board or heating circuit. If the unit overheats or experiences a severe current surge, this fuse intentionally blows, completely severing the 120V power supply to the board, resulting in a totally unresponsive unit that requires fuse replacement and root-cause analysis.
- The door latch switch is the single most common reason a dishwasher won’t start or reset.
- A blown thermal fuse results in a completely dead, unresponsive appliance, protecting against fire.
- The UI board can fail independently of the main control board due to moisture intrusion.
- A failed main control board is catastrophic and requires replacement and often reprogramming.
Maintenance Tips to Prevent Control Board Glitches
Quick Answer: Install a whole-home surge protector, clean the internal filter assembly monthly, and never interrupt an active wash cycle by opening the door without pausing it first.
Detailed Explanation: Preventative maintenance drastically reduces the likelihood of control board errors and the need for frequent resets. The most vital protection for delicate appliance electronics is surge protection; a whole-home surge protector installed at the main breaker panel safeguards the expensive logic boards from grid voltage spikes and lightning strikes. Secondly, user behavior matters significantly: always use the ‘Pause’ or ‘Cancel’ button before opening the door during a cycle. Ripping the door open under full electrical load arcs the microswitch contacts and scrambles the board’s sequence logic, potentially corrupting the EEPROM over time. Physically, maintaining the internal environment prevents sensor errors that confuse the logic board. Clean the bottom filter assembly and the optical turbidity sensor (usually a small clear plastic nub near the filter housing) monthly with a soft toothbrush and white vinegar. This ensures the sensors feed accurate, clean data to the control board, preventing false error codes and ensuring optimal wash performance.
- Whole-home surge protection is the absolute best defense for modern, expensive appliance electronics.
- Always pause the dishwasher via the control panel before opening the door mid-cycle to prevent logic corruption.
- Clean the turbidity sensor and filter monthly to ensure accurate cycle algorithms and prevent false faults.
Safety Tips
Quick Answer: Always disconnect power at the circuit breaker before attempting any physical repairs, and be acutely aware of sharp sheet metal edges beneath the dishwasher chassis.
Detailed Explanation: Dishwashers combine water and 120V AC electricity—a potentially lethal combination if mishandled. A basic digital panel reset is completely safe, but any physical exploration underneath the unit, inside the door panel, or behind the control board requires absolute strict adherence to safety protocols. The power must be secured at the main home breaker panel; relying on the dishwasher’s power button or the door latch switch to cut power is entirely insufficient and highly dangerous, as live voltage is still present at the junction box and main board input. Furthermore, verify the power is completely dead using a non-contact voltage tester on the main junction box wiring before touching any terminals. Additionally, the stamped sheet metal frames underneath the dishwasher have razor-sharp, unfinished edges. Heavy leather cut-resistant gloves are strongly recommended when retrieving tech sheets, inspecting the flood switch in the base pan, or checking the drain pump to prevent severe lacerations.
- Kill power at the main breaker; the door switch is not a safe power disconnect.
- Use a non-contact voltage tester to verify the power is truly off before beginning physical work.
- Wear heavy gloves when reaching under the chassis due to razor-sharp stamped metal edges.
- Never attempt to bypass safety interlocks or thermal fuses; they exist to prevent electrical fires.
Frequently Asked Questions
1. Why won’t my GE dishwasher reset after pressing the Start button?
If the standard Start/Reset button sequence fails, the UI board may be completely locked up due to static or moisture, the door latch microswitch might be physically broken (meaning the board thinks the door is open), or the main control board may have suffered a catastrophic failure requiring a hard breaker reset.
2. How do I force a drain cycle on a Bosch dishwasher?
Press and hold the Start button for about 3 to 5 seconds until the digital display reads ‘0:01’. Close the door, and the unit will run the drain pump for roughly 60 seconds to clear the tub.
3. What does a flashing Clean light mean on a Whirlpool dishwasher?
This is a hard-coded lockout indicating a heating circuit failure. The control board detected the water didn’t reach the required temperature in the allotted time. It strictly requires the 1-2-3, 1-2-3, 1-2-3 button diagnostic sequence to clear the code from memory.
4. Will unplugging my dishwasher reset the control board?
Yes, unplugging it or flipping the breaker off for at least 5 minutes will drain the capacitors on the main logic board and perform a hard reset on the volatile memory.
5. Why does my Samsung dishwasher show an OE error code?
The OE code stands for Over-level Water Error (Overflow). It means the float switch or water level sensor is detecting too much water in the tub, often requiring a drain line cleanout and a subsequent digital reset to recalibrate the sensor.
6. Can a power outage ruin my dishwasher’s control board?
Yes. The sudden drop (brownout) and immediate, massive surge of power when the grid comes back online can easily fry the sensitive triacs and microprocessors on the main control board.
7. How long should I leave the breaker off to reset the dishwasher?
You must leave it off for a minimum of 5 minutes. Some older capacitors take longer to discharge completely; leaving it off for 10 minutes is the safest bet to ensure a complete memory wipe.
8. Why is my dishwasher control panel completely unresponsive and dark?
It could be a blown thermal fuse, a tripped circuit breaker at the main panel, a dead main control board power supply, or a severed wiring harness in the door hinge.
9. What is a capacitive touch control panel?
It’s a glass or plastic interface that detects the electrical capacitance of your finger, rather than using a physical mechanical button. They are highly sensitive to moisture, grease, and static electricity.
10. How do I disable the Child Lock on a Samsung dishwasher?
Usually, you press and hold the Sanitize or Heated Dry button for 3 to 5 seconds until the lock icon disappears from the display, unlocking the rest of the buttons.
11. Why does my dishwasher keep beeping but won’t start the cycle?
This is typically the door latch microswitch failing to engage. The board thinks the door is open and refuses to initiate the wash cycle for safety reasons.
12. What does the E24 code mean on a Bosch?
E24 signifies a drain error. The drain pump is likely obstructed, the drain hose is kinked, or the air gap is clogged. A software reset will not fix a physical clog; the obstruction must be removed.
13. Is there a physical, hidden reset button underneath the dishwasher?
No. Resets are entirely software-based via the front control panel sequences or hardware-based by cutting power via the home’s circuit breaker.
14. Can a dirty filter cause my dishwasher to need a reset?
Indirectly, yes. A severely clogged filter can restrict water flow to the wash pump, causing cavitation and triggering a low-water or wash motor error code that requires a reset after cleaning.
15. My dishwasher drains continuously even when open, how do I reset it?
You cannot reset this via the panel. The flood switch in the base pan is physically activated by water. The water must be cleared from the pan and the internal leak repaired before the switch will drop and disengage the pump.
16. Why does my Whirlpool dishwasher beep 3 times?
Three beeps usually indicate the door was opened during a cycle and the Start button wasn’t pressed to resume, or the door latch itself is failing to hold continuity.
17. Does replacing the control board require reprogramming?
For some brands like GE and Whirlpool, new replacement main control boards come blank and must be programmed with a personality code or configured via jumper pins upon installation to match your specific model.
18. What is an optical turbidity sensor?
It’s an advanced sensor that shines an LED beam through the wash water to measure soil levels. If it gets dirty, it sends bad analog data, often requiring physical cleaning and a system reset to recalibrate.
19. Why does my dishwasher start by itself?
This “ghost operation” is a classic symptom of a failing capacitive UI board where moisture has seeped into the touchpad layers, causing phantom, unintended button presses.
20. Should I try a reset before calling a repairman?
Absolutely. Always try a 5-minute hard electrical reset at the breaker. If the glitch clears and the unit operates normally through a full cycle, you’ve saved yourself a $150 service call fee.
Related Resources & Links
Related Services
- Professional Dishwasher Repair Services
- Appliance Control Board Diagnostics & Replacement
- Appliance Leak Detection & Flood Repair
- Preventative Appliance Maintenance & Tuning
Related Problems
- Troubleshooting: Why Your Dishwasher Won’t Drain
- Fixing a Dishwasher Leaking from the Bottom Door
- Why is My Dishwasher Not Heating Water?
- How to Fix a Flashing Clean Light on Whirlpool
Related Brand Pages
- Samsung Appliance Repair Specialists
- Whirlpool Appliance Repair Experts
- Bosch Dishwasher Diagnostic Specialists
Related Location Pages
Cost & Maintenance Guides
Diagnostic Reference: For step-by-step component testing, consult our guide on Samsung fridge code 39E repair.
Diagnostic Reference: For step-by-step component testing, consult our guide on Whirlpool gas dryer flame goes out troubleshooting.
Diagnostic Reference: For step-by-step component testing, consult our guide on Whirlpool washer load unbalance guide.
Diagnostic Reference: For step-by-step component testing, consult our guide on GE range F2 temperature sensor diagnostic.
Diagnostic Reference: For step-by-step component testing, consult our guide on LG d90 vent blockage troubleshooting.
Diagnostic Reference: For step-by-step component testing, consult our guide on Electrolux dryer E64 error code heating repair.
Diagnostic Reference: For step-by-step component testing, consult our guide on Samsung dryer HC code reset.
Diagnostic Reference: For step-by-step component testing, consult our guide on Wolf range igniter clicking won't light repair.
Diagnostic Reference: For step-by-step component testing, consult our guide on washing machine suspension rod replacement.
Key Takeaways
- A proper, brand-specific reset can fix phantom error codes, unresponsive capacitive panels, and cycle interruptions effectively.
- A “Hard Reset” involves cutting power at the main home breaker for a full 5 minutes to completely bleed volatile memory capacitors.
- Specific brands require distinct key sequences (e.g., Whirlpool’s 1-2-3 sequence, GE’s Start/Reset hold) to clear hard logic faults.
- Persistent error codes immediately returning after a reset indicate a hard component failure, such as a dead thermistor or a broken latch switch.
- The 50% Rule is a highly effective financial metric when deciding whether to replace an expensive control board versus buying a new dishwasher.
- Never attempt to inspect underneath the dishwasher chassis without verifying the breaker power is completely disconnected using a multimeter or voltage pen.
Need Professional Help in the Alpharetta Area?
If you’ve tried a hard reset and your dishwasher is still displaying error codes, flashing lights, or refusing to start, the issue lies deeper within the hardware. Don’t risk further damage to your expensive control board or risk an electrical shock by attempting advanced repairs without the proper training. Our master technicians have the factory schematics, diagnostic tools, and OEM parts to pinpoint the exact electrical failure fast.
Call the Appliance Experts in Alpharetta
We expertly service Samsung, Whirlpool, Bosch, GE, KitchenAid, and all major European and Domestic brands.
Need Certified Appliance Repair Today?
Skip the phone line — book direct local priority dispatch across Alpharetta, Milton, Roswell & Johns Creek.