
Gas Stove Igniter Clicks But Won’t Light? (DIY Cleaning & Repair Guide)
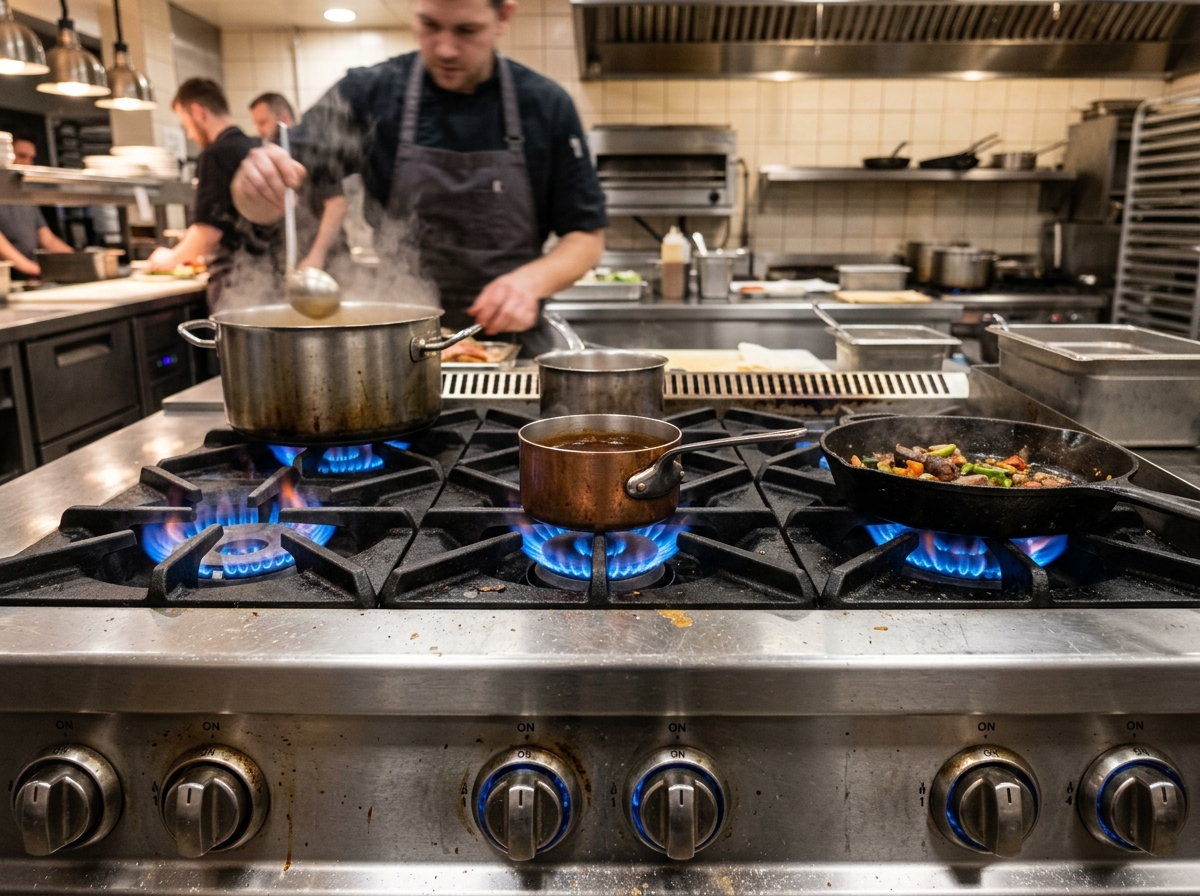
A gas burner that clicks repeatedly without lighting gas is a frustrating kitchen issue caused by blocked gas ports, damp igniter electrodes, or shorted ignition switches.
Quick Answer: Gas Stove Igniter Clicks But Won’t Light?
Quick Answer: If your gas stove igniter clicks but won’t light, the most common causes are clogged burner gas ports, moisture trapped inside ceramic igniter posts after cleaning, a shorted burner knob switch, or a failing spark module. Clean gas ports with a needle and dry igniters thoroughly.
1. Introduction & Overview
Quick Answer: Understanding the mechanical logic and circuit diagnostics of your appliance allows homeowners to differentiate between minor adjustments and serious component failures before spending on unneeded repairs.
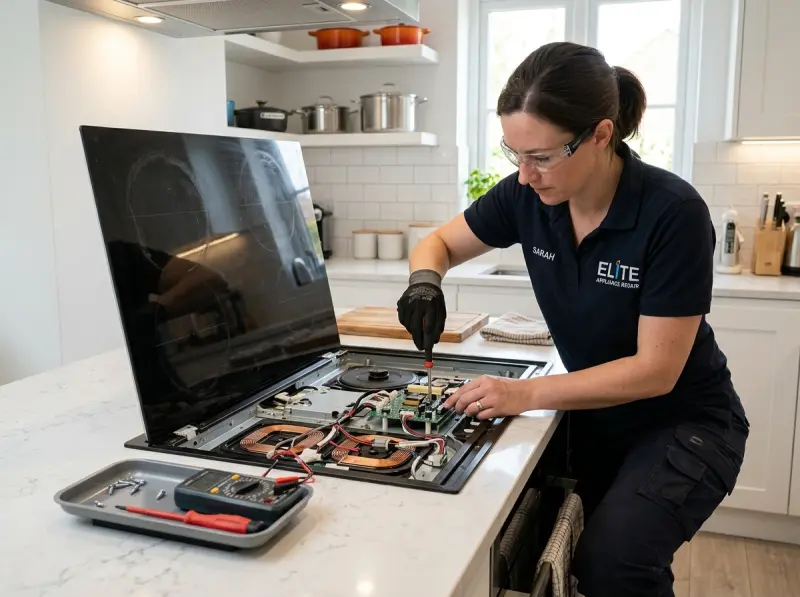
Detailed Explanation: Modern home appliances rely on complex interactions between electronic control modules, thermal sensors, relays, microswitches, and mechanical drive mechanisms. When an anomaly occurs, safety lockouts or component failures can halt operation entirely. In this comprehensive guide, our EPA-certified master technicians break down the root causes, diagnostic procedures, and safety precautions required to address this issue safely and effectively in Alpharetta, GA.
- Systematic diagnostics prevent unnecessary component replacement.
- Electrical safety and proper voltage isolation are paramount before testing.
- Local Fulton County water hardness and electrical power stability play a major role.
2. Symptoms & Early Warning Signs
Before a complete breakdown occurs, appliances usually exhibit distinct mechanical, acoustic, or operational warning signs. Recognizing these symptoms early can save hundreds of dollars in secondary component damage.
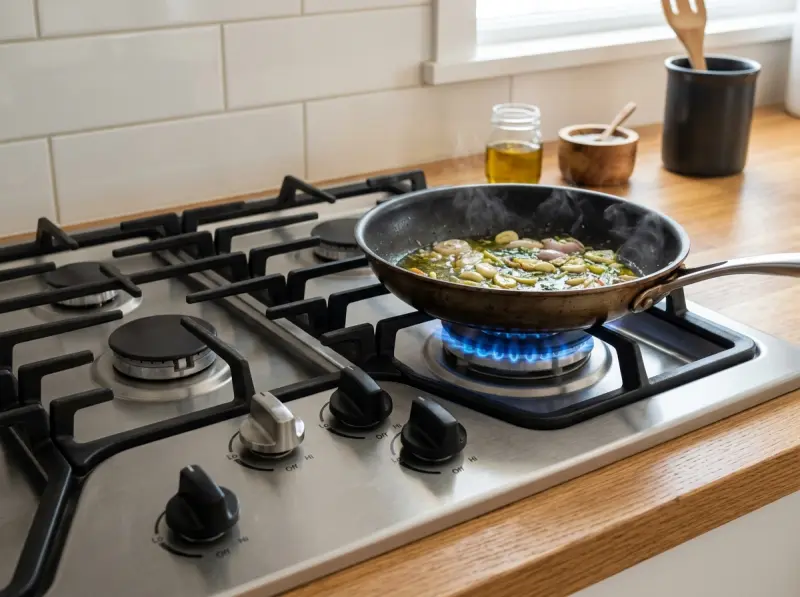
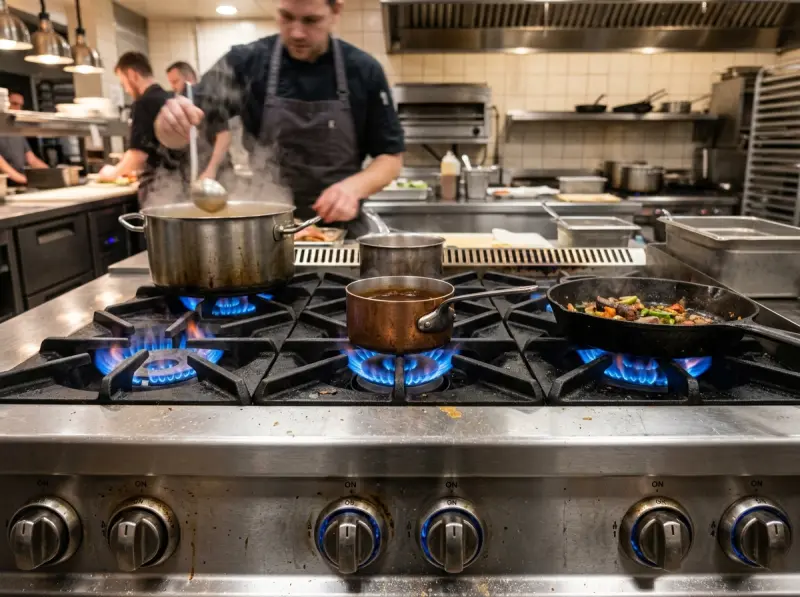
- Unusual Acoustic Signatures: Loud buzzing, grinding, clicking, or rattling during specific operational cycles.
- Intermittent Operation: Unit runs sporadically, trips the GFCI breaker, or stops mid-cycle with flashing indicator lights.
- Thermal Imbalance: Inability to reach operating temperature or excessive heat buildup around cabinets.
- Water Flow Disturbances: Slow filling, standing water, or localized leaks around supply lines.
3. Primary Causes & Mechanical Failures
Clogged Burner Cap Gas Ports
Boiled-over liquids, grease, and food crumbs block the small gas pilot holes adjacent to the spark electrode. Gas cannot reach the electric spark, resulting in continuous clicking without ignition.
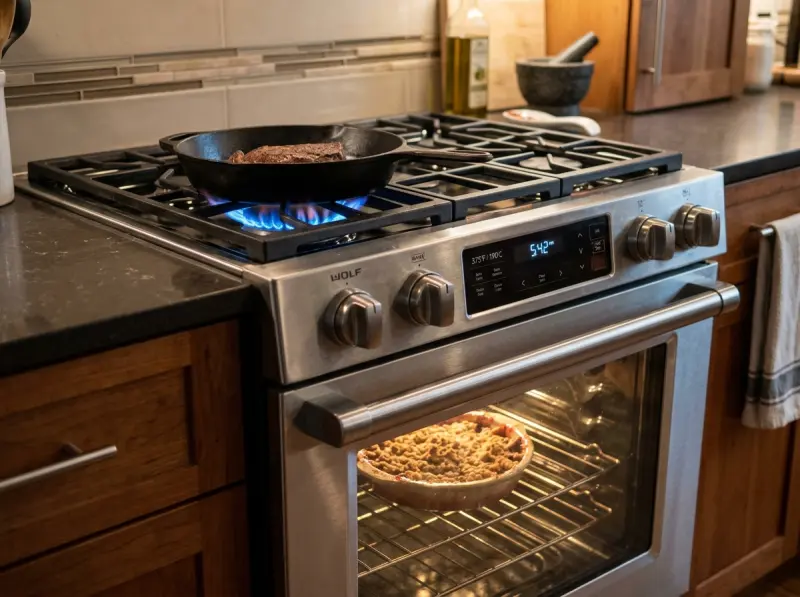
Moisture Ingress in Igniter Electrode
After deep cleaning or liquid spills, moisture gets trapped inside the ceramic igniter sleeve, shorting the high-voltage spark to ground before it reaches the burner cap.
Faulty Spark Ignition Switch Harness
The spark switches mounted behind the burner control knobs can short-circuit or freeze in the ‘ON’ position, causing continuous clicking across all burners.
Defective Spark Module
The electronic spark module converts 120V household current into pulse high-voltage sparks. A failing module generates weak yellow sparks instead of strong blue ignition arcs.
4. Step-by-Step DIY Troubleshooting Guide
- Turn Off Gas & Power: Disconnect electrical power and verify gas knobs are in the OFF position before cleaning.
- Remove & Clean Burner Caps: Lift off metal burner caps and clean clogged ports using a needle, toothpick, or stiff toothbrush.
- Dry Ceramic Igniters: Thoroughly dry ceramic electrode posts with a paper towel or hair dryer on low heat to remove moisture.
- Clean Spark Electrode Contact: Gently wipe carbon buildup off the metal electrode tip using fine steel wool or rubbing alcohol.
- Test Ignition Arc: Reassemble dry burner components and test for a crisp blue spark when turning the knob to LITE.
5. When to Stop DIY & Call a Professional
While basic cleaning and visual inspections are safe for homeowners, certain conditions pose severe safety risks or require specialized equipment:
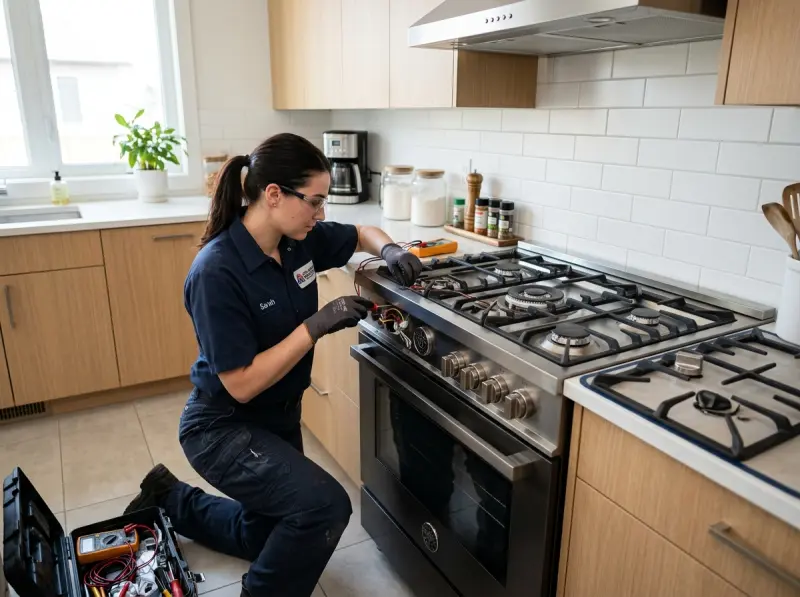
STOP DIY IMMEDIATELY IF YOU ENCOUNTER:
- Exposed 240V high-voltage wiring, burnt control board traces, or acrid electrical odor.
- High-voltage capacitors in microwaves holding lethal electrical charges even when unplugged.
- Gas leaks, damaged flexible supply lines, or clicking igniters near open gas fumes.
- Sealed refrigerant system leaks or pressurized compressor lines requiring EPA Section 608 certification.
6. Repair vs Replace Cost Evaluation (50% Rule)
When deciding whether to repair or replace an aging home appliance, industry experts apply the 50% Rule: if the cost of repair exceeds 50% of the price of a comparable new unit, and the appliance has passed half of its expected lifespan, replacement is generally recommended.
| Factor | Recommended to Repair | Recommended to Replace |
|---|---|---|
| Appliance Age | Under 6 Years Old | Over 8–10 Years Old |
| Repair Cost Ratio | < 50% of New Appliance Cost | > 50% of New Appliance Cost |
| Issue Severity | Minor component (valve, fuse, switch) | Major structural (compressor, tub bearing, magnetron) |
7. Repair Cost Factors in Alpharetta
The total cost of professional appliance repair depends on several standardized technical variables in the Alpharetta and North Fulton area:
- Diagnostic Service Fee: Covers local technician travel, initial disassembly, multimeter testing, and error code decoding. (Waived upon repair approval).
- OEM Component Pricing: Genuine manufacturer replacement parts (Samsung, Whirlpool, Bosch, GE) carry 90-day warranties compared to generic aftermarket parts.
- Labor & Accessibility Complexity: Built-in cabinetry removal or high-voltage safety procedures require additional labor hours.
8. How Certified Master Technicians Diagnose This Issue
Our EPA-certified technicians follow a rigorous 5-step diagnostic protocol:
- Diagnostic Test Mode Activation: Accessing hidden factory service modes to retrieve stored error codes and test sensor outputs.
- Voltage & Isolation Testing: Using digital multimeters to measure supply AC voltage and test components for shorted-to-ground conditions.
- Resistance Curve Benchmarks: Testing thermistors, solenoids, and heating coils against factory resistance tables (Ohms).
- Mechanical Clearance Check: Inspecting impellers, motor bearings, drive belts, and water lines for physical wear or obstruction.
- Post-Repair Safety Validation: Verifying grounding continuity and operational load cycles before signing off.
9. Common Replacement Parts Involved
Depending on the root cause, professional repair involves replacing specific factory-authorized components:
- Water inlet dual-solenoid valves & pressure switches
- High-voltage magnetrons, diodes, and safety door interlocks
- Tub bearings, spider assemblies, and suspension damper shocks
- Gas burner spark modules, igniter electrodes, and safety valves
10. Preventive Maintenance Tips
Extend the operational lifespan of your home appliances with these practical maintenance routines:
- Clean water inlet screens every 6 months to prevent mineral clogging from hard Fulton County water.
- Avoid overloading washing machines to prevent premature spider arm fracture and tub bearing wear.
- Keep gas cooktop burner ports clear of boiled-over grease using a soft brass wire brush.
- Inspect door gaskets and seals regularly to prevent air or water leaks.
11. Electrical & Mechanical Safety Warnings
Safety is the top priority during all appliance inspections. Always adhere to these safety standards:
- Power Isolation: Always disconnect main 120V/240V power or turn off dedicated circuit breakers before removing access panels.
- Gas Line Shutoff: Shut off manual gas supply valves before servicing any gas stove, cooktop, or dryer component.
- Capacitor Discharge: Never touch high-voltage microwave capacitors without discharging them using a 20,000-ohm resistor tool.
12. Frequently Asked Questions (FAQs)
Why does my gas stove keep clicking even when turned off?
Continuous clicking is usually caused by spilled liquid or moisture trapped inside the burner control knob switches, shorting the spark circuit.
How do I dry out a gas stove igniter after cleaning?
Unplug the range and use a hair dryer on low heat around the burner knobs and ceramic igniters for 5 to 10 minutes to evaporate trapped water.
Why is my gas stove spark yellow instead of blue?
A weak yellow or orange spark indicates low voltage output from a failing spark module or heavy carbon contamination on the electrode.
Can I light a clicking gas stove with a match safely?
Yes. If the igniter clicks but won’t light, you can turn the gas knob to LITE and carefully ignite the burner using a long grill lighter.
How much does it cost to replace a gas stove spark module?
Replacing a spark module or igniter switch harness typically ranges between $150 and $280 including labor and genuine OEM parts.
17. Key Takeaways & Summary
- Systematic troubleshooting isolates issues between mechanical wear and electronic safety lockouts.
- Always disconnect power and shut off water or gas supplies before testing components.
- Apply the 50% Rule to evaluate whether repair or replacement offers better long-term value.
- Genuine OEM parts and professional master technician diagnosis guarantee long-term reliability.
Need Fast, Reliable Appliance Repair in Alpharetta, GA?
Don’t let a broken appliance disrupt your household. Contact our EPA-certified master technicians for same-day service, upfront transparent pricing, and a 90-day warranty on all parts and labor.
Need Certified Appliance Repair Today?
Skip the phone line — book direct local priority dispatch across Alpharetta, Milton, Roswell & Johns Creek.