
Microwave Not Heating Food But Runs? (Magnetron & Diode Troubleshooting)
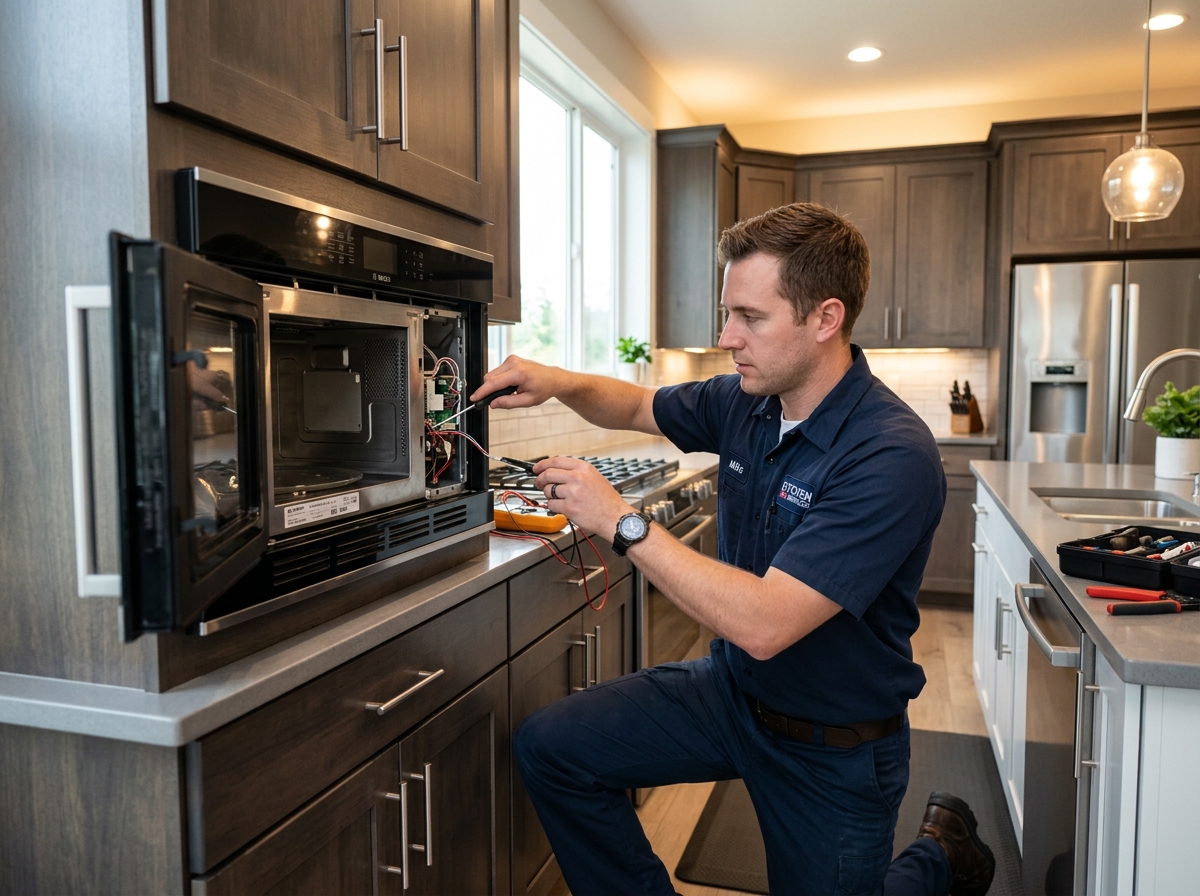
When your over-the-range or countertop microwave lights up, hums normally, and rotates the turntable without heating your food, the issue stems from a failure inside the high-voltage generation circuit or the safety interlock switch system. This master technician guide details the physics of microwave heating, step-by-step diagnostic workflows, high-voltage capacitor safety procedures, magnetron resistance testing, and repair-versus-replacement financial evaluations for homeowners in Alpharetta and Fulton County.
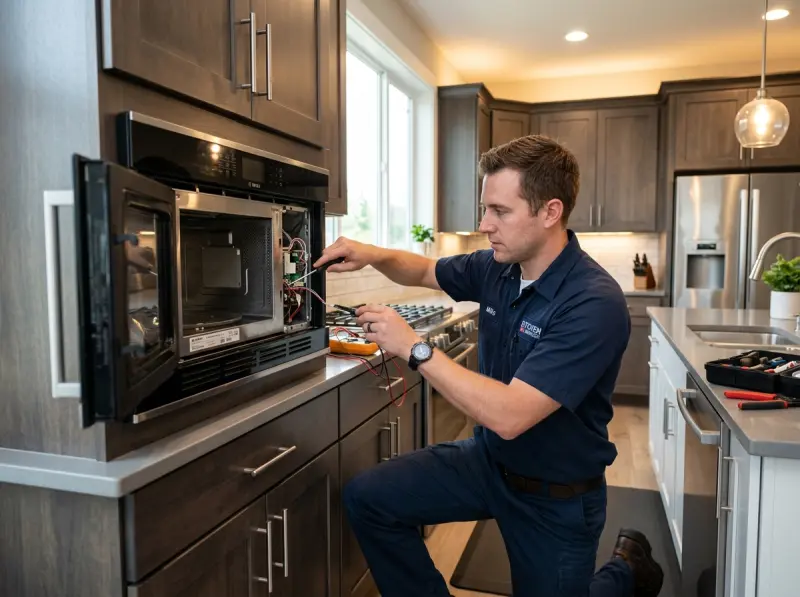
Quick Answer: Why Is Your Microwave Running But Not Heating?
Quick Answer: A microwave that operates, lights up, and turns the glass tray without generating thermal energy is almost always suffering from a shorted high-voltage diode, a burnt-out magnetron cathode filament, a failed door interlock microswitch, or a shorted high-voltage capacitor. Because high-voltage circuits store lethal electrical energy (up to 4,000V DC) even when unplugged, component testing requires high-resistance discharge procedures prior to diagnostic multimeter checks.
Detailed Explanation: Microwaves generate thermal energy by converting household 120V AC electrical power into high-voltage (approx. 2,000V AC) through a heavy step-up transformer. A high-voltage capacitor and rectifier diode double this potential to nearly 4,000V DC. This extreme electrical potential powers the magnetron tube, which bombards water molecules inside food with 2.45 GHz super-high frequency electromagnetic waves. If any single component in this high-voltage loop breaks down—such as a diode breaking down under load or a door interlock switch failing to pass current to the transformer primary winding—the microwave will run fan motors and interior lights perfectly while producing zero radiofrequency heating energy.
Key Takeaways:
- Never remove the outer metal cabinet without manually discharging the high-voltage capacitor using an insulated jumper tool.
- Inspect the waveguide cover mica sheet for carbon tracking or food splatter burn marks that trigger electrical arcing.
- Test door interlock microswitches for 0.0 ohms continuity in depressed state and infinite resistance (OL) when released.
- Measure magnetron cathode terminal resistance; healthy filaments read less than 1.0 ohm across pins and infinite resistance to ground frame.
Table of Contents
- Introduction to Microwave High-Voltage Circuits
- Symptoms of Microwave Heating Failures
- In-Depth Technical Analysis of High-Voltage Causes
- Step-by-Step Basic Homeowner Diagnostic Checks
- CRITICAL WARNING: High Voltage & Lethal Energy Safety Limits
- Repair vs. Replace Decision Matrix (50% Rule)
- Estimated Microwave Repair Cost Breakdown in Alpharetta
- How Professional Technicians Diagnose Magnetrons & HV Components
- Essential High-Voltage Replacement Components
- Preventative Maintenance & Waveguide Care
- High-Voltage & RF Radiation Safety Protocols
- Frequently Asked Questions (20 High-Voltage Diagnostic FAQs)
- Related Repair Services
- Related Appliance Problems
- Supported Microwave Appliance Brands
- Local Service Areas in North Fulton County
- Key Diagnostic Takeaways
- Schedule Professional Microwave Service
1. Introduction to Microwave High-Voltage Circuits
Modern residential microwaves, whether installed as over-the-range units above cooktops or set up as built-in wall speed ovens, represent one of the most sophisticated energy conversion appliances in the home. Unlike conventional electric ovens that generate radiant thermal energy through slow resistive heating coils, microwaves generate dielectric thermal energy. Water, fat, and sugar molecules inside food absorb 2.45 gigahertz (GHz) electromagnetic radiation generated by a specialized vacuum tube called a magnetron, causing the molecules to vibrate millions of times per second and generate instantaneous friction heat.
Because microwave systems require extreme voltage levels to energize the magnetron tube, the internal circuit operates at nearly 3,500 to 4,000 Volts DC. This requires a robust power section consisting of a step-up transformer, high-voltage capacitor, high-voltage rectifier diode, high-voltage thermal fuse, and triple redundant door interlock microswitches. When your microwave turns on, illuminated by the interior light while the turntable glass rotates smoothly, but your coffee cup or food remains cold, the breakdown has occurred inside this high-voltage generation assembly. This guide equips homeowners with trade-level understanding of component failures while enforcing critical high-voltage safety standards.
In modern kitchens throughout North Fulton County neighborhoods such as Country Club of the South, Windward, and Glen Abbey, high-end speed ovens (such as GE Monogram, Thermador, and Bosch SpeedOvens) integrate inverter technology instead of traditional heavy transformers. Inverter microwaves replace the bulky transformer with a high-frequency switching power supply board that modulates power output smoothly rather than cycling on and off. Understanding whether your appliance uses a traditional transformer or an inverter board is essential during diagnostic troubleshooting.
2. Symptoms of Microwave Heating Failures
A microwave that fails to heat food presents distinct acoustic, visual, and electrical operational symptoms. Analyzing these symptoms helps isolate whether the breakdown stems from high-voltage component failure, door latch misalignment, or wave-guide arcing.
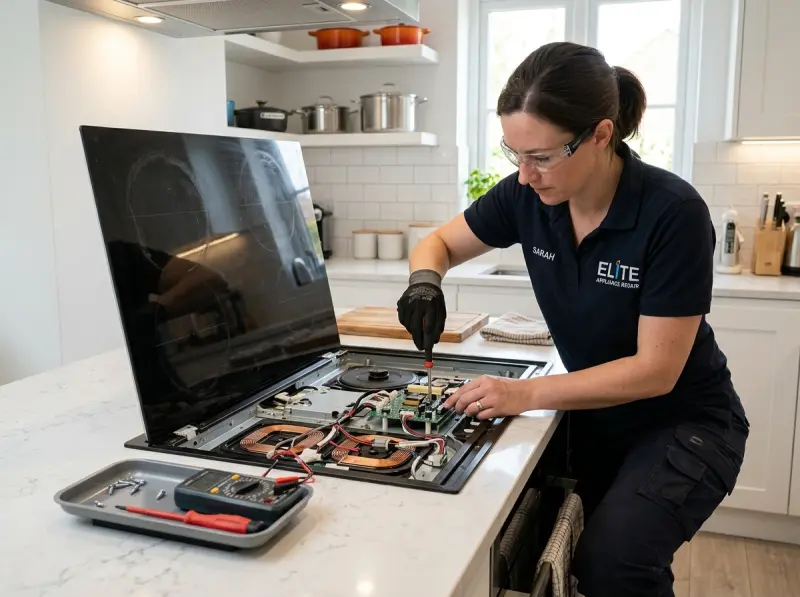
Symptom A: Unit Runs and Counts Down Normally But Produces Zero Heat
The digital display counts down the cooking time, the internal exhaust fan blows air, the interior lamp illuminates, and the glass tray rotates smoothly, but a cup of water remains completely room temperature after 2 minutes of heating. This is the classic symptom of an open high-voltage diode, a burnt-out magnetron cathode filament, or a blown high-voltage inline fuse.
Symptom B: Loud Deep Humming or Groaning Noise During Operation
When the Start button is pressed, the microwave initiates a unusually loud, low-pitched electrical hum or groaning noise that sounds significantly heavier than normal operation. This intense inductive noise indicates a shorted high-voltage capacitor or a magnetron tube with internal short circuits loading down the step-up transformer’s secondary windings.
Symptom C: Sparks, Arcing, or Burning Smell Inside the Cavity
Visible blue or orange electrical arcs shoot across the right interior cavity wall near the plastic or mica waveguide cover, accompanied by loud popping sounds and a pungent ozone or burnt plastic smell. This symptom is caused by carbon deposits trapped on the mica sheet, damaged cavity paint exposing raw metal sheet structure, or a burnt magnetron antenna cap.
Symptom D: Appliance Runs for 2 to 5 Seconds and Shuts Off Completely
The microwave begins heating for 2 to 5 seconds before abruptly shutting off, clearing the display or resetting the clock. This auto-shutdown safety feature is triggered by an unactuated door interlock switch, a thermal cutout thermistor detecting excessive magnetron temperature, or an inverter board over-current sensing circuit.
Symptom E: Burning Plastic Odor from Top Vent Grille
During operation, a strong acrid odor of burnt electrical insulation or varnish emanates from the upper exhaust grille. This indicates overheating primary windings on the step-up transformer or melting terminal blocks connected to the magnetron cathode pins.
3. In-Depth Technical Analysis of High-Voltage Causes
To understand why a microwave fails to heat while running, we must examine the specific electrical responsibilities of the five primary components in the high-voltage generation loop.
Cause 1: Failed High-Voltage Rectifier Diode
The high-voltage diode is a heavy-duty semiconductor device that converts high-voltage AC current output from the transformer into high-voltage DC current while doubling circuit voltage in conjunction with the capacitor. The diode consists of multiple internal silicon junctions connected in series to handle 10,000V peak inverse voltage (PIV).
When the HV diode fails, it either shorts internally (allowing AC current to pass both ways) or opens completely. A shorted diode prevents the high-voltage circuit from reaching the necessary DC threshold required to excite the magnetron. As a result, the magnetron receives insufficient potential, causing the transformer to groan while no RF energy is produced.
Cause 2: Burnt-Out or Shorted Magnetron Tube Assembly
The magnetron is the core vacuum tube responsible for converting DC electrical energy into 2.45 GHz high-frequency radio waves. Inside the magnetron, a tungsten cathode filament is heated by 3.3V AC, emitting electrons that accelerate through a magnetic field created by powerful ring magnets toward an outer copper anode containing resonant cavities.
Over thousands of heating cycles, the magnetron filament can burn open (infinite resistance), breaking the heater circuit. Alternatively, internal magnetic insulators can crack, causing the cathode to short directly to the outer grounded chassis. Finally, the vacuum seal can breach, or the metal antenna dome atop the tube can melt from reflected microwave energy, rendering the tube inert.
Cause 3: Defective High-Voltage Capacitor
The high-voltage capacitor works in tandem with the rectifier diode to double the step-up transformer output voltage from approximately 2,000V AC to roughly 4,000V DC. Capacitors contain thin metallic foil sheets submerged in dielectric oil inside an aluminum canister.
If the internal dielectric oil degrades or breaks down due to heat, the metal plates short-circuit directly to each other or to the outer case ground. A shorted capacitor places an extreme electrical load on the step-up transformer, resulting in high current draw, blown line fuses, or severe transformer groaning without producing high-voltage DC output.
Cause 4: Faulty Door Interlock Microswitches
Microwave doors feature two, three, or four miniature snap-action microswitches (Primary Interlock, Secondary Interlock, and Monitor Switch) actuated by plastic door latches. These switches serve a critical dual safety purpose: ensuring RF microwave energy cannot activate when the door is open, and shorting out line fuses if door hinges align incorrectly.
If the primary or secondary door interlock microswitch contacts burn out, oxidize, or suffer broken plastic actuator buttons, power is blocked from reaching the primary winding of the high-voltage transformer. Consequently, while the turntable motor and exhaust fan receive low-voltage control board power, the heating transformer remains unpowered.
Cause 5: Blown High-Voltage Fuse or Thermal Cutout Thermistor
High-end over-the-range microwaves and inverter units equip a specialized inline high-voltage fuse located in a protective plastic housing between the transformer and capacitor. Rated at 0.7A to 0.9A at 5,000V, this delicate glass fuse opens instantly if an over-current event occurs in the diode or magnetron. Once blown, the high-voltage circuit is broken, halting all heat output while low-voltage logic displays function normally.
4. Step-by-Step Basic Homeowner Diagnostic Checks
Before calling for professional service, homeowners can safely perform three basic diagnostic tests without disassembling the cabinet frame or exposing high-voltage wiring.
Step 1: Perform the Standard Cup of Water Test
Fill a glass measuring cup with 1 cup (8 oz) of cold tap water. Record the starting water temperature using a kitchen thermometer. Place the cup in the center of the turntable glass tray. Close the microwave door securely. Program the unit for 2 minutes on HIGH power (100% Power Level) and press Start. Listen closely to the acoustic pitch of the microwave motor. At the conclusion of 2 minutes, measure the water temperature. A healthy microwave increases water temperature by 50°F to 75°F (28°C to 42°C). Zero temperature change confirms complete high-voltage heating failure.
Step 2: Inspect and Clean the Interior Waveguide Mica Sheet
Locate the small rectangular mica paper cover attached to the right interior side wall or upper ceiling inside the cooking chamber. Examine the surface closely. If grease, food splatters, or carbon burn trails are present on the mica sheet, remove it carefully by unscrewing the plastic retaining clips. Wipe the underlying metal cavity clean using isopropyl alcohol and soft cloths. Replace charred mica sheets immediately with OEM replacements to prevent high-voltage arcing.
Step 3: Test Door Latch Actuation and Mechanical Alignment
Inspect the plastic door hooks attached to the inner door frame. Ensure both hooks are rigid, uncracked, and spring back firmly when depressed. Close the door slowly while observing the door frame alignment. If the door hinges are loose or sag, the plastic hooks will fail to press the door interlock microswitches deeply enough to close the electrical circuit, preventing power transmission to the step-up transformer.
5. CRITICAL WARNING: High Voltage & Lethal Energy Safety Limits
STOP ALL DIY DIAGNOSTICS BEYOND CAVITY INSPECTIONS. HIGH-VOLTAGE MICROWAVE REPAIR IS POTENTIALLY LETHAL.
Microwaves house high-voltage capacitors that retain lethal electrical energy—up to 4,000 Volts DC at high amperage—even when the appliance has been completely unplugged from wall power for days or weeks. Accidentally touching a charged high-voltage capacitor terminal or magnetron lead can cause severe electrical shock, permanent tissue damage, or fatal cardiac arrest.
DO NOT ATTEMPT TO REMOVE THE OUTER METAL HOUSING CABINET UNLESS YOU ARE A FACTORY-TRAINED, CERTIFIED APPLIANCE MASTER TECHNICIAN. Professional servicing requires mandatory high-resistance capacitor discharge protocols using insulated 20k-ohm 50W resistors and insulated 10,000V rated safety tools.
6. Repair vs. Replace Decision Matrix (50% Rule)
Deciding whether to repair a non-heating microwave or invest in a new appliance depends on whether the unit is a low-cost countertop model or a premium over-the-range/built-in speed oven.
| Microwave Appliance Type | Estimated Unit Replacement Cost | Typical Diagnostic Fault | Recommended Financial Decision |
|---|---|---|---|
| Standard Countertop Unit | $80 – $180 | Burnt magnetron tube or shorted capacitor | REPLACE APPLIANCE (Repair exceeds 50% cost) |
| Over-The-Range (OTR) Unit | $400 – $850 + Installation | Failed HV diode, door microswitch, or inline HV fuse | REPAIR (Highly Economical) |
| Built-In Wall Speed Oven | $1,200 – $3,500 | Magnetron, inverter board, or thermistor failure | REPAIR (Extremely Cost-Effective) |
7. Estimated Microwave Repair Cost Breakdown in Alpharetta
Professional diagnostic and component replacement costs across Alpharetta, Milton, Roswell, and Johns Creek are structured based on parts pricing and technician labor complexity.
| Component Service / Repair Type | Average OEM Part Cost | Labor & Diagnostic Charge | Total Repair Estimate Range |
|---|---|---|---|
| High-Voltage Rectifier Diode & Fuse Replacement | $25 – $45 | $110 – $145 | $135 – $190 |
| Door Interlock Switch Assembly (Triple Switches) | $35 – $65 | $120 – $160 | $155 – $225 |
| Magnetron Tube Replacement Assembly | $85 – $175 | $130 – $185 | $215 – $360 |
| Inverter Control Board Replacement | $115 – $220 | $140 – $195 | $255 – $415 |
Note: Over-the-range units requiring two-man uninstallation from cabinetry may incur an additional mounting labor surcharge.
8. How Professional Technicians Diagnose Magnetrons & HV Components
When an Alpharetta Appliance Repair certified technician services a non-heating microwave, we follow strict OSHA high-voltage safety standards and execute accurate component troubleshooting using digital multimeters and high-voltage breakdown meters.
Phase A: Capacitor Manual Discharge & Isolation
After disconnecting power from the wall receptacle, the technician removes the outer steel cabinet. Using an insulated discharge tool containing a 20k-ohm 50-watt wire-wound power resistor, the technician bridges the high-voltage capacitor terminals directly to the chassis ground frame for 10 seconds, safely bleeding off residual capacitive energy.
Phase B: Magnetron Cathode Resistance & Ground Leakage Testing
The technician disconnects both high-voltage push-on wire leads from the magnetron filament terminals. Setting the digital multimeter to low-ohms (R x 1 scale):
- Filament Resistance Test: Place meter leads across the two magnetron spade terminals. A functional cathode filament reads less than 1.0 ohm (approx 0.2 to 0.5 Ω). An open reading (OL) indicates a burnt-out filament requiring tube replacement.
- Ground Insulation Test: Set multimeter to highest resistance scale (R x 10k or MΩ). Touch one probe to a filament pin and the second probe to the outer metal cooling fins of the magnetron housing. The meter MUST read infinite resistance (OL). Any measurable resistance (e.g., 50k Ω or lower) confirms internal cathode-to-ground short circuit.
Phase C: High-Voltage Rectifier Diode Testing
Standard low-voltage multimeters cannot test high-voltage diodes because the meter’s internal 9V battery cannot overcome the forward voltage drop of the diode’s multiple silicon junctions (which require approx 6V to 8V forward bias). The technician wires a 9V transistor battery in series with a digital DC voltmeter and the high-voltage diode:
- Forward Bias Connection: Meter displays approximately 5V to 7V DC, indicating current is flowing properly.
- Reverse Bias Connection: Meter displays exactly 0V DC, confirming the diode blocks reverse current effectively.
- Shorted Diode: Displays battery voltage in both directions; replace diode immediately.
9. Essential High-Voltage Replacement Components
Restoring a microwave’s RF thermal performance requires genuine, high-grade factory components:
- OEM Magnetron Tube: Factory-calibrated 2.45 GHz radiofrequency generator tube engineered for specific wattage ratings (900W, 1100W, 1200W).
- High-Voltage Rectifier Diode with Ring Terminal: 10kV rated semiconductor diode equipped with grounded chassis eyelet.
- Oil-Filled Metal High-Voltage Capacitor: Dual-terminal capacitor rated at 0.91uF to 1.05uF at 2,100V AC.
- Triple Door Interlock Switch Kit: Heavy-duty 16A 250V snap-action microswitches featuring silver alloy contacts.
- Mica Waveguide Cover Sheet: High-temperature mineral composite sheet insulating microwave antenna output cavity.
10. Preventative Maintenance & Waveguide Care
Prevent high-voltage component failure and extend the service life of your microwave with these key maintenance habits:
- Never Run the Microwave Empty: Operating a microwave without food or liquid inside forces the generated 2.45 GHz RF energy to bounce back directly into the magnetron antenna cap, rapidly overheating internal tube components and causing total failure.
- Clean Food Splatters Immediately: Splattered food particles stuck to interior walls absorb energy, causing localized hotspots that burn through cavity paint and char the mica waveguide cover.
- Use Plastic Splatter Covers: Cover soups and sauces to prevent explosive splatters from contacting the upper ceiling wave guide.
- Avoid Metal Foil and Wire Trimmed Dishes: Gold-rimmed plates and aluminum foil create concentrated electric fields that arc, damage magnetron tubes, and melt interior walls.
11. High-Voltage & RF Radiation Safety Protocols
Servicing appliances requiring RF energy conversion demands strict safety compliance:
- RF Microwave Radiation Leakage Testing: Following any magnetron or door interlock service, the technician sweeps cabinet seams and door glass perimeters using an Narda electromagnetic radiation leak meter to verify RF leakage remains safely below FDA thresholds (5 mW/cm² at 2 inches).
- High-Voltage Capacitor Bleed Off: Always assume capacitors are fully charged until manually shorted to chassis ground with insulated jumper equipment.
- Unplug Unit Prior to Service: Never touch internal components while 120V AC wall power is connected.
12. Frequently Asked Questions (20 High-Voltage Diagnostic FAQs)
Q1: Why does my microwave turn on, count down, and spin the plate but leave food cold?
A: This symptom points directly to a high-voltage system failure. The magnetron, high-voltage diode, high-voltage capacitor, or door interlock microswitch has failed, preventing power transmission to the RF generation circuit.
Q2: Can a blown fuse cause a microwave to stop heating while still running?
A: Yes. Many modern microwaves feature a dedicated inline high-voltage fuse between the transformer and capacitor. If this fuse opens, low-voltage displays and fans operate, but the high-voltage circuit is severed, producing zero heat.
Q3: Is it safe to repair a microwave myself?
A: Servicing high-voltage components inside the cabinet outer shell is NOT safe for DIYers. Microwave capacitors store lethal DC voltage (up to 4,000V) even when unplugged. Internal repairs must be performed by certified technicians.
Q4: How do I test a microwave magnetron with a multimeter?
A: Disconnect power and discharge the capacitor. Measure filament pin resistance; it should read under 1.0 ohm. Test each pin to the outer metal housing; it must read infinite resistance (OL). Any reading to ground confirms a shorted magnetron.
Q5: What noise does a bad microwave diode make?
A: A shorted high-voltage diode creates a distinct, heavy low-pitched buzzing or groaning sound from the high-voltage transformer when heating is initiated.
Q6: Why is my microwave sparking near the side interior wall?
A: Sparking near the interior side wall is caused by carbon grease deposits on the mica waveguide cover or chipped interior cavity paint exposing raw sheet metal to RF waves.
Q7: How much does it cost to replace a microwave magnetron in Alpharetta, GA?
A: Replacing a microwave magnetron tube typically costs between $215 and $360, including genuine OEM components, capacitor safety discharge, and labor.
Q8: Can a bad door switch keep a microwave from heating?
A: Yes. Microwave door interlock microswitches must close properly to deliver primary 120V AC voltage to the step-up transformer. If switch contacts burn open, the microwave runs low-voltage logic but produces no heat.
Q9: How long do microwave magnetron tubes last?
A: High-quality residential magnetron tubes last between 7 to 12 years under normal household usage conditions.
Q10: Why does my microwave run for 3 seconds and then shut off completely?
A: Brief 3-second shutdowns are caused by an unactuated door interlock switch, a shorted inverter board IGBT transistor, or a tripped high-temperature magnetron thermal cutout switch.
Q11: What happens if you run a microwave empty?
A: Running a microwave empty reflects intense 2.45 GHz RF energy back into the magnetron tube, overheating the cathode filament and causing premature magnetron failure.
Q12: Is an over-the-range microwave worth repairing?
A: Yes. Over-the-range (OTR) microwaves cost $400 to $850+ to replace plus complex installation fees. Replacing a $45 diode or $165 switch set is far more economical than full appliance replacement.
Q13: Why is my microwave glass plate turning but food stays cold?
A: The turntable motor operates on low-voltage AC control power independent of the high-voltage magnetron circuit. A running tray confirms control board power but indicates high-voltage section failure.
Q14: What does the mica waveguide cover do in a microwave?
A: The mica cover allows 2.45 GHz RF waves to pass freely from the magnetron antenna into the cooking chamber while preventing steam, grease, and food particles from entering high-voltage internal components.
Q15: How can technicians test for microwave radiation leaks?
A: Technicians use a calibrated electromagnetic RF radiation meter swept along door seal gaskets, latch points, and outer cabinet seams while operating the unit under maximum load.
Q16: What is the difference between an inverter microwave and a standard transformer microwave?
A: Standard microwaves cycle full power on and off (using pulse width modulation). Inverter microwaves use electronic switching boards to deliver continuous linear power at reduced percentages (e.g. true 50% power).
Q17: Why is my microwave trip-switching the home breaker as soon as I press Start?
A: A immediate breaker trip upon pressing Start is caused by a shorted door interlock monitor switch (designed to short line voltage if door hooks misalign) or a shorted transformer primary winding.
Q18: How does a microwave thermal fuse differ from a line fuse?
A: A line fuse opens during electrical current spikes. A thermal fuse (thermal cutout) is mounted directly to the magnetron casing or oven cavity and opens if temperatures exceed 250°F to 300°F.
Q19: Can I replace a mica waveguide cover with plastic cardboard or paper?
A: No! Homemade covers catch fire or absorb RF energy. Only use genuine mica mineral composite sheets engineered specifically for microwave waveguides.
Q20: What causes a microwave turntable motor to stop spinning while heating works fine?
A: A non-spinning turntable is caused by a stripped plastic drive coupler beneath the glass tray, a burnt 24V/120V AC synchronous motor winding, or a broken roller guide ring.
17. Key Diagnostic Takeaways
- High-Voltage Safety First: Never disassemble cabinet panels without discharging the 4,000V DC capacitor. Capacitors retain lethal electrical energy when unplugged.
- Acknowledge Dual Voltage Circuits: Microwaves split power into low-voltage logic (fans, lights, turntable) and high-voltage RF generation (transformer, diode, magnetron).
- Inspect Mica Waveguide Covers: Charred or greasy mica covers cause interior sparking and arcing that damages magnetron antenna domes.
- Perform Multimeter Filament Resistance Checks: Healthy magnetron filaments read under 1.0 ohm across terminals and infinite resistance to outer grounded frame.
- Evaluate Repair Economics: Over-the-range and built-in speed ovens are highly economical to repair compared to expensive full replacement.
Need Professional Microwave Repair in Alpharetta, GA?
Don’t compromise on electrical safety or attempt high-voltage DIY repairs. The certified master technicians at Alpharetta Appliance Repair bring specialized diagnostic equipment, high-voltage safety tools, and genuine OEM parts to your home.
Same-Day & Next-Day Diagnostic Appointments Available in Alpharetta, Milton, Roswell & Johns Creek.
Need Certified Appliance Repair Today?
Skip the phone line — book direct local priority dispatch across Alpharetta, Milton, Roswell & Johns Creek.