
Why is My Dryer Not Heating? (Electric & Gas Dryer Troubleshooting)

Short Summary: If your clothes dryer is tumbling but producing absolutely no heat, the problem is usually a blown thermal fuse, a broken heating element (electric), or faulty gas valve coils (gas). In this comprehensive guide, we’ll walk you through diagnosing and fixing the most common reasons why your dryer has stopped heating.
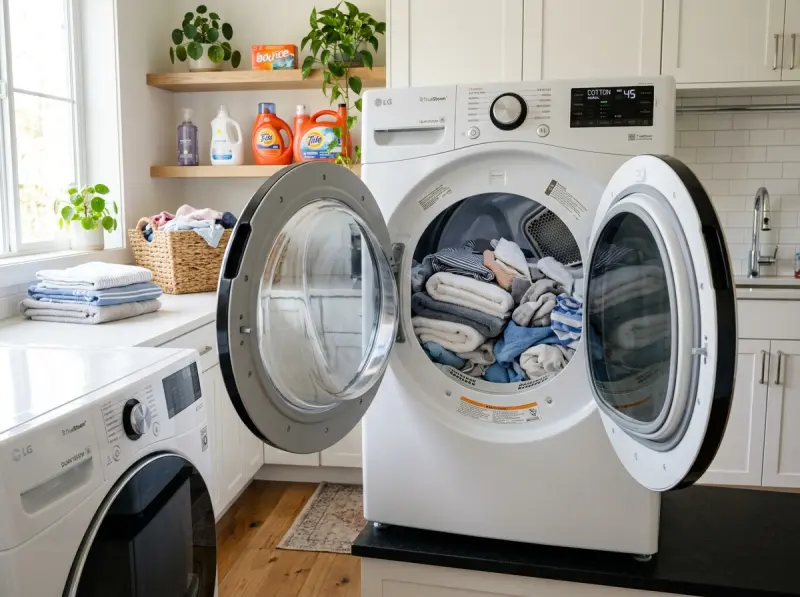
Quick Answer: Why is My Dryer Not Heating?
A dryer that runs but won’t heat is most commonly caused by a blown thermal fuse, which cuts off power to the heating system to prevent fires. In electric dryers, a burnt-out heating element is the leading culprit, while in gas dryers, failed gas valve solenoids or a broken igniter are typically to blame. Always check your breaker and clean your lint screen and vent before replacing internal parts.
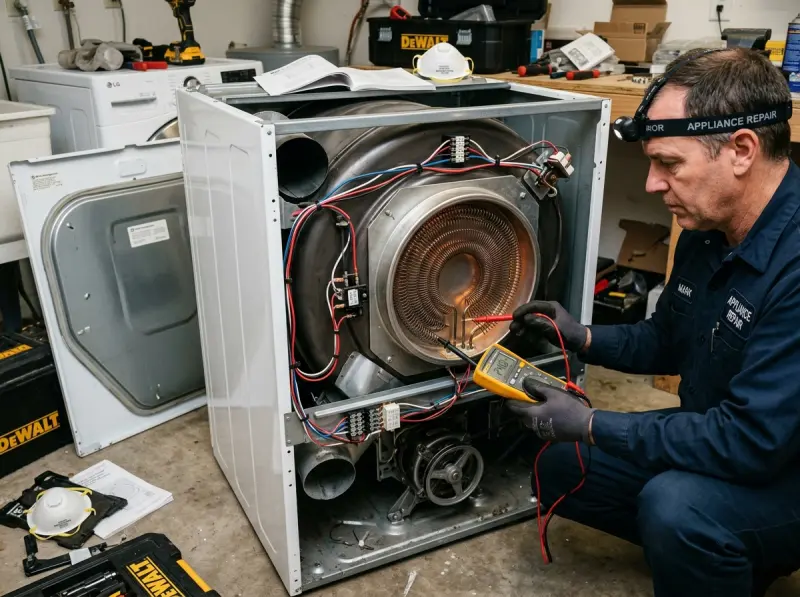
Introduction
There are few things more frustrating than pulling a load of laundry out of the dryer only to find that your clothes are just as wet as when you put them in—but now they’re warm (or completely cold) and wrinkled. When your dryer drum spins normally but fails to generate any heat, it disrupts your entire household routine.
This guide is written for homeowners who want to understand exactly why their electric or gas dryer isn’t heating. Whether you’re dealing with an older Whirlpool electric model or a newer LG gas dryer, the fundamental mechanics of dryer heating systems remain largely the same. By the end of this guide, you will learn the most common culprits behind a no-heat dryer, how to perform basic diagnostic checks using a multimeter, and, most importantly, when it’s time to put the tools away and call in a certified master technician.
Symptoms
How do you know if you have a heating issue versus an airflow or mechanical issue? Look for these specific symptoms:
- The Drum Spins, But No Heat: You hear the motor running and the drum tumbling, but opening the door mid-cycle reveals cold, wet clothes.
- Extremely Long Dry Times: It takes three or four cycles to dry a single load of thin shirts. (This often points to a venting issue or a failing, rather than completely dead, heating component).
- Heat Only Lasts a Few Minutes: The dryer gets hot initially but then cools down for the rest of the cycle. This is a classic symptom of failing gas valve solenoids.
- No Clicking or Igniting Sounds (Gas Dryers): You don’t hear the familiar click of the gas valve opening or the whoosh of the burner igniting.
- Tripped Breaker (Electric Dryers): Electric dryers run on two 120V legs (totaling 240V). Sometimes, only one leg trips, meaning the motor (120V) runs, but the heating element (240V) does not.
Common Causes
1. Blown Thermal Fuse
Quick Answer: The thermal fuse is a safety device that blows when the dryer overheats, instantly cutting power to the heating system.
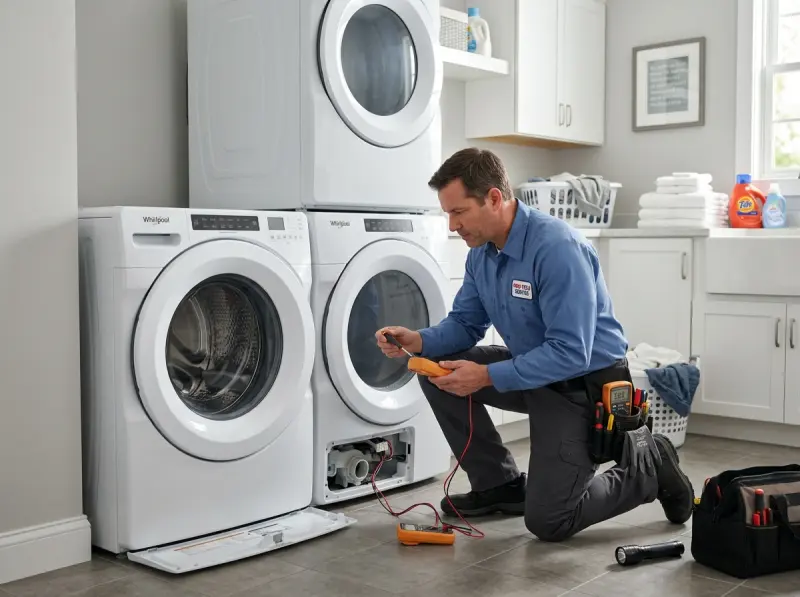
Detailed Explanation: Found on the blower housing or heat source, the thermal fuse is your dryer’s first line of defense against fires. If your exhaust vent is clogged, the internal temperature skyrockets, and the thermal fuse sacrifices itself to stop the heat. Once blown, it cannot be reset; it must be replaced.
Key Takeaways: Always clean your vent before replacing a blown thermal fuse, or the new one will blow immediately.
2. Burnt-Out Heating Element (Electric Dryers)
Quick Answer: The heating element is a coil of wire that generates heat; over time, this wire can break, stopping all heat production.
Detailed Explanation: Electric dryers use a nickel-chromium wire coiled inside a metal housing. As electricity passes through it, it glows red hot. Over years of expansion and contraction, or due to restricted airflow causing it to overheat, the coil can physically break or short out against the casing.
Key Takeaways: Visual inspection and a continuity test with a multimeter are required to diagnose a bad element.
3. Failed Gas Valve Solenoids (Gas Dryers)
Quick Answer: Solenoids are magnetic coils that open the gas valves; if they fail, no gas flows to the burner.
Detailed Explanation: Gas dryers typically have two or three solenoid coils on top of the gas valve. They can become weak over time. A common symptom of weak coils is that the dryer will heat for the first 10 minutes, but once the coils get hot, their internal resistance increases, and they fail to open the valve for the remainder of the cycle.
Key Takeaways: If your gas dryer heats initially but stops mid-cycle, the coils are almost certainly the culprit.
4. Broken Igniter (Gas Dryers)
Quick Answer: The igniter gets white-hot to ignite the gas; if cracked, it won’t light the burner.
Detailed Explanation: Gas dryers use a silicon carbide igniter. When a cycle starts, the igniter glows brightly. A sensor detects this heat and signals the gas valve to open. Igniters are extremely fragile and can burn out or crack from normal wear and tear or rough handling.
Key Takeaways: Do not touch the gray carbide part of a new igniter with your bare hands; oils from your skin will cause it to burn out prematurely.
5. Faulty Flame Sensor (Gas Dryers)
Quick Answer: The flame sensor detects the heat from the igniter and tells the gas valve to open.
Detailed Explanation: Located near the igniter, this sensor is a bimetallic switch. If it fails, it will never signal the gas valve solenoids to open, even if the igniter is glowing perfectly. While less common than bad coils or igniters, a failed flame sensor will prevent heating entirely.
Key Takeaways: If the igniter glows and stays on but no gas flows, suspect the flame sensor.
6. Defective Thermostats or Thermistors
Quick Answer: These components monitor and regulate the temperature inside the dryer drum.
Detailed Explanation: The operating thermostat (or thermistor on digital models) cycles the heat on and off to maintain the set temperature. The high-limit thermostat acts as a backup safety device. If either fails in the “open” position, the heating circuit is broken.
Key Takeaways: Thermostats can be tested for continuity at room temperature.
7. Timer or Control Board Failure
Quick Answer: The main brain of the dryer isn’t sending voltage to the heating circuit.
Detailed Explanation: On mechanical models, the timer assembly has internal contacts that can burn out. On modern electronic models, the main control board relays can fail or suffer solder joint fractures, preventing 240V (electric) or 120V (gas) from reaching the heating components.
Key Takeaways: Control boards are expensive; rule out all other components before condemning the board.
8. Power Supply Issues (Half-Tripped Breaker)
Quick Answer: Electric dryers need 240V to heat. If one 120V leg trips, the dryer spins but won’t heat.
Detailed Explanation: Because the motor only requires 120V, the loss of one phase of the 240V circuit means the dryer will seem to run perfectly, but the heating element (which requires the full 240V) receives nothing.
Key Takeaways: Always flip the dryer’s double-pole breaker completely OFF and back ON before dismantling the machine.
9. Centrifugal Switch on the Drive Motor
Quick Answer: A switch inside the motor prevents the heater from turning on if the motor isn’t spinning.
Detailed Explanation: For safety, the heating circuit is routed through a centrifugal switch on the drive motor. If the motor doesn’t spin, or if the switch’s contacts fuse or break, the heater won’t engage. This prevents the heating element from turning on while the drum is stationary, which would cause a massive fire.
Key Takeaways: If the motor runs but the centrifugal switch is bad, the motor must usually be replaced.
Step-by-Step Troubleshooting (DIY Checks)
Before calling a professional, here are the safe, DIY steps you can take to diagnose the problem.

- Check the Power (Electric Models): Locate your home’s electrical panel. Find the double-pole breaker for the dryer. Switch it firmly to the OFF position, wait 5 seconds, and switch it firmly back to ON. Sometimes a breaker trips internally but doesn’t look fully tripped.
- Check the Gas Valve (Gas Models): Ensure the gas supply valve behind the dryer is fully open (the handle should be parallel to the gas pipe).
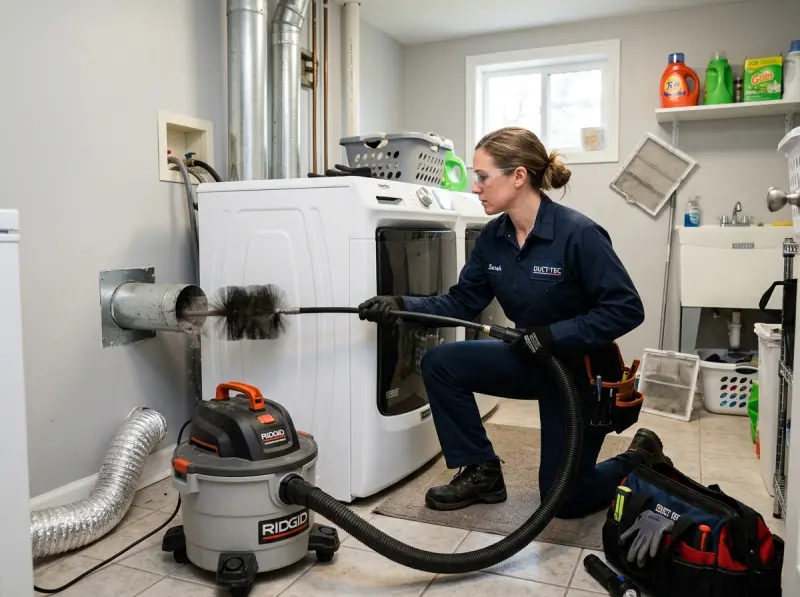
- Clean the Lint Screen and Vent: A severely clogged vent will trip the thermal fuse or high-limit thermostat. Disconnect the vent from the back of the dryer and run a test load. If it heats, your home’s vent is clogged and needs professional cleaning.
- Select a Timed Dry Cycle: Some modern dryers rely on moisture sensors in the drum for “Auto Dry” cycles. If these sensors are coated in fabric softener residue, the dryer thinks the clothes are dry and shuts off the heat. Try running a 40-minute “Timed Dry” on high heat to bypass the sensors.
- Clean the Moisture Sensors: Locate the two metal strips inside the drum, usually near the lint filter. Wipe them down with rubbing alcohol to remove residue.
When to Stop DIY
WARNING: Working with 240V electricity and natural gas/propane is extremely dangerous. Stop your DIY efforts and call a professional if:
- You need to open the dryer cabinet and expose internal wiring.
- You smell gas near the appliance or hear a hissing sound.
- You do not own or do not know how to safely use a digital multimeter.
- You notice burnt, melted, or blackened wires near the terminal block or heating element.
- The issue involves a complex control board or drive motor diagnostic.
Repair vs Replace: The 50% Rule
Should you fix your old dryer or buy a new one? We recommend the 50% Rule: If the appliance is more than 50% through its expected lifespan (usually 10-13 years for dryers) and the repair cost is more than 50% of the price of a new dryer, it’s time to replace. Here is a decision framework to help:
| Factor | Recommendation: Repair | Recommendation: Replace |
|---|---|---|
| Age of Dryer | Less than 8 years old | Over 12 years old |
| Type of Repair | Thermal fuse, element, belts, rollers | Control board, motor, cracked drum |
| Cost Comparison | Repair is less than $250 | Repair is over $400 (on an old unit) |
| Overall Condition | Well-maintained, no rust, spins quietly | Rusted, squeaks constantly, tears clothes |
Estimated Cost Factors
While we cannot give exact pricing without diagnosing the machine in person, several factors influence the final repair cost:
- Brand and Model: Parts for luxury brands (e.g., Miele, Asko) or complex smart dryers (e.g., LG WashTower) cost significantly more than parts for standard Whirlpool or Amana models.
- Component Type: A thermal fuse is a very inexpensive part. A main control board or a drive motor is a highly expensive part.
- Labor Time: Some dryers require complete disassembly (removing the drum and front panel) just to reach the heating element, while others have easily accessible rear panels. Gas diagnostics also involve checking for leaks, adding to the labor time.
- Secondary Damage: Often, a blown thermal fuse is accompanied by a severe vent clog. You may need both an appliance repair and a professional vent cleaning service.
How Professionals Diagnose This Issue
When our Master Technicians arrive, we follow a strict protocol:
- Voltage Testing (Under Load): For electric models, we test the terminal block to ensure 240V is arriving from the wall outlet while the machine is running, ruling out a weak breaker.
- Continuity Checks: Using a calibrated multimeter, we unplug the dryer and test the thermal fuse, high-limit thermostat, operating thermostat, and heating element for electrical continuity. A reading of “O.L” (Open Loop) indicates a broken component.
- Resistance Testing: Gas valve coils are tested for specific Ohm resistance ratings to ensure the internal windings haven’t shorted out.
- Live Voltage Tracing: If continuity is good, we trace the voltage from the timer/control board, through the motor centrifugal switch, to the heater to find exactly where the circuit drops.
- Airflow Diagnostics: Using an anemometer, we measure the exhaust airflow at the exterior vent cap to ensure the new parts won’t fail immediately due to poor ventilation.
Common Parts Involved
- Thermal Fuse: A one-time safety breaker.
- Heating Element Assembly: The main heat source for electric dryers.
- Gas Valve Solenoids (Coils): The electromagnetic switches that release gas.
- Igniter: The silicon carbide component that lights the gas.
- Flame Sensor: Detects the igniter’s heat.
- High-Limit Thermostat: A safety thermostat that cycles off at high temps.
- Cycling Thermostat / Thermistor: Regulates everyday drying temperatures.
- Drive Motor (Centrifugal Switch): Ensures the motor is spinning before allowing heat.
- Main Control Board / Timer: The brains of the operation.
Maintenance Tips
To prevent your dryer’s heating components from failing prematurely, follow these maintenance guidelines:
- Clean the Lint Filter Every Load: This is non-negotiable. A clogged filter starves the dryer of air, leading to overheating.
- Annual Professional Vent Cleaning: The ducting from your dryer to the outside of your house must be cleaned at least once a year. This prevents thermal fuse failure and is critical for fire safety.
- Use Rigid Metal Ducting: Avoid the flimsy foil or plastic transition hoses behind the dryer. They crush easily, restricting airflow. Use semi-rigid or rigid aluminum ducting.
- Don’t Overload the Dryer: Packing the drum too tight prevents air from circulating, causing the heating element to work overtime and eventually burn out.
Safety Tips
- Electrical Safety: Electric dryers run on lethal 240V alternating current. Never open the casing without unplugging the machine or flipping the breaker OFF. Verifying power is off with a non-contact voltage tester is highly recommended.
- Gas Safety: If you smell rotten eggs (mercaptan), turn off the gas valve immediately, open windows, leave the home, and call your gas provider. Never use an open flame to check for gas leaks; use a soapy water solution.
- Mechanical Safety: Dryer drums are heavy and ride on sharp metal bulkheads. Belt tensioner pulleys are spring-loaded and can crush fingers. Wear cut-resistant gloves if you must reach inside the cabinet.
- Fire Safety: Never dry clothes soaked in flammable liquids (gasoline, paint thinner, cooking oils). Wash them thoroughly with heavy-duty detergent multiple times before drying, or better yet, line dry them.
Frequently Asked Questions
- 1. Why is my electric dryer spinning but not heating?
- The most common reasons are a tripped 120V leg on the 240V breaker, a blown thermal fuse, or a broken heating element coil.
- 2. Why does my gas dryer heat for a few minutes and then stop?
- This is a classic sign of weak gas valve solenoids. As the coils heat up, their resistance changes, and they lose the magnetic strength required to hold the gas valve open.
- 3. How do I know if my thermal fuse is blown?
- You must test it with a multimeter for continuity. If it has no continuity (an open circuit), it is blown. There are no visual signs of a blown thermal fuse.
- 4. Can I bypass the thermal fuse to test the dryer?
- You can temporarily bypass it for diagnostic purposes only to see if the heater turns on, but you must never run a cycle with a bypassed fuse. Doing so is an extreme fire hazard.
- 5. What causes a dryer heating element to burn out?
- Age, wear and tear, and most importantly, poor airflow. If the exhaust vent is clogged, the element retains too much heat and physically breaks.
- 6. How much does it cost to replace a dryer heating element?
- Costs vary widely by brand and labor intensity. It is generally a mid-tier repair that is highly cost-effective compared to buying a new unit.
- 7. My dryer gets hot, but clothes still take forever to dry. Why?
- If there is heat but no drying, you have an airflow problem. The hot, moist air cannot escape the drum. Check your lint screen and have your exterior vent line cleaned.
- 8. How do I test a dryer igniter?
- Unplug the dryer, disconnect the igniter harness, and check for continuity across the two terminals. If there is no continuity, the igniter is cracked and must be replaced.
- 9. Where is the thermal fuse located?
- It is usually mounted on the blower housing assembly in the rear or front of the dryer, or directly on the heating element housing, depending on the model.
- 10. Does a clogged vent affect the heating element?
- Yes, severely. A clogged vent causes the element to continuously trip the high-limit thermostat, eventually causing the element or the thermostat to fail entirely.
- 11. Why is there a burnt smell coming from my dryer?
- A burnt smell can be lint trapped in the heating housing burning off, a failing drive motor, or burnt wiring at the terminal block. It should be inspected immediately.
- 12. Can a bad timer cause the dryer not to heat?
- Yes. If the internal contacts inside the timer that send voltage to the heat circuit are burnt or broken, the dryer will run but will not heat.
- 13. Is it worth repairing a 10-year-old dryer that won’t heat?
- If it’s a simple fix like a thermal fuse or a standard element (under $200-$250), yes. If it requires a new control board or motor, it is usually better to replace it.
- 14. What does the flame sensor do in a gas dryer?
- It detects the intense heat from the glowing igniter. Once hot enough, it opens the electrical circuit to the gas coils, allowing gas to flow and ignite.
- 15. Why does my dryer only heat on the “Timed Dry” setting?
- Your moisture sensors are likely dirty, or the auto-dry control board has failed. The dryer thinks the clothes are dry and shuts off the heat early on auto cycles.
- 16. Can a bad motor centrifugal switch stop the heat?
- Yes. To prevent fires, the heater circuit is routed through the motor. If the switch breaks, the heater will never receive power, even if the motor is spinning.
- 17. Should I clean my vent from the inside or outside?
- Professional vent cleaners use negative air machines and rotary brushes to clean the entire length of the ducting from the dryer connection all the way to the exterior roof or wall cap.
- 18. How long do gas valve coils last?
- They typically last 7 to 12 years. If one fails, it is standard practice to replace all of them as a set.
- 19. Can I touch a new gas igniter with my fingers?
- No. The oils from your skin will create a hot spot on the silicon carbide, causing the new igniter to shatter or burn out very quickly. Handle it by the ceramic base only.
- 20. What is the difference between an operating thermostat and a high-limit thermostat?
- The operating thermostat controls the normal temperature of the cycle (turning the heat on and off). The high-limit thermostat is a safety backup that cuts power only if the operating thermostat fails and the dryer dangerously overheats.
Key Takeaways
- A dryer that spins but won’t heat usually has a blown thermal fuse, a broken heating element, or faulty gas coils.
- Always check your electrical breaker and ensure your gas valve is open before assuming a part is broken.
- Clogged exhaust vents are the #1 cause of heating component failure; clean your vents annually.
- Do not touch a new gas igniter with bare hands.
- Use the 50% Rule (repair cost vs. age/replacement cost) to decide whether to fix or replace an older unit.
- Working with 240V electricity and gas is dangerous; call a professional if you are not experienced with a multimeter.
Need Professional Dryer Repair in Alpharetta?
If your dryer has gone cold and DIY troubleshooting isn’t working, don’t let the laundry pile up. Our Master Technicians at Appliance Repair Alpharetta are fully certified to safely diagnose and repair all electric and gas dryer heating issues. We carry common thermal fuses, elements, and gas coils on our trucks for fast, reliable service.
Give us a call today to schedule your service appointment!
Need Certified Appliance Repair Today?
Skip the phone line — book direct local priority dispatch across Alpharetta, Milton, Roswell & Johns Creek.