
Why is My Ice Maker Not Making Ice? (Troubleshooting & Reset Guide)
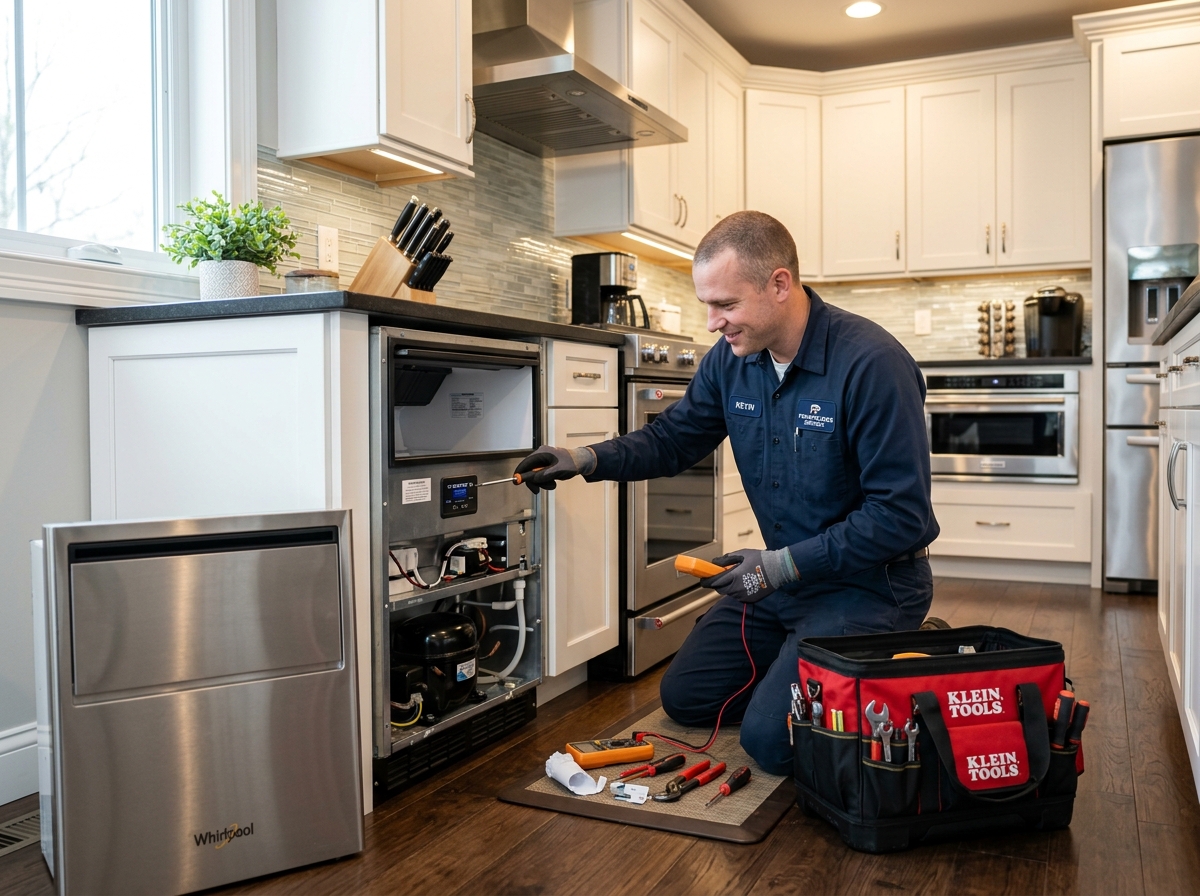
If your refrigerator ice maker has completely stopped producing ice, is ejecting tiny hollow crescents, or makes a loud clicking noise without filling with water, this comprehensive technician-grade guide covers every potential electrical, mechanical, and hydraulic failure. Learn how to perform manual force-harvest resets, clear frozen fill tubes, test water solenoid coils with a digital multimeter, and evaluate repair versus replacement costs in Alpharetta, GA.
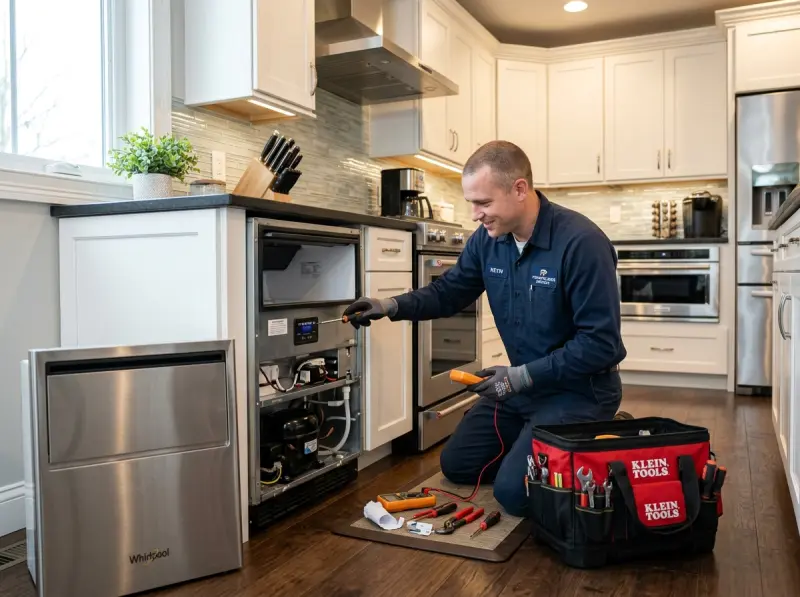
Quick Answer: Why Is Your Ice Maker Not Making Ice?
Quick Answer: An ice maker stops producing ice primarily due to a clogged water filter cartridge, a frozen water fill tube spout, a failed water inlet solenoid valve (lacking electrical continuity or clogged by mineral scale), freezer temperatures rising above 10°F (-12°C), a tripped shutoff arm or optical sensor beam failure, or a burnt mold thermistor / harvest motor microswitch. Performing a 10-second manual forced-harvest reset or checking the inlet valve voltage with a digital multimeter usually identifies the root cause immediately.
Detailed Explanation: Automatic ice makers depend on a precise sequence of environmental, hydraulic, and electro-mechanical conditions before initiating a batch freeze cycle. First, the freezer compartment temperature must drop below 0°F to 5°F (-18°C to -15°C) to trip the internal bimetal thermostat or signal the mold thermistor. Once frozen, an internal mold heater briefly energizes to loosen the ice cubes while the harvest motor rotates the ejector blades. As the blades reach the home position, a microswitch signals the main control board to energize the water inlet valve solenoid for 5 to 7 seconds, delivering approximately 100 to 140 ml of water at 20 to 120 PSI into the mold assembly. If any single component in this feedback loop fails—such as low home water pressure, a kinked PEX supply line, or a blown valve coil—the ice maker halts operation entirely to prevent internal flooding.
Key Takeaways:
- Verify freezer temperature is 0°F (-18°C) or lower using a calibrated liquid thermometer left in rubbing alcohol for 12 hours.
- Inspect the feeler wire shutoff arm or optical beam sensors to ensure the ice bin isn’t falsely registered as full.
- Replace water filter cartridges older than 6 months or those showing less than 20 PSI dynamic flow pressure.
- Test dual inlet valve solenoids for 200–500 ohms of resistance across electrical terminal pins using a digital multimeter.
Table of Contents
- Introduction to Refrigerator Ice Maker Systems
- Common Symptoms of Ice Maker Failure
- Deep-Dive Analysis of Ice Maker Causes
- Step-by-Step DIY Troubleshooting & Reset Protocols
- Safety Limits: When to Stop DIY Diagnostics
- Repair vs. Replace Decision Matrix (50% Rule)
- Estimated Repair Cost Factors in Fulton County
- How Professional Technicians Diagnose Ice Maker Systems
- Essential Replacement Component Catalog
- Preventative Maintenance & Water Quality Care
- HVAC & Electrical Safety Guidelines
- Frequently Asked Questions (20 Key Diagnostic Questions)
- Related Repair Services
- Related Appliance Problems
- Supported Refrigerator Brands
- Local Service Areas in North Fulton County
- Key Diagnostic Takeaways
- Schedule Professional Appliance Repair
1. Introduction to Refrigerator Ice Maker Systems
A fully functional automatic ice maker is one of the most essential conveniences in modern residential kitchens. Whether integrated into a side-by-side French door refrigerator or positioned within a dedicated under-counter built-in unit, ice production mechanisms rely on precise thermodynamics, fluid hydraulics, and microswitch timing circuits. When an ice maker suddenly ceases production, homeowners in Alpharetta and North Fulton County often assume the entire refrigeration system has experienced total compressor failure. However, in over 80% of residential service calls, the root cause is isolated to an easily diagnostic component such as a restricted water supply, a jammed harvest mechanism, or a failed water inlet solenoid valve.
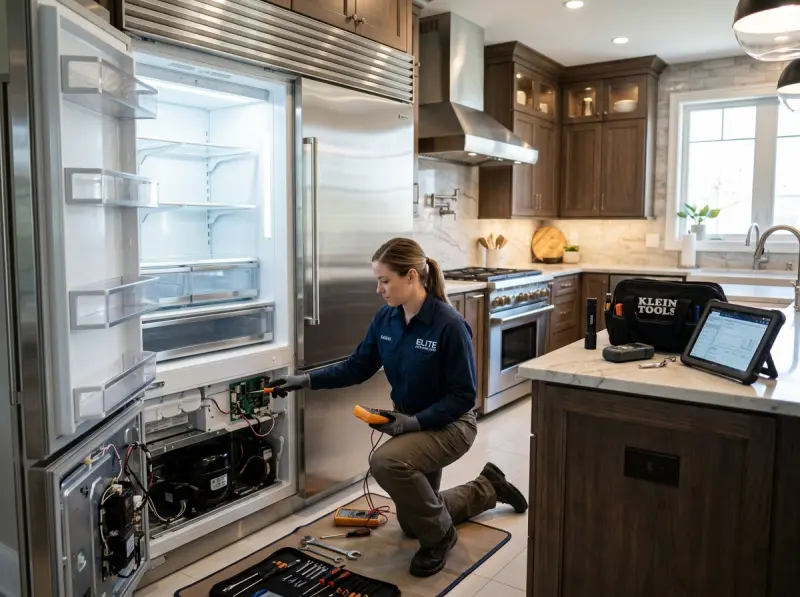
Modern ice production systems operate across three primary physical configurations: flex-tray twist modules, metallic mold heating ejection assemblies, and clear-ice cascading spray grids. Regardless of your refrigerator’s brand—be it Whirlpool, LG, Samsung, GE Profile, KitchenAid, Sub-Zero, or Frigidaire—the basic cycle of operation requires consistent sub-zero cabinet temperatures, purified water delivered at adequate dynamic line pressure, and uninhibited mechanical motion. This comprehensive manual provides homeowners with trade-level diagnostic insights, allowing you to troubleshoot symptoms logically, execute manual forced-harvest resets safely, and determine when a certified appliance repair master technician is required to restore your appliance to peak operation.
In high-end luxury appliances installed throughout Alpharetta neighborhoods like Windward, Country Club of the South, and Avalon, dual ice makers (standard crescent ice in the freezer plus craft spherical ice in the door) utilize dual electronic control modules. Understanding how these systems interact with main control board microprocessors, defrost termination timers, and evaporator fan circuits is critical for accurate troubleshooting.
2. Common Symptoms of Ice Maker Failure
Identifying the exact visual, acoustic, and physical symptoms of your ice maker’s malfunction drastically narrows down the required diagnostic checks. Refrigerator ice makers rarely fail without exhibiting distinct preliminary indicators. Below are the most frequent symptom profiles observed during field service inspections across Alpharetta, Milton, and Roswell residences.
Symptom A: Complete Absence of Ice Production (Silent Machine)
The ice maker produces zero ice cubes, displays no motor movement, and makes no humming or buzzing sounds during water fill windows. The ice storage bin remains completely bone dry. This condition usually signals an unpowered control module, a tripped wire shutoff arm locked in the UP position, an optical sensor board failure, an open thermal fuse within the mold assembly, or cabinet temperatures hovering above 15°F (-9°C).
Symptom B: Loud Humming or Buzzing Noise Without Water Fill
Every 1 to 2 hours, a distinct electric humming sound radiates from the lower rear panel of the refrigerator for 5 to 7 seconds, but no water reaches the ice mold. This acoustic signature indicates that the main control board is successfully sending 120V AC power to the water inlet valve solenoid, but water is unable to pass through. The underlying cause is typically a frozen fill tube elbow, a clogged inline sediment screen, a shut-off saddle valve left closed, or total mechanical seizure of the internal valve plunger.
Symptom C: Hollow, Small, or Deformed Ice Cubes
The ice maker continues to cycle and harvest, but the resulting ice cubes are paper-thin, hollow shells, or misshapen slivers that fuse together in the bucket. This symptom directly correlates with restricted water volume during the timed fill cycle. Primary culprits include a partially restricted water filter cartridge, low house water pressure (below 20 PSI dynamic pressure), scale buildup inside the inlet valve nozzle, or a failing water pressure regulator on your home line.
Symptom D: Oversized Solid Ice Blocks or Water Leaking into the Bin
Water continuously drips or trickles into the ice storage bin, freezing the harvested cubes into a solid, impenetrable block of ice or dripping down the freezer wall onto the floor. This severe fault is caused by a leaking water inlet valve whose internal diaphragm is mechanically propped open by mineral scale deposits, high water line pressure exceeding 120 PSI, or an overfilling mold due to a shorted harvest timing microswitch.
Symptom E: Ice Maker Ejection Arm Stuck Mid-Cycle
The plastic or metal ejector fingers are frozen solid inside the ice mold half-way through their rotation cycle, or the motor continuously clicks without advancing. This symptom indicates a burnt-out mold heater element, a stripped motor drive gear, or ice cubes that have frozen into an irregular shape preventing mechanical clearance.
Symptom F: Discolored, Clouded, or Foul-Tasting Ice Cubes
Ice cubes display brown or yellow specks, taste strongly of chlorine or stale food, or crumble upon dispensing. This indicates an expired activated-carbon water filter, heavy mineral oxidation from copper plumbing saddle valves, or a degraded Teflon non-stick coating peeling off the interior surface of the aluminum ice mold.
3. Deep-Dive Analysis of Ice Maker Causes
Understanding the physics and component logic behind ice maker failures empowers homeowners to address problems systematically. Below is an exhaustive technical breakdown of the six primary root causes responsible for ice maker failure in modern refrigerators.
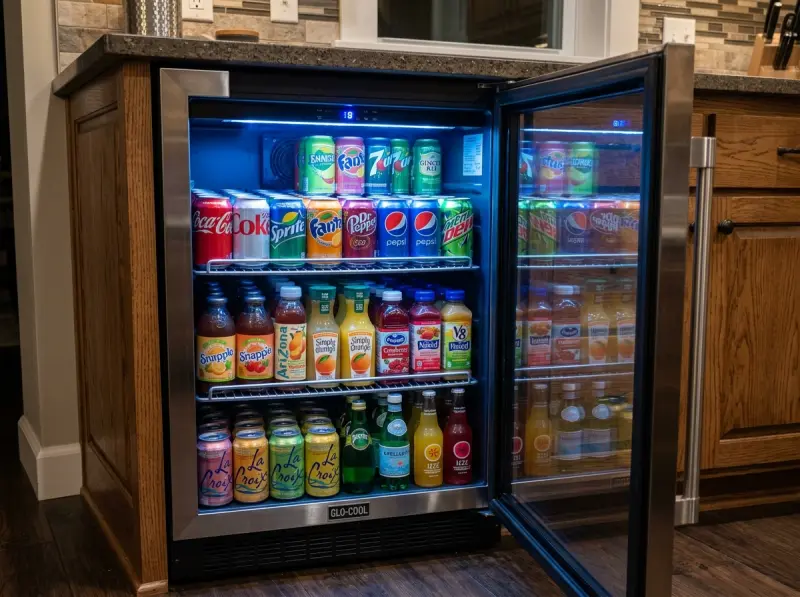
Cause 1: Inadequate Freezer Cabinet Temperature (The 10°F Threshold)
Modern ice makers utilize a mechanical bimetal thermostat clip-mounted to the aluminum ice mold or a thermistor sensor monitored by an electronic control board. To prevent dispensing liquid water during harvest, the ice maker control logic will refuse to initiate a harvest cycle until the mold temperature drops below 10°F to 15°F (-12°C to -9°C). Furthermore, optimal ice production requires an ambient cabinet temperature of 0°F (-18°C).
If your refrigerator’s freezer section is operating at 12°F to 20°F due to a dirty condenser coil, a failing evaporator fan motor, a severe frost buildup on the evaporator coils, or a failing sealed system compressor, the refrigerator may keep ice cream reasonably firm while completely halting automatic ice production. Never adjust your ice maker components before verifying cabinet temperature with a calibrated thermometer.
Cause 2: Frozen Water Line or Fill Tube Cup Assembly
The water line tube extending from the rear chassis into the ice maker mold cup is vulnerable to freezing. If house water pressure drops suddenly or if the water inlet valve leaks micro-droplets of water past its internal rubber seat, residual moisture inside the fill spout freezes solid. Over successive fill attempts, ice builds up inside the spout like a stalactite, completely blocking incoming water flow. Even though the valve energizes correctly, zero water enters the mold, resulting in a silent halt to ice production.
Cause 3: Defective Dual or Triple Water Inlet Valve Solenoid
The water inlet valve is an electro-mechanical device mounted on the lower rear frame of the refrigerator. It features one primary supply port connected to the home water pipe and multiple output ports feeding the door water dispenser, ice maker, and craft ice assembly. The valve contains electromagnetic solenoid coils that lift an internal rubber diaphragm when energized with 120V AC voltage.
Over time, these solenoid coils suffer from thermal breakdown, leading to an open electrical circuit (burnt winding). Alternatively, municipal water scale, calcium deposits, or hard water minerals can coat the internal plunger shaft, preventing physical movement even when electrical voltage is applied. Testing solenoid resistance with a multimeter is mandatory when diagnosing water fill failures.
Cause 4: Clogged Refrigerator Water Filter or Restricted Supply Valve
Every modern refrigerator equips a multi-stage carbon block water filter to remove chlorine, rust, and heavy metals. As the filter cartridge traps sediment, internal flow velocity decreases exponentially. When dynamic water pressure drops below 20 PSI, the water inlet valve cannot open cleanly, resulting in short fills or complete lack of water delivery during the brief 5-second valve energization window. Furthermore, self-piercing saddle valves installed on copper home plumbing frequently clog with oxidation scale, drastically choking water flow.
Cause 5: Faulty Optical Sensors or Feeler Shutoff Arm
To prevent ice bins from overflowing, ice makers incorporate mechanical feeler arms or infrared optical transmitter/receiver boards. In mechanical shutoff models, raising the metal bail arm trips an internal microswitch to cut circuit power. If the arm linkage dislodges or snaps, the ice maker remains permanently locked in the “off” state.
In electronic units (such as Whirlpool and KitchenAid optics systems), an infrared beam sweeps across the top of the ice bucket. If the optics board receiver suffers from cold solder joints or failed surface-mount capacitors, the status LED will flash diagnostic error codes (e.g., 2 blinks or 4 blinks), permanently disabling the harvest cycle.
Cause 6: Burnt-Out Ice Mold Heater or Mechanical Drive Motor Failure
In metal mold ice maker assemblies, an electric calrod heating element rated between 120W and 185W is embedded into the underside of the aluminum casting. During harvest initiation, this heater activates for approximately 60 to 90 seconds to melt the outer microscopic layer of ice bonding the cubes to the mold walls. If this heating element burns out (exhibiting infinite resistance / open circuit), the drive motor will attempt to turn the ejector arm against solid ice cubes, stripping the plastic nylon drive gears or tripping the motor’s internal thermal overload protection.
4. Step-by-Step DIY Troubleshooting & Reset Protocols
Before contacting a professional appliance technician, perform these safe, non-invasive diagnostic steps to reset your ice maker and identify straightforward mechanical or hydraulic obstructions.
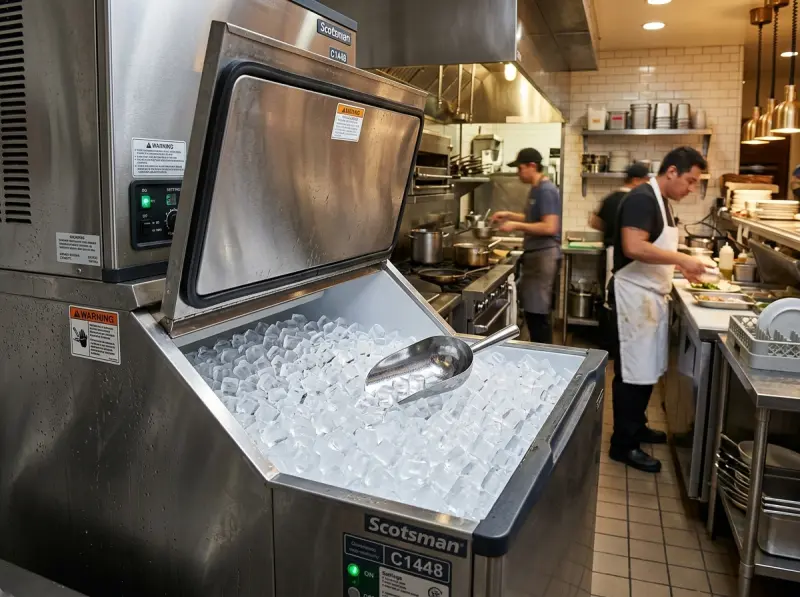
Step 1: Perform a Hard Manual Reset of the Ice Maker Assembly
Resetting the internal microprocessor or forcing a mechanical harvest cycle often clears temporary sensor glitches. The reset method depends on your refrigerator manufacturer:
| Brand / System Type | Reset Button Location | Reset Procedure & Execution | Expected Response Behavior |
|---|---|---|---|
| Samsung (In-Door / Slim) | Side or underside of ice maker module | Press and hold small rectangular button for 3 to 10 seconds until chime sounds. | Chime rings; harvest motor rotates ejector blades within 15 seconds. |
| LG (Craft Ice / In-Door) | Underside of ice generator housing pinhole | Insert paperclip into pinhole or hold tactile button for 3 seconds. | Motor rotates tray 360 degrees, resets fill solenoid pulse timing. |
| Whirlpool / KitchenAid (Modular) | Front module plate behind cover | Jumper test holes ‘T’ and ‘H’ with insulated 14-gauge copper wire for 3 seconds. | Drive gear begins clockwise rotation, energizes mold heater immediately. |
| GE Profile / Cafe | Power rocker switch on side frame | Toggle power switch OFF, wait 15 seconds, toggle ON, toggle feeler arm 3 times within 15s. | Initiates diagnostic sweep and activates water fill valve for 6 seconds. |
Step 2: Inspect and Clear the Water Fill Tube Assembly
Locate the white plastic fill tube extending into the rear top section of the ice mold. Inspect the spout using a flashlight. If a solid white block of ice is visible inside the tube, thaw it completely by applying gentle heat with a hairdryer on low setting or by directing warm water through a syringe. Do NOT use open flames or sharp screwdrivers, which will puncture the plastic water line or ruin the ice mold coating.
Step 3: Replace the Refrigerator Water Filter Cartridge
Shut off the water line supply valve. Remove the current water filter by rotating it counter-clockwise 90 degrees. Install a fresh OEM filter cartridge or temporarily insert the factory bypass plug. Turn the main water line back on and purge 1 gallon of water through the door dispenser to clear trapped air pockets. Check if ice production resumes within 12 hours.
Step 4: Verify Feeler Arm and Optoelectronic Bin Sensors
Ensure the wire shutoff arm moves freely from the fully down (ON) position to the fully raised (OFF) position without binding against bin walls or frost accumulation. For units equipped with optics sensor boards on the left and right bin walls, wipe the optical lenses clean using a soft microfiber cloth to remove moisture condensation or frost films that block the infrared beam path.
5. Safety Limits: When to Stop DIY Diagnostics
While basic troubleshooting (such as clearing ice jams or replacing water filters) is perfectly safe for homeowners, advanced electrical and sealed system work requires professional safety precautions. Discontinue DIY work and contact a licensed appliance repair technician under the following conditions:
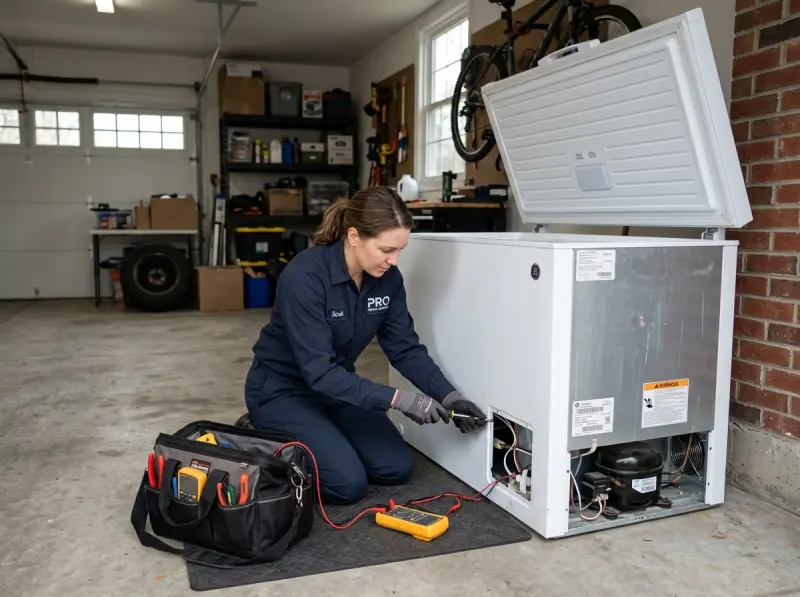
- Line-Voltage Electrical Testing: If troubleshooting requires live 120V AC voltage checks across exposed terminal blocks or main control board relays while the refrigerator is plugged into high-voltage wall outlets.
- PEX Plumbing Modifications: If you detect cracks or leaks in the main home water line connection, copper supply piping, or behind-cabinet push-connect fittings where accidental rupture could cause catastrophic home flooding.
- Defrost or Compressor Failures: If the freezer temperature remains above 15°F (-9°C) despite cleaning condenser coils, indicating a failing sealed system, refrigerant leak, or failing inverter control board.
- Repeated Thermal Fuse Blowouts: If replacing a component causes immediate electrical short circuits, circuit breaker trips, or thermal fuse failure upon repowering the unit.
6. Repair vs. Replace Decision Matrix (50% Rule)
Deciding whether to repair an existing refrigerator ice maker or replace components (or the entire appliance) requires evaluating the unit’s age, overall condition, and repair costs. Industry standards apply the 50% Rule: If the total repair cost exceeds 50% of the cost of a comparable new refrigerator, and the unit is over 8 years old, full replacement is recommended.
| Refrigerator Age | Diagnostic Condition | Recommended Action | Financial & Operational Rationale |
|---|---|---|---|
| 1 to 4 Years Old | Failed water valve, blocked tube, or broken modular ice maker | REPAIR (Highly Recommended) | Refrigeration system is in prime physical lifespan. Component repairs are highly economical. |
| 5 to 8 Years Old | Single component failure (e.g., replacement of ice mold gear kit) | REPAIR IF UNDER $350 | Cost-effective provided cabinet sealed system performance (temperatures 0°F) remains excellent. |
| 9+ Years Old | Multiple component failures + cabinet cooling degradation | REPLACE REFRIGERATOR | High probability of secondary sealed system or compressor wear; investing heavy funds is unadvisable. |
7. Estimated Repair Cost Factors in Fulton County
Professional appliance repair costs vary based on component expense, labor complexity, and specific appliance brand engineering. Below are the standard cost ranges for professional ice maker diagnostics and component replacements in Alpharetta, Johns Creek, Milton, and Roswell.
| Repair / Service Type | Typical Parts Cost | Standard Labor Cost | Total Professional Estimate Range |
|---|---|---|---|
| Standard Ice Maker Module Replacement | $85 – $185 | $110 – $160 | $195 – $345 |
| Dual Water Inlet Valve Replacement | $45 – $115 | $120 – $175 | $165 – $290 |
| Optics Sensor Board Kit Replacement | $65 – $130 | $100 – $150 | $165 – $280 |
| Craft Ice Generator / High-End French Door Assembly | $180 – $320 | $150 – $225 | $330 – $545 |
Note: Exact estimates are finalized on-site following comprehensive multimeter diagnostics and system pressure verifications.
8. How Professional Technicians Diagnose Ice Maker Systems
When an Alpharetta Appliance Repair master technician evaluates a non-functioning ice maker system, we follow a rigorous, 5-stage trade diagnostic protocol to isolate electrical, mechanical, and thermal anomalies without guessing.
Phase A: Electrical Resistance Checks with Digital Multimeter
The technician disconnects power to the appliance and sets a digital multimeter to the ohms (Ω) resistance setting. We disconnect the harness plug to the water inlet solenoid valve and measure resistance across the coil terminals:
- Healthy Valve Solenoid: Should read between 200 Ω and 500 Ω.
- Burnt Solenoid (Open Circuit): Displays infinite resistance (OL). Replacement required.
- Shorted Solenoid Coil: Reads near 0 Ω, causing control board triac damage or tripping household breakers.
Phase B: Live Voltage Testing During Forced Fill Test
Using insulated probe leads, the technician measures live AC line voltage delivered to the valve during a manual test cycle. When jumpering test points (e.g., ‘L’ and ‘V’ on modular assemblies) or triggering service mode via the front panel board, the multimeter must record 115V AC to 120V AC for precisely 5 to 7 seconds. If voltage is present but no water flows, the valve is mechanically seized. If voltage is absent, the failure resides in the wire harness, optic board, or main control board.
Phase C: Thermistor Temperature Curve & Bimetal Resistance Evaluation
For electronic ice makers, we measure the negative temperature coefficient (NTC) thermistor resistance. At 32°F (0°C), a standard thermistor reads approximately 8.8k Ω to 10k Ω. At 0°F (-18°C), resistance rises to approximately 30k Ω to 32k Ω. Out-of-spec readings prevent the main microprocessor from recognizing that the mold has reached harvest freezing thresholds.
9. Essential Replacement Component Catalog
Resolving ice maker breakdowns requires genuine OEM (Original Equipment Manufacturer) replacement parts. Standard repair components include:
- Modular Ice Maker Unit Assembly: Complete factory head incorporating motor gearbox, mold heater, feeler arm, and internal timing microswitches.
- Dual/Triple Water Inlet Valve Assembly: Refrigerator inlet valve equipped with quick-connect PEX ports and primary/secondary solenoids.
- Optic Control Board Kit: Transmitter and receiver LED circuit boards responsible for non-contact bin level detection.
- Water Fill Tube Heater Assembly: Low-wattage foil resistance heater wrapping the rear plastic fill tube to eliminate recurring freeze-ups.
- Water Line Saddle & Ball Valve Adapters: Heavy-duty brass 1/4-inch compression ball shutoff valves replacing prone-to-leak saddle valves.
10. Preventative Maintenance & Water Quality Care
Maximize the operational lifespan of your refrigerator ice maker by executing these routine preventative maintenance tasks every 6 months:
- Replace Water Filters Timely: Never bypass recommended 6-month filter replacement intervals. Microscopic silt and scale pass into the inlet valve diaphragm if filters remain in service past capacity.
- Clean Condenser Coils Semi-Annually: Vacuum dust, lint, and pet hair from the condenser coils located at the lower front toe-kick or rear chassis. Clean coils keep freezer operating temperatures at optimal sub-zero levels.
- Sanitize the Ice Bin Regularly: Wash the plastic storage bucket with warm water and mild dish soap every 60 days. Old ice absorbs food odors and accumulates microscopic frost crusts that jam auger dispensers.
- Flush Water Line Plumbing: If leaving your home for extended vacations over two weeks, turn off the ice maker shutoff arm and close the main water supply valve to prevent stagnant water scale setup inside line tubing.
11. HVAC & Electrical Safety Guidelines
Safety is paramount when working around high-voltage appliances and high-pressure plumbing connections:
- Disconnect Electrical Power: Unplug the refrigerator power cord or switch off the dedicated 15A/20A circuit breaker before opening access panels or touching electrical wiring harnesses.
- Shut Off Home Water Supply: Close the cold water supply shutoff valve located beneath the kitchen sink or inside the basement utility access panel prior to servicing water inlet valves.
- Beware of Sharp Sheet Metal & Evaporator Fins: Wear protective cut-resistant gloves when reaching into the rear compartment housing or freezer evaporator shroud to prevent severe lacerations.
- Avoid Hazardous Direct Heat: Never apply high-heat heat guns or butane torches inside plastic freezer liners. Excessive heat melts interior ABS walls, permanently destroying cabinet thermal insulation.
12. Frequently Asked Questions (20 Key Diagnostic Questions)
Q1: How long does an ice maker take to make ice after installation or reset?
A: Following initial installation or a hard forced-reset, an ice maker takes between 6 to 24 hours to begin regular ice production. The freezer cabinet must reach 0°F (-18°C) before the internal thermostat allows the initial water fill cycle to commence.
Q2: Why is my ice maker making a buzzing sound but no ice comes out?
A: A loud 5-second buzzing sound indicates that the water inlet valve solenoid is receiving electrical power, but no water is reaching the mold. This is caused by a frozen fill tube, a closed saddle shutoff valve, or a clogged water filter.
Q3: Can a dirty water filter cause an ice maker to stop working completely?
A: Yes. A heavily clogged water filter severely drops dynamic water pressure below 20 PSI. Without sufficient water pressure, the inlet valve solenoid cannot open fully, resulting in tiny hollow cubes or total failure to fill the mold.
Q4: How do I force my ice maker to cycle manually?
A: For Samsung units, press and hold the rectangular reset button for 3 seconds. For Whirlpool modular units, insert an insulated jumper wire between test holes ‘T’ and ‘H’ on the front module plate for 3 seconds.
Q5: What freezer temperature is required for an ice maker to operate?
A: The freezer cabinet must be at 0°F (-18°C) for optimal production. If freezer temperatures rise above 10°F to 12°F (-12°C to -11°C), the ice mold thermostat will not close, preventing harvest cycles.
Q6: Why are my ice cubes tasting bad or smelling like food?
A: Ice cubes act as natural sponges for airborne organic food odor compounds within the freezer. Bad tasting ice stems from unsealed food items, an expired carbon water filter, or an unwashed ice storage bin.
Q7: How do I unfreeze a frozen ice maker fill tube safely?
A: Direct warm air from a hairdryer on low heat toward the fill tube spout extending from the back freezer wall. Alternatively, squirt warm purified water through a squeeze bulb or syringe into the spout until the ice plug melts completely.
Q8: What is the average lifespan of a refrigerator ice maker?
A: The average operational lifespan of a residential ice maker module is 5 to 10 years. Water quality, filter maintenance, and family usage frequency directly influence component longevity.
Q9: How much does it cost to replace an ice maker assembly in Alpharetta, GA?
A: Replacing a standard modular ice maker assembly typically ranges between $195 and $345, including OEM parts and professional labor. High-end craft ice or specialty French door units range from $330 to $545.
Q10: Why is my ice maker leaking water onto the freezer floor?
A: Water leaking onto the freezer floor occurs when the water inlet valve diaphragm fails to seal tightly (staying slightly open), when the ice mold casing cracks, or when the fill tube misaligns with the mold entry cup.
Q11: What does a flashing red light on my ice maker optics board mean?
A: On Whirlpool and KitchenAid models, a flashing optics LED indicates a broken infrared sensor beam path. Two blinks point to an open optics beam (bin full or blocked), while four blinks indicate a failed receiver board requiring replacement.
Q12: Is it better to repair an ice maker or replace the entire refrigerator?
A: If your refrigerator is under 8 years old and overall cooling performance is excellent (0°F freezer, 37°F fresh food), repairing the ice maker is a fraction of the cost of buying a new $2,500 appliance.
Q13: How do I know if my ice maker water inlet valve is bad?
A: Test the valve solenoid terminals for electrical continuity using a digital multimeter. A reading outside of 200 Ω to 500 Ω (or an open circuit reading of OL) confirms a burnt solenoid coil that requires valve replacement.
Q14: Why is my ice maker making tiny, hollow ice cubes?
A: Hollow or small ice cubes result from inadequate water volume during the 5-second timed fill window. Replace your water filter and check your home water shutoff valve to ensure line pressure exceeds 20 PSI.
Q15: Can low water pressure affect my ice maker’s performance?
A: Absolutely. Ice makers require between 20 PSI and 120 PSI dynamic water pressure. Low pressure prevents the spring-loaded inlet valve from opening fully, causing incomplete mold filling and frozen water lines.
Q16: Can a reverse osmosis (RO) system work with my refrigerator ice maker?
A: Yes, but RO water systems lower delivery pressure to 30-40 PSI. If connected through long 1/4-inch tubing runs, dynamic pressure at the inlet valve drops below 20 PSI, causing short fills. Installing a dedicated RO water booster pump restores proper flow.
Q17: Why is my craft ice maker making cloudy spheres instead of clear ice?
A: Craft clear ice makers freeze water slowly from the bottom up while micro-vibrating to expel air bubbles. Cloudiness occurs if mineral content is high, water temperature is too warm, or the internal heating cycle releases the sphere prematurely.
Q18: What is the purpose of the water valve thermistor in modern refrigerators?
A: The valve thermistor monitors ambient water line temperature at the back panel, preventing valve operation if incoming water is cold enough to freeze inside the internal flow meter channels.
Q19: How do I turn off my ice maker if I don’t have a feeler arm?
A: On modern digital touch screen refrigerators (Samsung Family Hub, LG SmartThinQ), navigate to the Appliance Control menu on the front panel display or smartphone app and toggle ‘Ice Maker’ to OFF.
Q20: Why does my ice maker only make ice once or twice a day?
A: Extremely slow production indicates that freezer cabinet cooling is lagging (temperatures hovering between 8°F and 12°F), causing long delays before the mold thermistor triggers the harvest cycle.
17. Key Diagnostic Takeaways
- Check Cabinet Temperature First: Ice makers refuse to initiate harvest cycles unless freezer cabinet temperatures drop below 10°F (-12°C). Optimal operating temperature is 0°F (-18°C).
- Inspect Water Filter Cartridges: Restricted or old filters reduce water pressure below 20 PSI, preventing the water inlet valve from filling the mold properly.
- Check Fill Tube Spouts for Ice: A frozen water line entry spout blocks fresh water delivery. Safely thaw using low hairdryer heat or warm water flushing.
- Measure Solenoid Resistance with a Multimeter: Defective inlet valve coils will display open circuit (OL) or resistance outside the standard 200 Ω to 500 Ω range.
- Verify Feeler Arm & Optics Sensors: Ensure the shutoff bail arm is down and optical sensor lenses are clean and unobstructed by frost.
- Utilize Hard Manual Resets: Initiating forced-harvest sequences clears electronic control board logic faults and tests motor rotation functionality immediately.
Need Professional Ice Maker Repair in Alpharetta, GA?
Don’t let a non-functioning ice maker ruin your beverages or cause unexpected kitchen leaks. The certified master technicians at Alpharetta Appliance Repair bring factory diagnostic tools, genuine OEM parts, and transparent flat-rate pricing directly to your doorstep across North Fulton County.
Same-Day & Next-Day Diagnostic Appointments Available in Alpharetta, Milton, Roswell & Johns Creek.
Need Certified Appliance Repair Today?
Skip the phone line — book direct local priority dispatch across Alpharetta, Milton, Roswell & Johns Creek.