
Why is My Refrigerator Not Cooling? (Troubleshooting & Repair Guide)
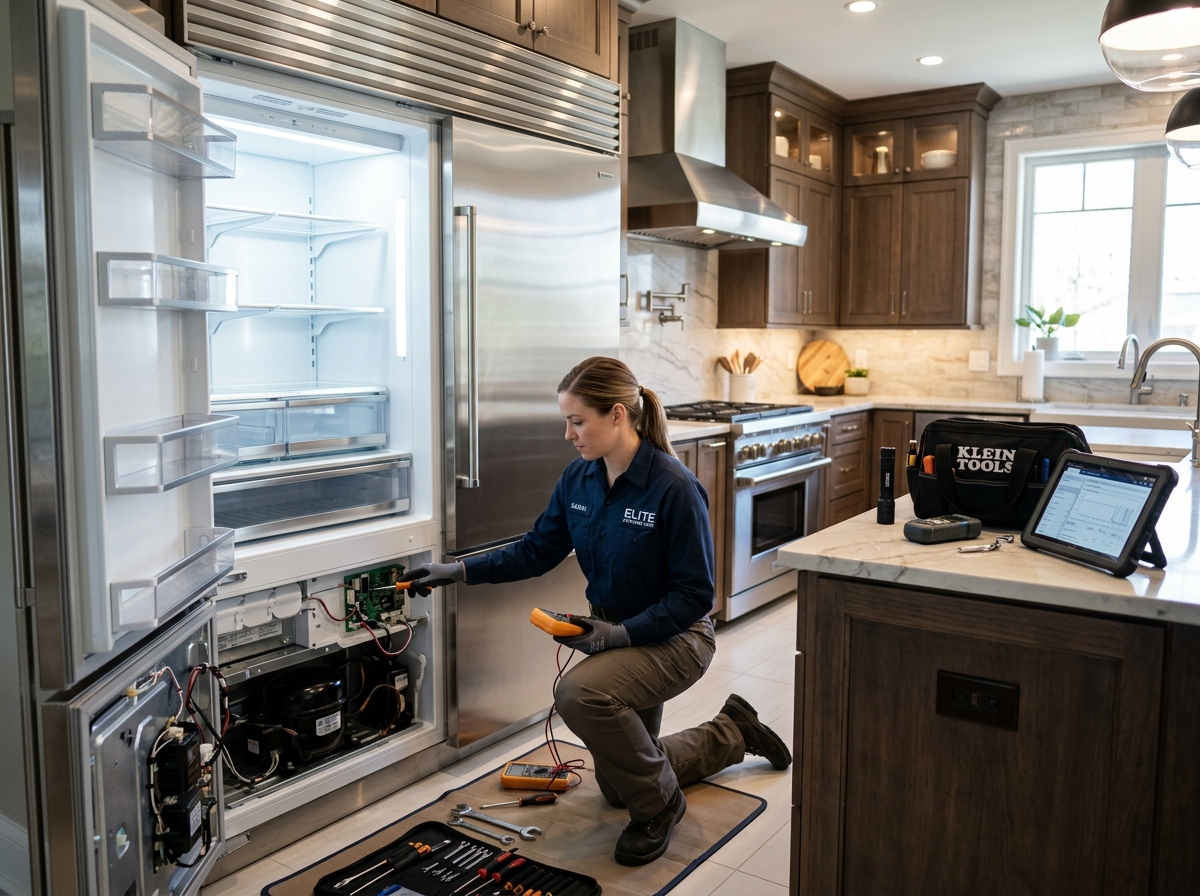
Summary:A refrigerator that fails to cool is a major inconvenience that can result in hundreds of dollars in spoiled groceries. The problem usually traces back to an airflow restriction, a failed defrost cycle, or a malfunction within the sealed refrigerant system. In this highly technical and comprehensive guide, we dissect the mechanics of modern refrigerators, from NTC thermistor resistance curves to computer control board relays, equipping you with the knowledge to diagnose and understand the underlying issues.
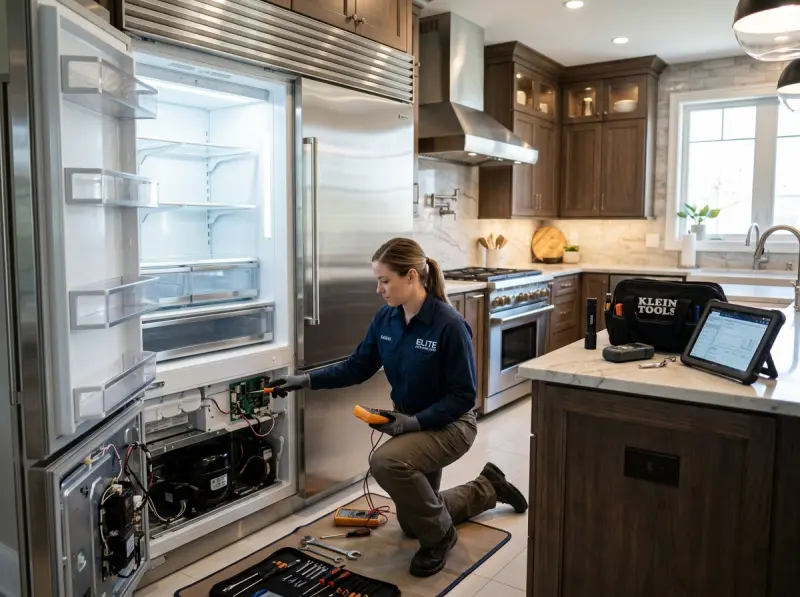
Quick Answer: Why Is My Refrigerator Not Cooling?
Quick Answer: The most common reasons a refrigerator stops cooling are dirty condenser coils, a malfunctioning evaporator fan motor, or a failure in the auto-defrost system (such as a burnt-out defrost heater or bad bi-metal thermostat). To resolve this quickly, unplug the refrigerator, thoroughly vacuum the condenser coils at the bottom or rear, and verify that the condenser cooling fan is spinning freely. If the freezer is cold but the fresh food section is warm, the airflow is likely blocked by a heavy frost buildup on the evaporator coils, requiring a manual thaw and parts replacement.
Introduction
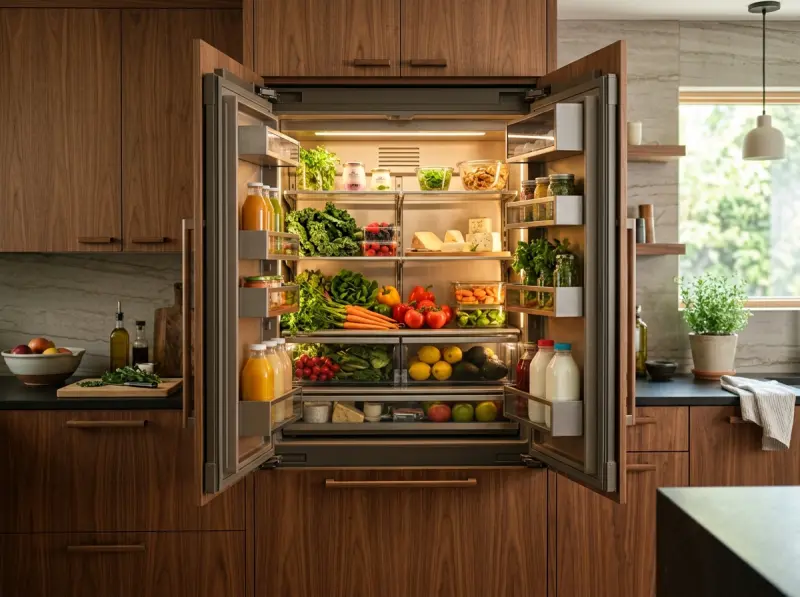
Understanding why your refrigerator is not cooling requires delving into the intricate thermodynamics and electrical engineering behind modern refrigeration systems. A refrigerator does not “make cold”; rather, it extracts heat from the interior compartment and releases it into the surrounding room. This heat transfer is accomplished via the phase change of a chemical refrigerant (such as R-134a or R-600a isobutane) circulating through a closed loop of copper or aluminum tubing.
When this delicate balance is disrupted—whether by an electrical failure, a mechanical breakdown, or a physical blockage—the temperature inside the appliance rapidly rises. This guide is designed for homeowners and DIY enthusiasts who want to understand the deep technical reasons behind a failing refrigerator. We will explore the symptoms of a failing cooling system, common mechanical and electrical culprits, and provide a rigorous, step-by-step troubleshooting protocol. By the end of this comprehensive article, you will be equipped to identify complex issues, understand professional diagnostic procedures involving multimeters and wiring schematics, and know exactly when it’s time to call in a master technician.
Symptoms of a Failing Refrigerator
Identifying the precise symptoms of your refrigerator’s failure is the critical first step in the diagnostic process. Different failure modes present themselves in unique ways. Pay close attention to these warning signs:
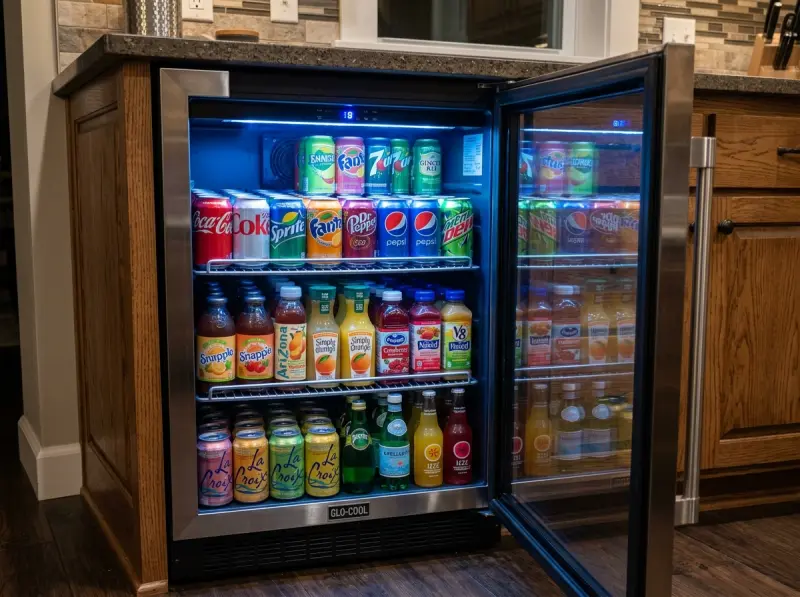
- The Freezer is Freezing, but the Fridge is Warm: This is arguably the most common symptom. It typically indicates an airflow restriction between the freezer (where the evaporator coils are housed) and the fresh food compartment. The cold air is generated in the freezer and blown into the fridge via a damper door. If the evaporator fan fails or frost blocks the air channels, the fridge warms up.
- Both Compartments are Warm: If neither the freezer nor the refrigerator is cooling, the issue usually lies with the primary cooling components. This points toward a failed compressor, a defective start relay, heavily clogged condenser coils, or a catastrophic loss of refrigerant (a sealed system leak).
- Clicking Sound from the Back: A repetitive, rhythmic clicking noise originating from the rear bottom of the refrigerator is a classic sign of a failing compressor start relay or overload protector. The clicking occurs when the relay attempts to start the compressor, fails, and the overload protector trips due to high amperage draw.
- Excessive Frost Buildup on the Freezer Back Wall: If the back wall of your freezer resembles an arctic tundra, the auto-defrost system has likely failed. A thick layer of frost insulates the evaporator coils, preventing heat absorption and severely crippling the appliance’s cooling capacity.
- Constant Running (Never Cycling Off): A refrigerator that runs continuously without ever shutting off is struggling to reach its target temperature. This could be due to degraded door gaskets letting warm air in, dirty condenser coils forcing the compressor to work overtime, or a weakening compressor.
- Water Puddles on the Floor: While not a direct cooling issue, water leaking from the bottom often accompanies a clogged defrost drain, which can eventually lead to ice buildup that obstructs airflow.
Common Causes for a Refrigerator Not Cooling
Modern refrigerators are complex electromechanical devices. A failure in any subsystem can cascade into a complete loss of cooling. Here are the primary culprits in detailed technical depth.
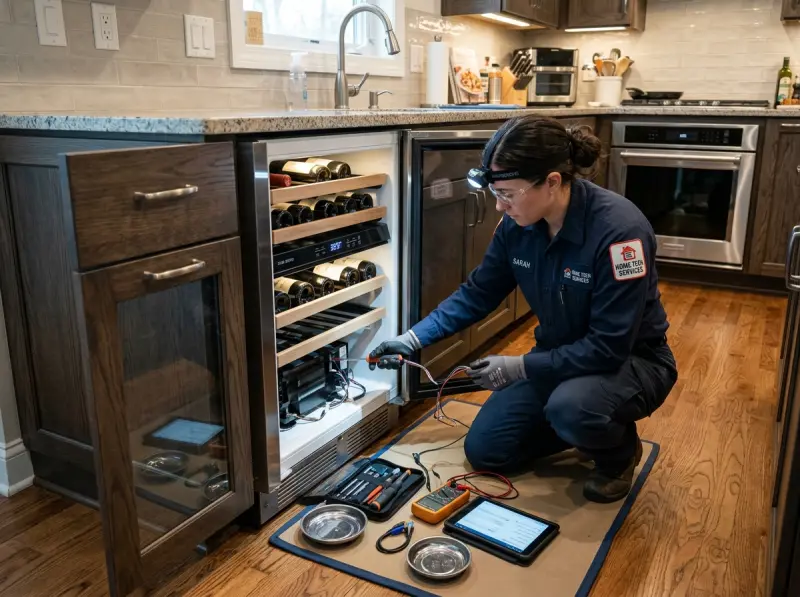
1. Dirty Condenser Coils
Quick Answer: Dust, pet hair, and debris coat the condenser coils, acting as an insulator and preventing the release of heat.
Detailed Explanation: The condenser coils, typically located beneath or behind the refrigerator, are responsible for dissipating the heat extracted from the interior. The compressor pumps high-pressure, high-temperature refrigerant gas into the condenser. As room air is drawn across the coils by the condenser fan, the gas cools and condenses into a high-pressure liquid. If the coils are insulated by a thick layer of dust, the heat transfer coefficient plummets. The compressor runs hotter and longer, eventually failing to condense the refrigerant efficiently, resulting in elevated interior temperatures.
2. Failed Evaporator Fan Motor
Quick Answer: The evaporator fan circulates cold air; if the motor dies, the freezer may stay cold while the fridge gets warm.
Detailed Explanation: Located behind the interior back wall of the freezer compartment, the evaporator fan pulls air across the freezing-cold evaporator coils and pushes it throughout the freezer and into the fresh food section. If the motor windings burn out, the fan blade binds due to ice buildup, or the bearings seize, airflow stops. Cold air sinks and remains trapped at the bottom of the freezer, while the upper shelves and the entire fresh food compartment experience a severe temperature rise.
3. Defrost System Failure
Quick Answer: A failure in the defrost heater, bi-metal thermostat, or control board causes ice to choke the evaporator coils.
Detailed Explanation: Refrigerators operate in a continuous cycle of freezing and defrosting. Moisture in the air naturally condenses and freezes on the sub-zero evaporator coils. To manage this, a defrost timer or main control board initiates a defrost cycle every 8-12 hours. During this cycle, power is routed to a defrost heater tube positioned beneath the coils. A bi-metal safety thermostat monitors the temperature, cutting power to the heater once the ice has melted (usually around 45°F to 55°F) to prevent fire hazards or melting plastic. If the heater filament breaks, the bi-metal thermostat gets stuck open, or the main board fails to send voltage, frost accumulates aggressively, eventually creating a solid block of ice that completely blocks airflow.
4. Defective Compressor Start Relay
Quick Answer: The start relay provides the initial electrical jolt to turn on the compressor. If it fails, the compressor won’t run.
Detailed Explanation: The compressor requires a massive surge of current to overcome mechanical inertia and start pumping refrigerant. The start relay momentarily directs power to the compressor’s start winding. Once the motor reaches operating speed, the relay drops the start winding out of the circuit, leaving the motor running on the main run winding. A common failure point is a burnt or shattered PTC (Positive Temperature Coefficient) thermistor inside the relay. When the PTC fails, the compressor attempts to start but draws locked-rotor amperage (LRA), causing the overload protector to trip with an audible “click.”
5. Failed NTC Thermistor (Temperature Sensor)
Quick Answer: A bad thermistor sends incorrect temperature readings to the main computer, causing the fridge to stop cooling.
Detailed Explanation: Modern refrigerators utilize Negative Temperature Coefficient (NTC) thermistors to monitor internal temperatures. These thermistors are solid-state resistors whose electrical resistance changes inversely with temperature. For example, a common GE thermistor might read 16.3 kΩ at 32°F but drop to 5.0 kΩ at 77°F. If moisture penetrates the thermistor’s epoxy seal, or if the semiconductor material degrades, the resistance value skews. The main control board interprets this skewed resistance as an incorrect temperature (e.g., thinking the fridge is 34°F when it is actually 60°F) and consequently fails to turn on the compressor or fans.
6. Main Computer Control Board Failure
Quick Answer: The control board is the brain; burnt relays or blown capacitors on the board prevent power from reaching cooling components.
Detailed Explanation: The main electronic control board houses microprocessors and solid-state relays that govern the entire appliance. It processes inputs from the thermistors and door switches, and in turn, sends 120V AC or varying DC voltages to the compressor, fans, and defrost heater. Power surges, voltage spikes, or simple component degradation over time can cause the solder joints to crack, electrolytic capacitors to bulge and leak, or the relays to fuse open. When the board fails, it may refuse to initiate the cooling cycle altogether, or it may erratically cycle components on and off.
Step-by-Step Troubleshooting (DIY Checks)
Before calling a professional, you can perform several safe, DIY diagnostics to potentially resolve the issue or narrow down the culprit.

Step 1: Check the Power and Basics
- Ensure the refrigerator is firmly plugged into a dedicated 120V, 15A or 20A grounded outlet.
- Check the home’s circuit breaker box to ensure the dedicated circuit hasn’t tripped.
- Verify that the interior lights turn on when you open the door. If not, you may have a power supply issue.
- Ensure the thermostat controls haven’t been accidentally turned off or set to “Demo/Showroom” mode.
Step 2: Inspect and Clean Condenser Coils
- Unplug the refrigerator from the wall for safety.
- Remove the base grille (kickplate) at the bottom front, or pull the unit out and remove the lower rear access panel.
- Using a narrow vacuum attachment and a long, flexible coil-cleaning brush, meticulously remove all dust and lint from the coils.
- A heavily impacted condenser is a primary cause of compressor overheating.
Step 3: Listen for the Evaporator Fan
- Open the freezer door and depress the door switch (if applicable).
- Listen closely to the back wall of the freezer. You should hear the hum of the evaporator fan motor and feel a steady breeze of cold air.
- If the fan is silent, or if you hear a grinding/squealing noise, the motor needs replacement.
Step 4: Check for Frost Buildup (Defrost Issue)
- Inspect the rear panel inside the freezer compartment. If you see snow-like frost or solid ice bulging from the vents, the defrost system has failed.
- As a temporary measure, you can unplug the fridge, leave the doors open, and allow it to completely manually defrost for 24 hours. (Lay down towels to catch the massive amount of water). If the fridge works perfectly for 4-5 days after a manual thaw and then warms up again, you have confirmed a defrost system failure.
Step 5: Verify the Condenser Fan is Running
- While the compressor is running (you should hear it humming), look at the rear of the refrigerator near the compressor.
- The condenser fan, located next to the compressor, must be spinning rapidly. If the blade is jammed with debris or the motor has seized, the compressor will overheat and shut down on the overload protector.
When to Stop DIY and Call a Professional
While cleaning coils and clearing obstructions are safe DIY tasks, refrigerator repair quickly ventures into hazardous territory. You must immediately stop DIY efforts and call a certified, licensed professional if you encounter any of the following:
- Live Voltage Testing Required: Diagnosing a faulty control board or testing a defrost heater requires working with live 120V AC power using a multimeter. One slip of a probe can cause a severe electrical shock or arc flash.
- Sealed System Repairs: If the compressor is running continuously but the coils are not getting cold, you likely have a refrigerant leak or a failed compressor. By federal law (EPA Section 608), only certified technicians are permitted to recover, evacuate, braze, and recharge chemical refrigerants. Accessing the sealed system without proper equipment and licensing is illegal and extremely dangerous.
- Complex Wiring Schematics: If the repair involves tracing circuits, interpreting complex manufacturer wiring diagrams, or splicing high-voltage lines, leave it to an expert.
- Compressor Replacement: Swapping a compressor involves cutting copper lines, operating an oxy-acetylene torch inside a confined space, pulling a deep vacuum, and weighing in the exact charge of R-134a or highly flammable R-600a (isobutane).
Repair vs Replace: The 50% Rule Decision Table
A major appliance failure always begs the question: Should I repair this refrigerator or buy a new one? We recommend utilizing the “50% Rule” and evaluating the age of the unit against the cost of repair. A typical refrigerator has a lifespan of 10 to 14 years.
Comparison Decision Framework
| Factor | Recommend Repair | Recommend Replace |
|---|---|---|
| Age of Appliance | Less than 8 years old. | Over 12 years old (or nearing the end of its useful life). |
| Repair Cost vs. Replacement Value | Repair cost is less than 50% of the cost of a new, comparable refrigerator. | Repair cost exceeds 50% of a new unit. |
| Type of Failure | Fans, control boards, sensors, thermostats, or defrost heaters. | Catastrophic sealed system failure (compressor burnout, unrepairable freon leak in the cabinet walls). |
| Overall Condition | Excellent aesthetic condition, well-maintained, shelving intact. | Cracked interior liners, severely rusted doors, torn gaskets, broken shelves. |
| Energy Efficiency | Already an Energy Star rated appliance. | Older, highly inefficient model that spikes your electricity bill. |
*Note: Built-in luxury refrigerators (e.g., Sub-Zero, Thermador) have a much higher replacement cost (often $8,000 – $12,000+) and are almost always worth repairing, extending their lifespan up to 20 years.
Estimated Cost Factors
The cost of repairing a refrigerator that won’t cool varies dramatically based on the root cause, the brand, and the accessibility of the appliance. Keep in mind that diagnostic fees, labor rates, and OEM parts markup influence the final bill. Here is an explanation of what influences these costs:
- Minor Electrical/Sensory Parts: Thermistors, bi-metal defrost thermostats, and door switches are relatively inexpensive parts. The primary cost here is the technician’s labor to disassemble the interior panels and splice in the new components.
- Motors and Fans: Evaporator and condenser fan motors require moderate labor to replace. High-end brands or variable-speed DC fan motors significantly increase the part cost compared to standard 120V AC motors.
- Control Boards: The main electronic computer board is an expensive component. Modern “smart” refrigerators feature highly complex boards that can drive up the total repair cost substantially.
- Sealed System Work (Highest Cost): If the compressor has failed, or if there is a leak in the evaporator coil, the repair involves intensive labor. The technician must evacuate the old refrigerant, use a torch to braze new copper joints, install a new filter drier, pull a deep vacuum using specialized pumps, and accurately recharge the system. Due to the high cost of compressors and the specialized skills and tools required, this is the most expensive type of repair.
How Professionals Diagnose This Issue
When our Master Technicians arrive at your home, they do not guess; they execute a rigorous diagnostic protocol based on electrical engineering principles and thermodynamics.
1. The Multimeter Resistance Test (Ohm’s Law)
Technicians rely heavily on a digital multimeter to test continuity and resistance. To test a defrost heater, the tech isolates the component and checks for continuity. A good glass tube heater should read between 20 to 50 ohms depending on the wattage. An infinite reading (OL) indicates a broken filament inside the tube.
2. NTC Thermistor Resistance Curves
Diagnosing temperature sensors involves measuring the thermistor’s resistance in a controlled environment. A technician will place the thermistor in an ice-water bath (exactly 32°F / 0°C) and measure the ohms. They then cross-reference this reading with the manufacturer’s specific resistance-temperature curve. If a GE thermistor reads 12 kΩ in ice water instead of the specified 16.3 kΩ, the sensor is skewed and must be replaced.
3. Live Voltage Testing at the Control Board
Instead of tearing apart the freezer immediately, a skilled tech will locate the main control board and check the wiring schematic. By putting the refrigerator into forced defrost mode via a diagnostic sequence on the UI panel, the tech can measure the voltage output at the board. If 120V AC is leaving the “Defrost” pin on the board but the heater isn’t getting hot, the problem is in the wiring, the bi-metal thermostat, or the heater itself. If zero voltage leaves the board, the board’s internal relay has failed.
4. Amp Draw and Compressor Winding Analysis
If the compressor is attempting to start but failing, the tech uses a clamp-on ammeter to measure the current rush. If the compressor pulls high LRA (Locked Rotor Amps)—often 12 to 20 amps—and clicks off, the tech removes the start relay. They then test the compressor’s motor windings (Common to Start, Common to Run, and Start to Run). The resistance of the Start winding plus the Run winding must exactly equal the resistance measured across the Start and Run pins. Furthermore, they check each pin to ground; any continuity to ground indicates an internal short, meaning the compressor is catastrophically destroyed.
Common Parts Involved in Cooling Failures
- Compressor: The pump that circulates refrigerant through the sealed system.
- Start Relay & Overload: The components that deliver the initial surge of power to the compressor and protect it from overheating.
- Evaporator Fan Motor: The fan inside the freezer that blows air across the cold coils and pushes it into the fridge.
- Condenser Fan Motor: The fan near the compressor that pulls ambient air across the hot condenser coils to cool the refrigerant.
- Defrost Heater Tube: A high-resistance wire, often encased in glass or aluminum, that heats up to melt frost off the evaporator coils.
- Bi-Metal Safety Thermostat: A safety switch in series with the defrost heater that opens the circuit when the coils reach a safe temperature, preventing overheating.
- Defrost Timer: An electromechanical clock (on older models) that mechanically switches power between the cooling circuit and the defrost circuit.
- Main Control Board: The central computer that receives inputs from sensors and operates relays to run all components.
- NTC Thermistors: Temperature sensors located throughout the compartments to monitor climate data.
- Air Damper Control Assembly: A motorized door that opens and closes to allow cold air from the freezer into the fresh food section.
Maintenance Tips to Prevent Cooling Failures
Preventative maintenance extends the lifespan of your refrigerator and ensures optimal energy efficiency.
- Clean the Condenser Coils Bi-Annually: This is the most crucial maintenance step. Use a vacuum and coil brush to remove dust from the condenser coils every 6 months. If you have shedding pets, do this every 3 to 4 months.
- Inspect and Clean Door Gaskets: Dirty or damaged door seals allow warm, humid air into the refrigerator. This moisture aggressively builds up as frost on the evaporator coils, overworking the defrost system. Wash gaskets with warm, soapy water and check for tears.
- Keep It Full (But Not Packed): A well-stocked refrigerator retains cold air better than an empty one, reducing temperature fluctuations when the door is opened. However, do not pack items so tightly that you block the air vents, which restricts vital airflow.
- Ensure Proper Leveling: A refrigerator that is not perfectly level may struggle to close its doors automatically, and the defrost drain pan may not drain water correctly.
Safety Tips During Troubleshooting
Appliance repair involves inherently dangerous voltages and moving parts. Adhere strictly to these safety protocols:
- Unplug the Unit: Always completely disconnect the refrigerator from the wall outlet before removing any access panels or touching internal components. Do not rely merely on turning off a switch or setting the thermostat to zero.
- Capacitor Discharge Warning: Some control boards and compressor circuits utilize large run capacitors. Even when unplugged, these capacitors can store lethal high voltages. They must be safely discharged using an insulated resistor before handling.
- Beware of Sharp Edges: The stamped metal edges of the cabinet chassis, evaporator fins, and condenser fins are razor-sharp. Wear heavy-duty cut-resistant gloves when reaching into tight spaces.
- Refrigerant Hazards: Modern refrigerants like R-600a (isobutane) are highly flammable. Never use a heat gun, hair dryer, or any open flame to manually defrost a freezer, as you risk melting the plastic liner or puncturing a refrigerant tube, leading to an explosion hazard.
Frequently Asked Questions
1. Why is my freezer cold but my refrigerator warm?
This is almost always an airflow issue. The cold air produced in the freezer cannot reach the fridge. Common culprits include a failed evaporator fan motor, a frozen block of ice over the evaporator coils (defrost failure), or a stuck air damper assembly.
2. How often should I clean the condenser coils?
You should clean the condenser coils at least twice a year. If your home is prone to dust or you have shedding pets, we recommend cleaning them every 3 to 4 months to prevent the compressor from overheating.
3. Will unplugging the fridge reset the control board?
Yes, unplugging the refrigerator for 5 to 10 minutes can “hard reset” the main control board, clearing temporary software glitches. However, it will not fix failed hardware components like burnt relays or broken sensors.
4. What does it mean if my refrigerator is constantly running?
A fridge that never cycles off is struggling to remove heat. This is typically caused by heavily clogged condenser coils, a failing door gasket letting warm air in, a weak compressor, or a partial leak of refrigerant.
5. What is the clicking noise coming from the back?
A rhythmic clicking sound from the lower rear is usually the compressor’s start relay failing and the overload protector tripping. The compressor tries to start, draws too much amperage, and the overload switch clicks open to prevent a fire.
6. Can I bypass a bad bi-metal defrost thermostat?
No. Never bypass the bi-metal safety thermostat permanently. It is a critical safety device designed to cut power to the defrost heater. Bypassing it can lead to melted plastic interior liners or a severe fire hazard.
7. How do I know if my compressor is bad?
A professional tests the compressor by checking the electrical resistance across its pins to ensure the windings are intact and not shorted to ground. If the compressor has correct resistance, gets power from the relay, but still won’t run (or hums and clicks off), it is mechanically locked up.
8. Why is there ice building up on the back wall of my freezer?
Ice buildup indicates a failure in the auto-defrost cycle. The defrost heater is not melting the ice, either because the heater itself is broken, the bi-metal thermostat has failed, or the control board isn’t sending voltage.
9. Is it worth repairing an 8-year-old refrigerator?
Usually, yes. If the repair cost is reasonable (e.g., replacing a fan or control board), an 8-year-old unit still has several years of useful life. However, if the compressor has failed, replacement might be the better financial decision based on the 50% Rule.
10. Can I use a hair dryer to melt the ice in my freezer?
We strongly advise against this. The high heat from a hair dryer can easily warp or permanently melt the thin plastic interior liners of the freezer. Furthermore, if you accidentally puncture an R-600a refrigerant line while heating it, it poses a major fire risk. Let it thaw naturally with the doors open.
11. How can I test a thermistor?
You test a thermistor by removing it and placing it in a glass of ice water (exactly 32°F). Use a multimeter to measure the resistance (ohms) and compare it against the manufacturer’s specific tech sheet.
12. What is a sealed system leak?
A sealed system leak means the copper or aluminum tubing holding the chemical refrigerant has developed a microscopic hole, allowing the gas to escape. Without refrigerant, the compressor runs, but the appliance cannot extract heat. This is a very expensive repair.
13. Does a refrigerator need freon to be recharged like a car?
No. A refrigerator is a hermetically sealed system. It never “uses up” freon. If the system is low on refrigerant, there is a leak that must be located and permanently brazed shut before the system can be recharged.
14. Why is the compressor hot to the touch?
Compressors naturally run warm (often around 100°F to 130°F). However, if the compressor is burning hot to the touch, it indicates overheating, likely due to dirty condenser coils or a seized condenser cooling fan.
15. What is the role of the air damper?
The air damper is a small motorized door located between the freezer and the fresh food compartment. Controlled by a thermistor in the fridge, it opens to let cold air drop in and closes when the target temperature is reached.
16. Can a bad door seal cause cooling issues?
Absolutely. A torn or warped door gasket continuously lets warm, humid room air into the fridge. This forces the compressor to run nonstop and causes rapid frost buildup on the evaporator coils.
17. How long does a refrigerator take to cool down after repair?
After a major repair, a refrigerator can take anywhere from 12 to 24 hours to completely stabilize its temperatures and return to the normal 37°F in the fridge and 0°F in the freezer.
18. What temperature should I set my refrigerator to?
The FDA recommends keeping your fresh food compartment at or below 40°F (ideally 37°F) and your freezer at 0°F (-18°C) to ensure food safety and optimal energy efficiency.
19. Is an inverter compressor different from a standard compressor?
Yes. Standard compressors operate at a single speed (on or off). Modern inverter (linear) compressors use variable-speed drives from the control board to run at lower, more efficient speeds continuously, rather than cycling on and off aggressively.
20. Why do I hear water dripping inside my fridge?
Hearing a sizzle or water dripping onto a hot surface is perfectly normal during the auto-defrost cycle. It is the sound of melted frost dripping off the evaporator coils and landing on the hot defrost heater below.
Key Takeaways
- A refrigerator not cooling is typically caused by airflow restrictions or a sealed system failure.
- If the freezer is cold but the fridge is warm, suspect a defrost system failure or a dead evaporator fan.
- Regularly vacuuming the condenser coils is the most critical maintenance step you can take.
- A clicking noise near the bottom back indicates a failing start relay or locked compressor.
- Never attempt to bypass safety thermostats or work on the sealed freon system without professional licensing.
- Use the 50% Rule to decide whether an aging unit is worth the cost of repair.
- Multimeter testing of thermistors and heaters is essential for accurate diagnostics.
Call to Action
Don’t let hundreds of dollars of groceries spoil while you struggle with a failing appliance. If your refrigerator has stopped cooling and DIY steps haven’t solved the issue, our certified Master Technicians are standing by. We carry the advanced diagnostic tools and OEM parts needed to get your fridge running efficiently again.
Need help fast? Click here to Call Jason J. – Master Tech Today! or Schedule Service Online.
Need Certified Appliance Repair Today?
Skip the phone line — book direct local priority dispatch across Alpharetta, Milton, Roswell & Johns Creek.