
Why is My Washing Machine Leaking Water? (DIY Troubleshooting Guide)
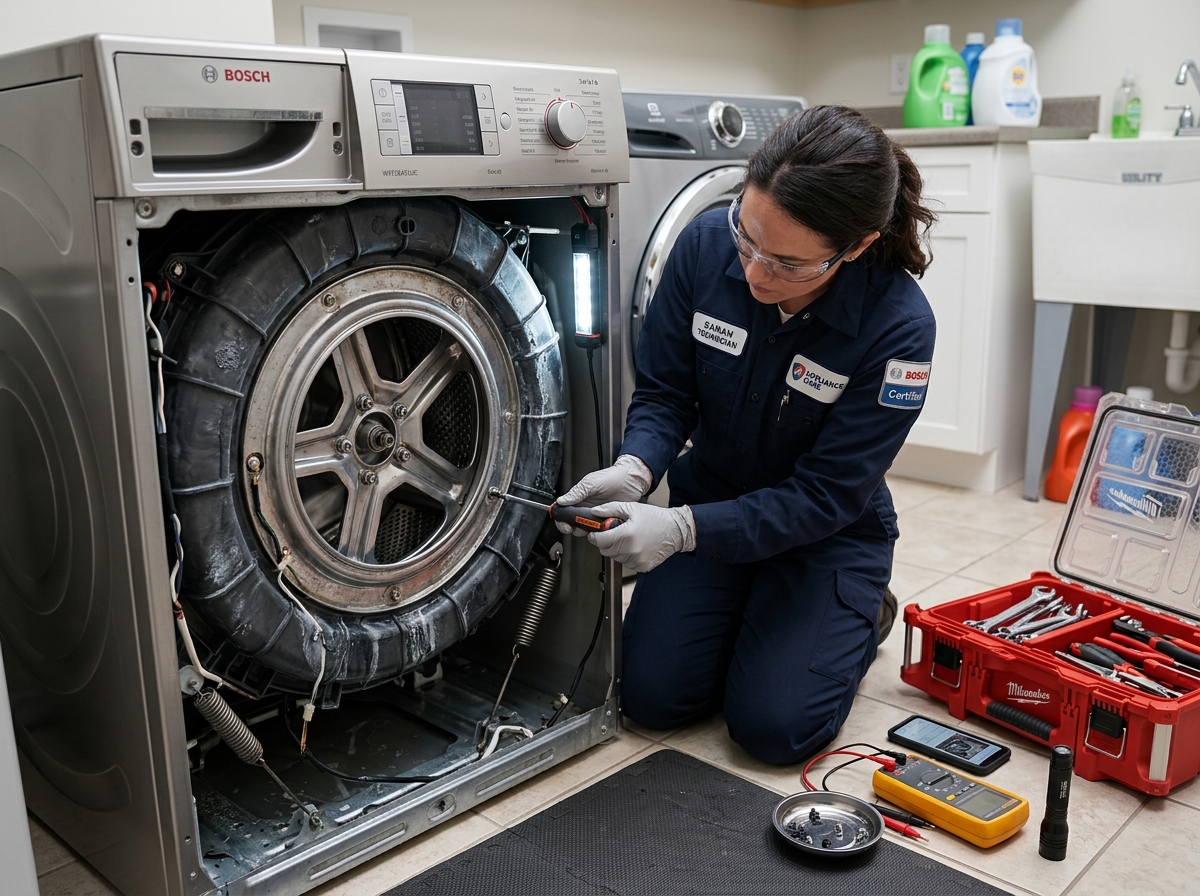
Why is My Washing Machine Leaking Water? (DIY Troubleshooting Guide)
A leaking washing machine can cause severe water damage if left unchecked. In this highly technical and comprehensive guide, we explore the mechanical causes behind leaks—such as worn tub seals, malfunctioning water inlet valves, and cracked drain pumps—to help you accurately diagnose the problem and decide whether to attempt a DIY repair or call a professional technician.
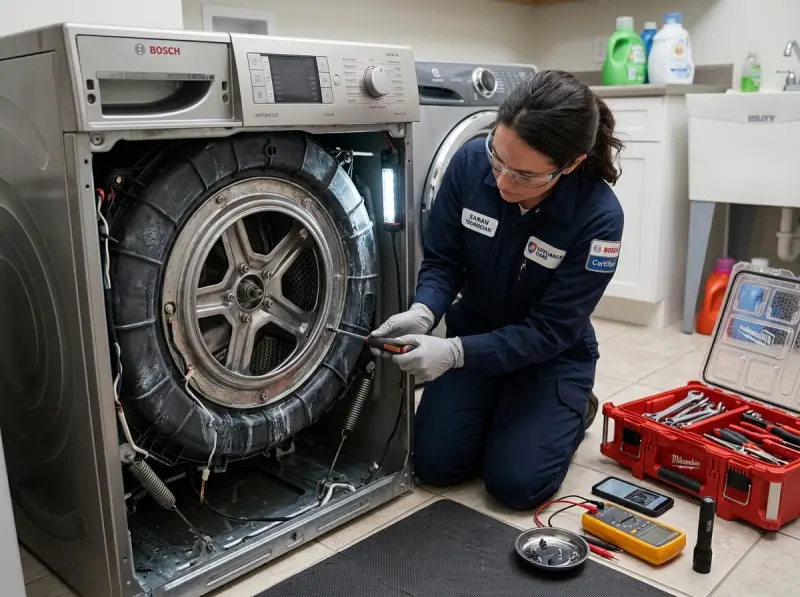
Quick Answer: Why Is My Washing Machine Leaking Water?
Quick Answer: A washing machine typically leaks water due to a degraded tub seal, a cracked or loose drain hose, a faulty water inlet valve with malfunctioning solenoid coils, or a damaged drain pump gasket. Identifying the exact location of the leak—front, back, bottom, or dispenser—is the first step in diagnosing which component has failed and requires replacement.
Detailed Explanation: When water pools around your washing machine, the source of the leak provides a critical clue. Front leaks often point to the door boot seal on front-load washers, while leaks from the back are usually associated with the water inlet valve or hoses. Bottom leaks are the most complex, often indicating a failure in the main tub seal, drain pump, or internal hoses.
Key Takeaways:
- Locate the leak source (front, back, bottom) to narrow down the problem.
- Always unplug the machine and shut off water valves before inspecting.
- Many external hose leaks are easy DIY fixes, but internal tub seal leaks require professional intervention.
5. Introduction
A leaking washing machine is one of the most stressful household appliance issues you can encounter. Water damage can ruin flooring, subflooring, and adjacent walls in a matter of minutes. As a homeowner, your immediate reaction is to stop the flow of water and figure out what went wrong. This guide is designed for homeowners who want to understand the mechanical intricacies of their washing machine and determine the root cause of the leak.
In this comprehensive troubleshooting manual, you will learn how to read the symptoms of a leak, systematically check external and internal components, and understand the technical functionality of parts like tub seals, water inlet valves, and drain pumps. Whether you are dealing with a minor drip from a supply hose or a massive puddle under the machine due to main bearing wear, this article provides the detailed insights you need to take informed action.
6. Symptoms: Identifying the Source of the Leak
Before you begin disassembling your washing machine, it is crucial to observe the symptoms. The location and timing of the leak are your best diagnostic tools.
Water Leaking from the Back
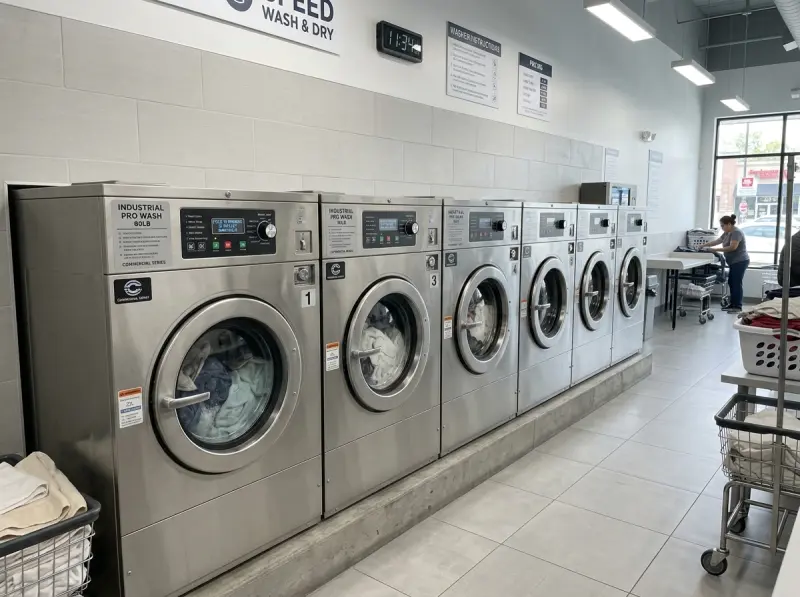
If you find water pooling behind the machine, the issue is almost always related to the water supply. Check for loose connections at the wall valves or the machine inlet. The water inlet valve itself may be cracked, or the internal solenoid coils may be failing to close the valve completely, allowing water to seep through even when the machine is off.
Water Leaking from the Front
On front-load washing machines, a leak from the front usually indicates a problem with the rubber door boot seal (bellows). Inspect the seal for tears, holes, or built-up mold and debris that prevent the door from sealing tightly. On top-load machines, a front leak could be caused by an overflowing tub due to a faulty water level pressure switch or a blocked air dome tube.
Water Leaking from the Bottom
A leak emanating from directly underneath the machine is the most concerning. This typically points to an internal component failure, such as a cracked drain pump, a leaking tub seal, or a damaged internal hose connecting the tub to the pump. In severe cases, main bearing wear can cause the tub seal to degrade, leading to significant water loss during the wash and spin cycles.
Water Leaking from the Dispenser
If water drips down the front of the machine from the detergent dispenser drawer, the dispenser housing may be cracked, or the water jets that flush the detergent into the tub may be clogged with hard water scale, causing water to spray erratically and leak out of the front.
7. Common Causes of Washing Machine Leaks
Quick Answer: The most frequent causes of a washing machine leaking water include degraded tub seals, damaged drain pump gaskets, malfunctioning water inlet valves, cracked hoses, and worn door boot seals.
The Tub Seal and Main Bearing Wear
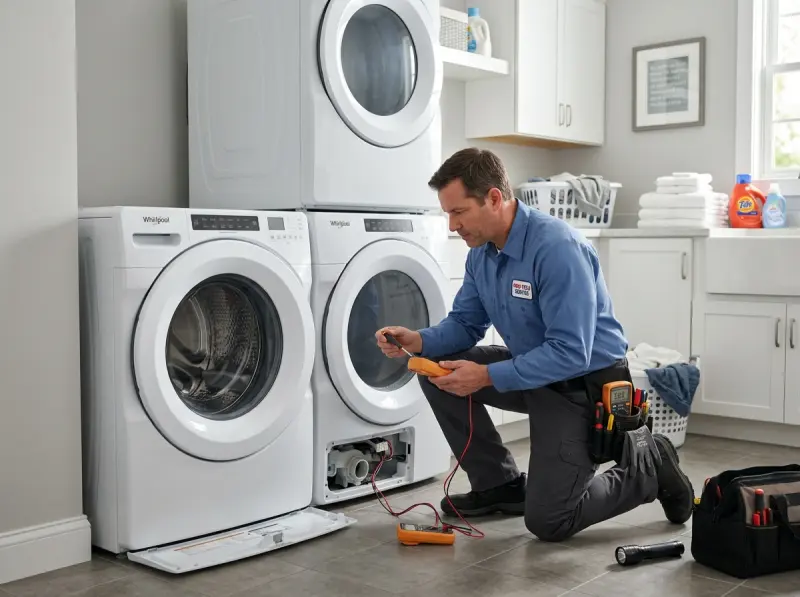
The tub seal is a critical rubber component that prevents water from leaking out of the bottom of the outer tub where the transmission shaft or spin basket shaft passes through. Over time, heavy loads, unbalanced cycles, and general wear and tear can cause the main bearings to fail. As the bearings wear out, the shaft wobbles, placing uneven pressure on the tub seal. Eventually, the seal tears or degrades, leading to a significant leak directly underneath the machine. This is a complex, labor-intensive repair that often requires complete disassembly of the washer.
Water Inlet Valve Solenoid Coils
The water inlet valve connects your home’s hot and cold water supply lines to the washing machine. It relies on electrically operated solenoid coils to open and close internal plungers, allowing water to enter the tub. If a solenoid coil fails, or if sediment builds up inside the valve body, the plungers may not seat correctly. This results in a continuous drip or leak, sometimes even when the machine is turned off and unplugged. Overfilling due to a stuck valve can also cause water to spill over the top of the tub.
Drain Pump Gaskets and Housing
The drain pump is responsible for expelling water from the tub into the standpipe or sink during the drain and spin cycles. The pump housing is typically made of plastic and contains a rotating impeller. Foreign objects like coins, nails, or bra wires can bypass the tub and enter the pump, cracking the housing or damaging the internal gasket. A cracked drain pump will leak water steadily whenever the tub is full or draining.
Pressure Switch Level Tubes
The water level pressure switch determines how much water enters the tub. It is connected to the bottom of the tub via a clear plastic or rubber air tube (the level tube). As water fills the tub, it compresses the air inside this tube, triggering the switch to shut off the water inlet valve. If the pressure switch level tube is clogged with soap scum, cracked, or disconnected, the switch will never receive the air pressure signal. The machine will continue to fill until water overflows the tub and floods your floor.
Internal and External Hoses
Washing machines utilize several hoses: external fill hoses, external drain hoses, and various internal corrugated hoses connecting the tub to the pump and dispenser. Rubber hoses degrade over time, becoming brittle and susceptible to cracking. A burst fill hose can cause catastrophic flooding, while a cracked internal tub-to-pump hose will cause a steady leak during operation.
8. Step-by-Step Troubleshooting (Safe, DIY Checks)
If you suspect your washing machine is leaking, follow this systematic approach to identify the source safely.
Step 1: Prioritize Safety
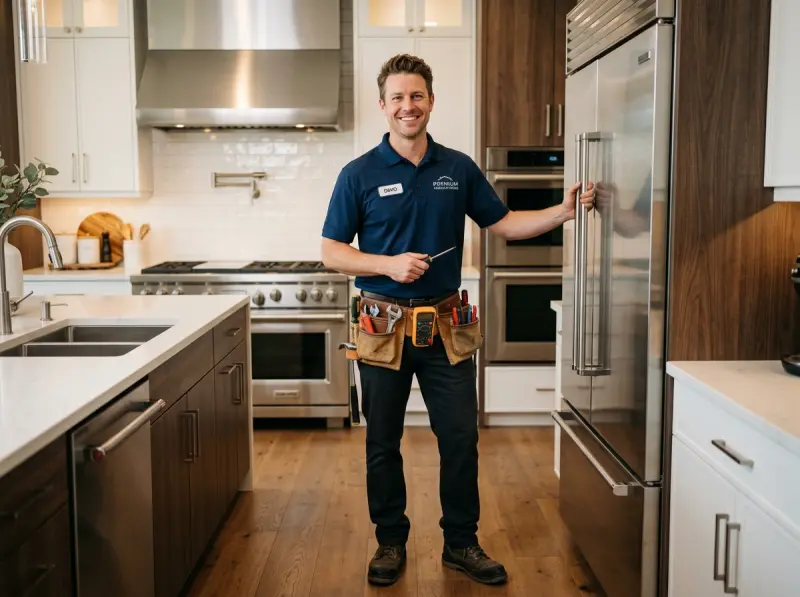
Immediately disconnect the washing machine from the electrical outlet. Water and electricity are a deadly combination. Next, turn off the hot and cold water supply valves at the wall to prevent further flooding.
Step 2: Inspect the Fill Hoses
Pull the machine slightly away from the wall. Inspect the hot and cold water fill hoses. Look for rust, corrosion, or water droplets at the connection points (both at the wall and at the back of the machine). Check the entire length of the hoses for bulges, cracks, or signs of wear. If the hoses are rubber and older than 5 years, replace them with stainless steel braided hoses immediately.
Step 3: Check the Drain Hose
Inspect the corrugated drain hose where it exits the machine and where it enters your home’s standpipe or laundry sink. Ensure it is securely fastened and not cracked. Sometimes, a leak appears to be from the machine but is actually water backing up and overflowing from a clogged standpipe.
Step 4: Examine the Door Boot Seal (Front Loaders Only)
Open the door and meticulously inspect the rubber gasket (bellows). Pull back the folds and look for tears, sharp objects embedded in the rubber, or excessive mold buildup that could compromise the seal against the glass door. Wipe the glass door and the seal with a damp cloth to ensure a clean mating surface.
Step 5: Inspect the Detergent Dispenser
Pull out the detergent dispenser drawer. Clean it thoroughly. Look inside the dispenser housing with a flashlight. Check for blockages, mold, or hard water scale that might be diverting water out the front of the machine instead of down into the tub.
Step 6: Remove the Access Panel (Proceed with Caution)
If the external checks yield no results, you may need to look inside. Depending on your model, remove the front or rear access panel (ensure the machine is unplugged!). Use a flashlight to inspect the internal components for water trails, rust stains, or pooling water. Look closely at the drain pump, internal hoses, and the bottom of the outer tub (where the tub seal is located).
9. When to Stop DIY: Call a Professional Technician
While checking external hoses and door seals is safe for most homeowners, certain leaks require professional expertise. Stop your DIY diagnosis and call a certified appliance repair technician if you encounter any of the following:
- Tub Seal and Bearing Failure: If you see rust stains or water dripping from the center bottom of the outer tub, or if the machine sounds like a jet engine during the spin cycle, the main bearings and tub seal have failed. This repair requires specialized tools to press out old bearings and is generally too complex for a DIY fix.
- Electrical Component Testing: If you suspect the water inlet valve solenoid coils or the pressure switch are faulty, testing requires a multimeter and a thorough understanding of electrical circuits. Risking electric shock or further shorting out the control board is not worth it.
- Extensive Disassembly Required: If reaching the leaking internal hose or pump requires dismantling the entire cabinet, removing the tub, or disconnecting complex wiring harnesses, it’s time to call an expert. Putting it back together correctly is harder than taking it apart.
- Gas Dryers Stacked on Top: If you have a stacked unit with a gas dryer on top, never attempt to move the unit or disassemble it without professional help. Tampering with gas lines poses an extreme explosion hazard.
10. Repair vs Replace: The 50% Rule
Decision Framework: When deciding whether to repair a leaking washing machine or replace it, appliance technicians recommend the 50% Rule: If the machine is more than halfway through its expected lifespan (usually 10-12 years) and the repair cost is more than 50% of the price of a new, comparable model, replacement is the more economical choice.
Use the comparison table below to help make an informed decision regarding common leak repairs.
| Component Failure | Repair Complexity | Recommendation (Repair vs Replace) |
|---|---|---|
| External Fill Hoses | Low (Easy DIY) | Repair. Inexpensive and quick. Always replace with stainless steel braided hoses. |
| Drain Pump Assembly | Medium (Pro Recommended) | Repair. Usually cost-effective, especially on machines under 8 years old. |
| Water Inlet Valve | Medium (Pro Recommended) | Repair. Parts are generally affordable and replacement extends the machine’s life. |
| Door Boot Seal (Front Load) | Medium (Pro Recommended) | Repair. Labor-intensive but significantly cheaper than a new front-load washer. |
| Tub Seal & Main Bearings | Extremely High (Pro Only) | Replace. If the machine is over 5 years old, the labor cost often exceeds the value of the appliance. Apply the 50% rule heavily here. |
11. Estimated Cost Factors
The cost to fix a leaking washing machine varies widely based on the root cause, the brand of the appliance, and your location. While we do not provide exact prices, understanding the factors involved will help you budget for a repair.
- Part Costs: Simple rubber hoses are inexpensive. Drain pumps and water inlet valves fall into the moderate price range. However, components like the rear tub half (often required for bearing failures on front loaders) or electronic control boards are highly expensive.
- Labor Time: A skilled technician can replace a water inlet valve in under an hour. Replacing a door boot seal may take up to two hours due to the intricate springs and clamps involved. A complete tub teardown for a seal and bearing job can take 3 to 5 hours of intensive labor.
- Brand Availability: Parts for domestic brands (like Whirlpool, Maytag, GE) are typically readily available and reasonably priced. Parts for premium European or high-end Korean brands (like Bosch, Miele, LG, Samsung) may need to be specially ordered and often carry a higher price tag.
- Service Call Fee: Most professional appliance repair companies charge a diagnostic or service call fee to cover travel and the initial troubleshooting time. This fee is often applied toward the total cost of the repair if you proceed with the work.
12. How Professionals Diagnose This Issue
When a Master Technician arrives at your home, they follow a rigorous diagnostic protocol that goes far beyond visual inspection.
Multimeter Testing for Solenoid Coils
If the leak seems related to the water supply, the technician will use a digital multimeter to test the water inlet valve solenoid coils for continuity. A reading of infinity (open circuit) indicates the coil has burned out. They will also check the voltage supply from the control board to ensure the valve is receiving the correct power (typically 120V AC) when calling for water.
Pressure Switch and Air Dome Inspection
To diagnose an overfilling issue, the technician will inspect the pressure switch level tube. They will detach the tube and blow gently into the switch to listen for the internal mechanical ‘click’ that indicates the diaphragm is functioning. They will also use an ohmmeter to verify that the switch contacts open and close correctly as pressure is applied. Finally, they will ensure the air dome at the bottom of the tub is clear of sediment blockages.
Live Cycle Testing and Leak Tracing
Professionals often run the machine through a short diagnostic cycle with the cabinet panels removed (using extreme caution around moving parts and live wiring). By observing the machine as it fills, agitates, drains, and spins, they can pinpoint the exact origin of a leak. They use bright inspection lights and sometimes even specialized leak detection dyes or thermal imaging cameras to track tiny water trails back to microscopic cracks in pump housings or tub seals.
13. Common Parts Involved
Familiarizing yourself with these parts will help you understand your technician’s diagnosis:
- Tub Seal: A heavy-duty rubber and metal seal that keeps water inside the tub where the spin shaft enters.
- Main Bearings: Steel ball bearings that support the tub shaft and allow smooth spinning.
- Water Inlet Valve: An electro-mechanical valve with solenoids that controls water entering the machine.
- Drain Pump: A motorized pump with an impeller that forces water out of the tub and into the drain pipe.
- Pressure Switch: A sensor that monitors the water level inside the tub via air pressure.
- Door Boot Seal (Bellows): The large rubber gasket on front-load machines that seals the door shut.
- Corrugated Internal Hoses: Flexible black hoses connecting the tub, pump, and dispenser assemblies.
14. Maintenance Tips to Prevent Future Leaks
Proactive maintenance is the best way to extend the life of your washing machine and prevent catastrophic water leaks.
- Upgrade to Stainless Steel Hoses: Replace old, black rubber fill hoses with burst-resistant stainless steel braided hoses. Replace them entirely every 5 years.
- Check Your Pockets: Always empty pockets before washing. Coins, nails, and screws are the number one cause of cracked drain pumps and torn door seals.
- Clean the Door Seal: On front-load washers, wipe down the rubber door seal with a dry towel after every wash day to prevent mold decay. Leave the door slightly ajar to allow moisture to escape.
- Do Not Overload: Overloading the washing machine puts immense strain on the main bearings and tub seal. Follow the manufacturer’s capacity guidelines strictly.
- Inspect the Drain Filter: Many modern washers have an accessible coin trap or pump filter at the bottom front of the machine. Clean this filter monthly to ensure unimpeded water drainage and reduce stress on the pump gasket.
15. Safety Tips
Safety is paramount when dealing with appliances that combine water and high voltage.
- Electrical Hazard: NEVER touch a wet washing machine or stand in a puddle of water while the machine is plugged in. Always shut off power at the breaker panel if you cannot safely reach the outlet.
- Water Pressure: Always turn off the hot and cold water supply valves before attempting to unscrew fill hoses. Failure to do so will result in high-pressure water flooding your home.
- Mechanical Pinch Points: Washing machines contain powerful motors, belts, and spinning heavy metal tubs. Never reach inside the cabinet while the machine is plugged in or operating.
- Gas Models: If your laundry setup includes a stacked gas dryer, do not attempt to move the unit. Disrupting gas lines requires a licensed professional.
16. Frequently Asked Questions
1. Why is my washing machine leaking from the bottom during the spin cycle?
Leaks during the spin cycle are almost always caused by a failing main tub seal. As the bearings wear out, the high-speed wobbling tears the seal, allowing water to escape.
2. Can a clogged drain hose cause a washing machine to leak?
Yes. If the home’s standpipe or the hose itself is clogged, water cannot drain fast enough and will back up, overflowing onto the floor. This looks like a leak but is actually a drainage issue.
3. How do I know if my water inlet valve is bad?
If water slowly trickles into the tub even when the washing machine is unplugged, the solenoid plungers in the water inlet valve are failing to close properly, indicating the valve needs replacement.
4. Why is my front-load washer leaking from the door?
Door leaks are caused by a compromised door boot seal (bellows). Look for tears, holes from sharp objects, or heavy mold buildup preventing a tight seal.
5. Is it worth repairing a leaking tub seal?
Usually, no. Replacing a tub seal and bearings requires a complete teardown of the machine. If the washer is older, the labor cost generally makes replacement the wiser choice.
6. Why is water leaking from the detergent dispenser?
This is typically due to high water pressure, a cracked dispenser housing, or clogged water jets in the dispenser roof causing water to spray erratically out the front.
7. How often should I replace washing machine hoses?
Rubber hoses should be replaced every 3-5 years. Stainless steel braided hoses are much safer but should still be inspected regularly and replaced every 5-7 years.
8. Can too much detergent cause a leak?
Yes. Excessive detergent creates a massive amount of suds (oversudsing). These suds can push out through the air vents, dispenser, or pressure tube, carrying water with them onto the floor.
9. What does the pressure switch level tube do?
It is a clear tube connecting the tub to the pressure switch. As water fills, it pushes air up the tube, telling the switch when the tub is full. If it cracks, the machine will overfill and leak.
10. Why is my new washing machine leaking?
New machines usually leak due to improper installation. Check that the drain hose is secured tightly in the standpipe and that the fill hoses are threaded correctly with rubber washers in place.
11. Can a coin cause my washer to leak?
Absolutely. A coin can bypass the tub and enter the plastic drain pump. The high-speed impeller will throw the coin against the housing, cracking it and causing a permanent leak.
12. How do I fix a leaking washing machine hose?
If a hose is leaking at the connection, try replacing the rubber washer inside the coupling and tightening it. If the hose itself is bulging or cracked, throw it away and install a new hose.
13. Why does my washer only leak on certain cycles?
Different cycles use different water temperatures and fill levels. A leak on the hot wash but not the cold wash indicates a problem specific to the hot water solenoid coil on the inlet valve.
14. Is there a temporary fix for a torn door boot seal?
No safe temporary fix exists. Tape or sealant will not hold up to the heat, chemicals, and mechanical flexing during a wash cycle. The seal must be replaced.
15. How do professionals test for a microscopic leak?
Professionals remove the cabinet panels and run a diagnostic cycle. They use bright lights, mirrors, and sometimes talcum powder or specialized dyes to trace the water path back to the exact hairline crack.
16. Will homeowner’s insurance cover water damage from a washing machine?
Often yes, if the damage was sudden and accidental (like a burst hose). They rarely cover the cost of repairing the appliance itself, and they may deny claims related to long-term neglected leaks.
17. Why is my washer leaking rusty water?
Rusty water underneath the machine strongly indicates that the main bearings have failed and water has breached the tub seal, rusting the metal bearings as it leaks out.
18. What is the 50% rule for appliance repair?
If the appliance is more than halfway through its expected lifespan and the repair costs exceed 50% of the price of a new one, you should replace the appliance instead of repairing it.
19. Can I replace a drain pump myself?
Yes, if you are mechanically inclined. It involves unplugging the machine, removing the access panel, disconnecting the wiring harness and hoses, and swapping the part. However, professional installation guarantees a leak-free seal.
20. Why does my top-load washer leak when it agitates?
This often points to a worn center post seal (tub seal) or a splash guard ring that has come loose, allowing water to slosh over the edge of the tub during vigorous agitation.
21. Key Takeaways
- Safety First: Always unplug the washer and turn off water supply valves before attempting any inspection.
- Locate the Leak: Determine if the water is coming from the front, back, bottom, or dispenser to narrow down the failing component.
- Check Hoses: External fill and drain hoses are the easiest to inspect and fix. Always upgrade to stainless steel braided hoses.
- Understand the Tub Seal: Leaks from the exact bottom center, especially accompanied by roaring noises during spin, indicate a severe tub seal and main bearing failure.
- Professional Diagnostics: Technicians use multimeters to check solenoid coils and pressure switches, preventing dangerous DIY electrical mistakes.
- The 50% Rule: Weigh the cost of a complex repair against the age of your machine to decide whether to repair or replace.
- Maintenance is Key: Cleaning filters, emptying pockets, and avoiding overloading will significantly extend the life of your washer’s internal components.
22. Need Professional Help? Call the Experts
A leaking washing machine can quickly turn from an inconvenience into a costly home disaster. If your DIY troubleshooting hasn’t resolved the issue, or if you suspect a complex internal failure like a bad tub seal or drain pump, don’t risk further water damage or electric shock.
Our Master Technicians have the tools, OEM parts, and expertise to accurately diagnose and repair your washing machine safely and efficiently.
Schedule Your Service Today
Call us directly for fast, reliable appliance repair in Alpharetta, Roswell, and Milton.
Or visit our Contact Page to request an appointment online.
Need Certified Appliance Repair Today?
Skip the phone line — book direct local priority dispatch across Alpharetta, Milton, Roswell & Johns Creek.