
Why is My Washing Machine Not Spinning? (Troubleshooting Guide)
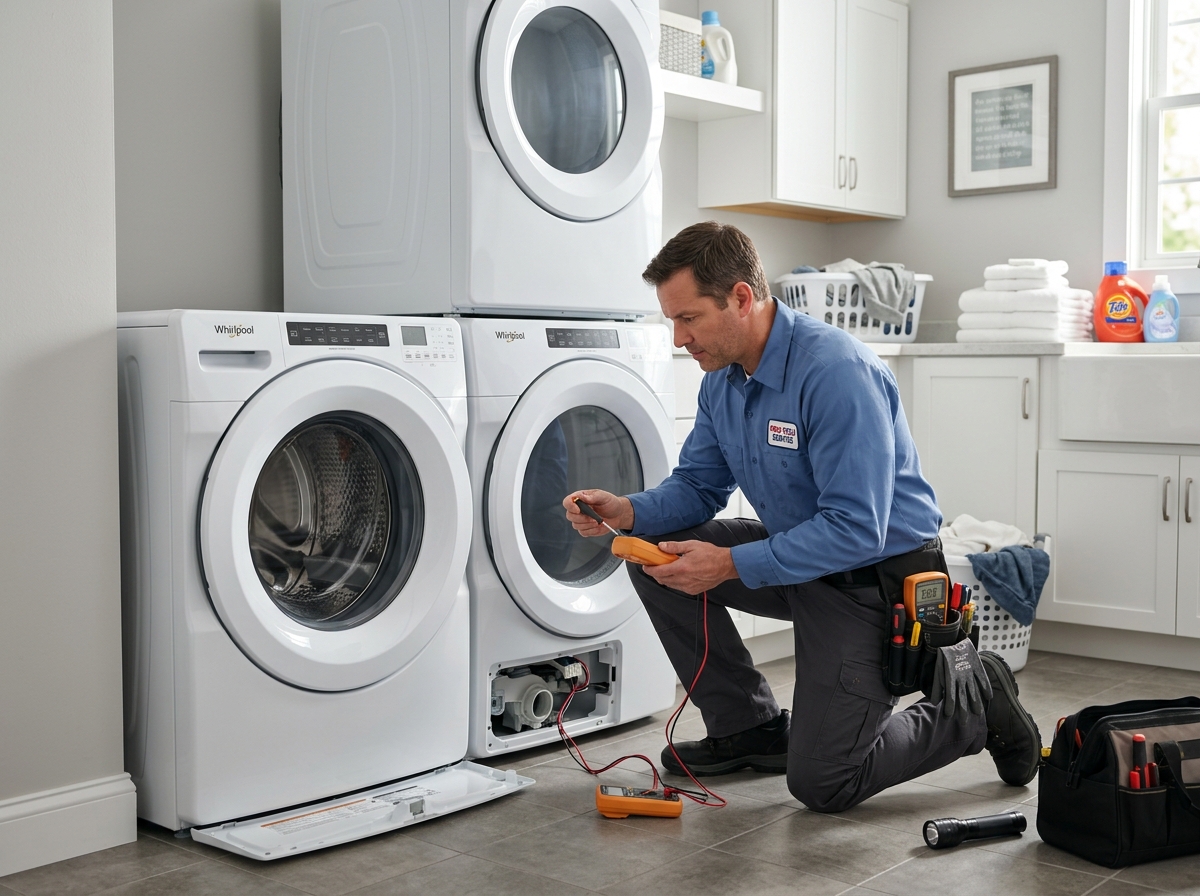
Laundry day is a fundamental household routine, and nothing halts it faster than opening your washing machine to find your clothes soaking wet, sitting in a pool of stagnant soapy water. The “washer not spinning” symptom is one of the most common issues reported by homeowners. When a washing machine refuses to spin, it is unable to extract water from the fabrics, leaving clothes too heavy to dry. While it is tempting to immediately panic and search for a replacement machine, the root cause is often a simple mechanical failure or system block that can be diagnosed and repaired at a fraction of the cost of a new appliance. In this advanced troubleshooting guide, we will explore the internal physics of the spin cycle, list five primary components that fail, and guide you through the process of diagnosing and fixing a washer that won’t spin.
1. Unbalanced Loads and Overloading Safeguards
Before pulling out tools, it is crucial to rule out the simplest and most common cause of spin failure: an unbalanced load. Modern washing machines, especially high-efficiency (HE) top-loaders and front-loaders, utilize electronic control boards with built-in vibration sensors. During the spin cycle, the inner wash tub rotates at speeds up to 1,200 RPM. If the weight of the laundry is concentrated on one side of the tub, the centrifugal force will cause the drum to wobble violently.
To prevent the drum from tearing itself off its suspension springs or breaking the outer plastic tub, the machine’s sensors detect this imbalance and immediately halt the spin cycle. The machine will often try to fill with water again to redistribute the clothes, but if it fails, it will simply stop, leave the clothes wet, and display an error code (such as “uB” or “UE” on Samsung and LG washers).
Top-Load vs. Front-Load Drum Kinematics
The mechanics of how top-loaders and front-loaders spin are radically different. Top-loading washers utilize vertical axis rotation. Suspension rods located at the four corners of the cabinet suspend the tub, relying on internal springs to absorb sideways vibrations. Front-loading washers utilize horizontal axis rotation. Because the drum spins on a horizontal plane, gravity constantly pulls the wet clothes down, making balance checks even more critical. Front-loaders rely on heavy concrete counterweights mounted to the outer tub, along with oil-damped shocks at the bottom, to absorb vertical vibrations. If your front-loader shakes violently during spin, it is often due to worn-out shock absorbers, which allow the drum to slam against the cabinet walls.
How to Fix an Unbalanced Load:
- Rearrange Heavy Items: If you are washing a single heavy item (like a bath mat, comforter, or heavy jacket), it will cling to one side of the drum. Add a couple of towels to balance the weight.
- Check Leveling Feet: If the washing machine itself is not perfectly level on the floor, it will shake during the spin cycle, triggering the balance sensor. Place a bubble level on top of the machine and adjust the front screw-in leveling feet until it is perfectly flat.
- Avoid Overloading: Stuffing too many clothes into the tub prevents them from moving freely, making it impossible for the machine to distribute the load evenly. Keep loads below the top ring of the wash basket.
2. Defective Lid Switch or Door Lock Interlock
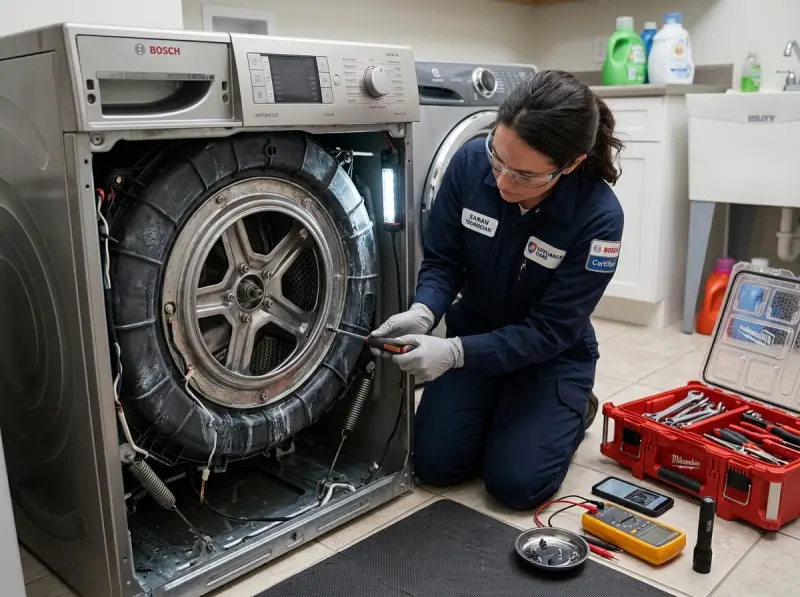
The lid switch (on top-loading washers) and the door lock assembly (on front-loading washers) are critical safety devices. Because the spin cycle operates at high speeds, these switches are designed to cut power to the drive motor the instant the lid is opened, preventing severe physical injury.
Over time, these electromechanical switches suffer wear. On top-loaders, the physical plastic tab on the lid that pushes the switch down can break off, or the electrical contacts inside the switch can burn out. On front-loaders, the solenoid-driven door lock assembly can fail mechanically or short-circuit. If the control board does not receive a signal confirming the door is locked, it will refuse to initiate the spin cycle.
Common Washing Machine Error Codes
| Brand | Door/Lid Error Code | Drain/Drainage Error Code |
|---|---|---|
| Samsung | dE, dE1, dE2, door | 5C, 5E, nd (No Drain) |
| LG | dE, dE1, dE2 | OE (Outlet Error) |
| Whirlpool / Maytag | dL, lid, F5 E1 | F9 E1, drn, LD |
Diagnostic Steps:
- Inspect the Switch: For a top-loader, open the lid and locate the switch plunger. Press it with a pen. If you do not hear a clear “click,” the switch may be broken.
- Check for Error Codes: Look at your washer’s display. A door lock error code indicates the switch is failed or the door latch isn’t engaging.
- Multimeter Testing: Unplug the machine, access the wiring harness for the lid switch behind the control console, and test for continuity using a digital multimeter. When the switch is pressed down, it should show 0 ohms (closed circuit). If it reads open circuit, the switch is defective and must be replaced.
For professional appliance repair services in your area, visit our Appliance Services page.
3. Worn or Snapped Drive Belt
In traditional belt-driven washing machines, the electric motor is mounted to the side, and a rubber drive belt connects the motor pulley to the transmission or the main wash tub pulley. As the motor turns, the belt transfers the rotational energy to spin the basket.
Like the fan belt in a car, the washing machine drive belt is subjected to intense friction, heat, and tension. Over years of operation, the rubber stretches, cracks, or snaps entirely. If the belt is loose, it will slip, causing the drum to spin slowly or not at all under a heavy load. If the belt is broken, the motor will run and hum, but the wash tub will remain completely stationary.
How to Inspect the Drive Belt:
- Disconnect Power: Unplug the washing machine from the wall outlet and disconnect the water supply hoses.
- Access the Cabinet: For front-loaders, remove the metal back panel. For top-loaders, tip the machine onto its back to access the bottom drive components.
- Inspect the Belt: Locate the rubber belt wrapped around the pulleys. Look for signs of wear: black rubber dust, cracks, frayed edges, or loose tension. If the belt has slipped off, inspect the pulleys for alignment issues.
- Test Tension: Press on the belt. It should have very little play (less than 1/2 inch of deflection). If it feels loose or is damaged, replace it with a new OEM belt matching your model number.
4. Clogged Drain Pump or Filter
A washing machine is controlled by a sequential timer program. To protect the spin mechanism and prevent water from sloshing out, the washing machine’s control system will not allow the spin cycle to begin until the water inside the tub has been completely drained.
Every washing machine has a drain pump that forces water out through the drain hose. However, small items left in pockets—such as coins, hairpins, screws, socks, and keys—can slide past the tub seal and enter the drain pump. When a foreign object jams the pump impeller, or when lint clogs the drain filter, the water cannot drain. The machine detects the water pressure inside the tub using a pressure switch and halts the cycle, leaving the tub full of water and preventing the spin cycle from starting.
How to Clear the Drain Filter:
- Locate the Filter: On front-loading washers, there is usually an access door at the bottom front. On top-loaders, the pump is located underneath the unit.
- Prepare for Water: Place a shallow pan and towels on the floor. When you unscrew the filter, water will pour out.
- Remove the Filter: Slowly unscrew the filter cap counterclockwise. Let the water drain out completely, then pull the filter cartridge out.
- Clean Out Debris: Remove lint, coins, hair, and foreign objects. Inspect the pump chamber behind the filter; use your finger to spin the plastic impeller blades to ensure they turn freely.
- Reassemble: Reinsert the filter, screw it in clockwise tightly to prevent leaks, and close the panel.
5. Failed Motor Coupler or Transmission Drive Components
If the drive belt, lid switch, load balance, and drainage systems are working, but the washer still won’t spin, the issue is likely a mechanical coupling failure. In older Whirlpool and Kenmore direct-drive washers, the motor is connected directly to the transmission via a plastic and rubber motor coupler. This coupler acts as a sacrificial safety link. If the tub jams, the coupler breaks to prevent the motor from burning out.
In newer smart washers, the motor is brushless direct-drive (stator and rotor mounted directly to the shaft at the back of the drum). In these systems, a failed hall sensor (which monitors drum speed and position) or a stripped drive hub (the splined plastic adapter connecting the spin basket to the motor shaft) can prevent spinning. Over time, the splines inside the plastic drive hub strip out, allowing the motor shaft to spin freely while the wash basket remains stationary.
Identifying Direct-Drive Hub Wear:
If you hear the motor spinning and making a whirring sound during the spin cycle, but the wash tub is completely still, the drive hub is stripped. Replacing the drive hub requires removing the wash basket, taking off the worn plastic hub, and bolting a new one in place. This is a common and affordable mechanical repair that restores the spin cycle completely. For a full list of related components we service, visit our Washer & Dryer Repair page.
6. Detailed Top-Load Suspension Rod Replacement Tutorial
Top-loading washing machines utilize a suspension system consisting of four steel rods with spring coils enclosed in plastic cups at the bottom, suspended from the four corners of the cabinet frame. These rods support the entire weight of the outer tub, motor, and water weight. Over time, the springs inside the plastic cups fatigue, losing their damping capacity. Once this happens, the tub will shake violently and trigger the off-balance sensor even with small, balanced loads.
Replacing suspension rods is a common mechanical maintenance procedure that fully restores the washer’s spin balance. If your top-loader constantly halts with a UE error and shakes violently, follow these mechanical guidelines:
Mechanical Step-by-Step Suspension Rod Installation:
- Preparation: Unplug the machine, tape the lid shut, and disconnect the drain hose. Pull the washer away from the wall.
- Open the Top Cover: Remove the screws holding the main control console and top cover at the back of the washer. Lift the top cover up and support it with a prop or tie it back.
- Locate the Suspension Rods: You will see the four metal rods hanging from the top corners of the washer cabinet down to brackets on the bottom of the outer tub.
- Replace One Rod at a Time: To prevent the tub from dropping, replace the rods one by one. Lift the tub slightly to release tension, slide the plastic rod cup out of the top cabinet bracket hanger, and lower the rod down through the tub bracket.
- Install the New Rod: Slide the new rod up through the tub bracket, apply a thin layer of lithium grease to the plastic cup joints, and hook the top of the rod into the cabinet hanger bracket.
- Repeat: Repeat this process for the remaining three rods. Always replace suspension rods in complete sets of four to ensure even load balance.
Testing the Pressure Switch and Water Level Control Circuit
The water level sensor, also known as the pressure switch, dictates when the washer is empty and ready to enter the high-speed spin cycle. It is connected to a small chamber at the bottom of the outer tub via a thin vinyl air dome tube. As the water drains, the air pressure in the tube drops. If the tube is clogged with soap scum, calcium scale, or has a pinhole leak, the pressure switch will read a “full tub” state even if all water has exited. This locks out the spin function completely. Unplugging the tube, blowing air through it to clear any soapy residue, and checking for cracks is a vital diagnostic step.
Detailed Motor Winding and Hall Sensor Testing on Brushless Drive Systems
In modern direct-drive smart washers (like Fisher & Paykel, LG Direct Drive, and Cabrio models), the motor consists of an outer copper stator winding block and an inner rotor cover with permanent magnets. The control board monitors the drum rotation using a magnetic sensor called the Hall Sensor (or rotor position sensor). If the Hall sensor is dirty or has suffered electrical failure, it cannot report the correct spin rotation back to the microcontroller. The control board immediately cuts power to the stator, halts the spin, and flashes an error code (like “LE” or “LOCKED MOTOR”). Testing the Hall sensor involves checking the resistance across its terminals using a multimeter (it should register around 5K to 15K Ohms between the ground and output pins). Stator coils themselves can be checked for continuity; each of the three winding phases should read between 5 and 20 Ohms of balanced resistance.
Semantic SEO Troubleshooting: Washer Symptoms & Solutions
When diagnosing washing machine issues, paying attention to specific sounds and behaviors is the key to identifying the correct fix:
Symptom A: Washer spins slowly and clothes are still damp
This is often caused by a failing run capacitor on the motor (which reduces the motor’s torque) or a worn drum suspension rod system. When suspension rods wear out, the tub vibrates excessively, causing the control board to constantly drop to lower spin speeds to prevent damage. Replacing the suspension rods is the standard solution.
Symptom B: Washer makes a loud roaring sound during spin cycle
If your washer sounds like a jet engine taking off when spinning, the tub bearings are worn out. Tub bearings seal the metal spin shaft and allow it to rotate smoothly. When the water seal leaks, rusty water corrodes the bearings, causing metal friction. This requires a complex bearing replacement or outer tub assembly change.
Conclusion & Professional Support
A washing machine that refuses to spin can feel like a major setback, but systematic diagnostics—checking the load balance, testing the door latch, inspecting the belt, clearing the drain pump, and checking mechanical couplings—will quickly narrow down the root cause. Most of these repairs are straightforward and highly cost-effective.
If you prefer a certified technician to inspect your machine, call the local dispatch desk at Appliance Repair Alpharetta at (770) 796-7742 or book a service slot on our Contact Us page. We specialize in bringing all major washing machine brands back to life with same-day repairs!
Related Service & Area Directories
Related Professional Repair Services & Local Guides
For complete technical diagnostics across Fulton County, explore our dedicated services: Emergency Appliance Repair • Same-Day Local Service • Commercial Appliance Diagnostics.
Need Certified Appliance Repair Today?
Skip the phone line — book direct local priority dispatch across Alpharetta, Milton, Roswell & Johns Creek.